Camera-less Photography
Chemigrams
Chemigrams were first created by Pierre Cordier in 1956. Chemigrams involve putting a 'resist' (a liquid substance such as wax, oil, varnsih etc.) onto the surface of a piece of photographic paper. The piece of photographic paper may have already been exposed to light, or it may be exposed after a 'resist' substance have been applied to the the photographic paper. The 'resist' substance (depending on what substance has been used - some substances may be thicker or more opaque than others) may block the light and developer from the surface of the photographic paper. When the photographic paper is developed (developer, 'stop' then 'fix') this can result in different areas of the photographic paper being darker than others, depending on where the 'resist' was applied.
Pierre Cordier
Pierre Cordier is a Belgian artist who was the pioneer of the Chemigram and its development as art. Pierre Cordier invented the chemigram technique in 1956, after writing a dedication on photographic paper using nail polish. As described by Cordier, the chemigram 'combines the physics of painting (varnish, wax, oil) and the chemistry of photography (photosensitive emulsion, developer, fixer) ; without a camera, without an enlarger and in full light' (from Cordier's website). Cordier then used the Chemigram to experiment and used photographic paper as a canvas. Cordier continued his experiments throughout his career, and mastered the chemigram technique.

Experiment 1
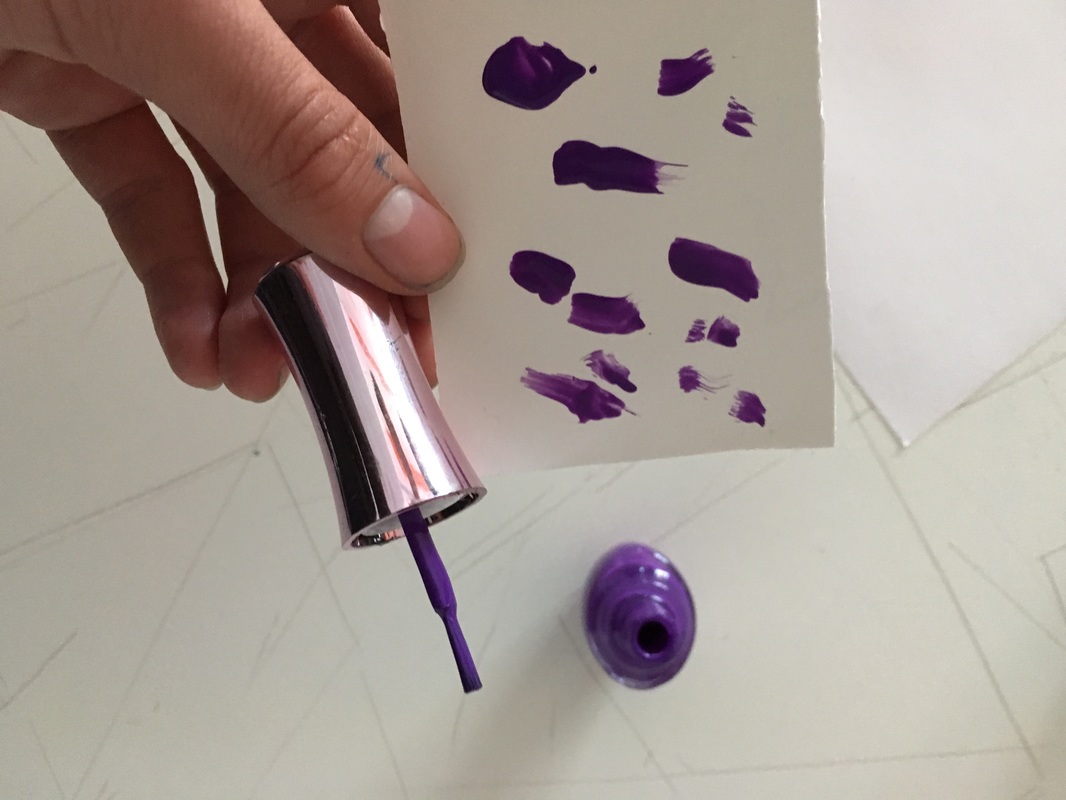

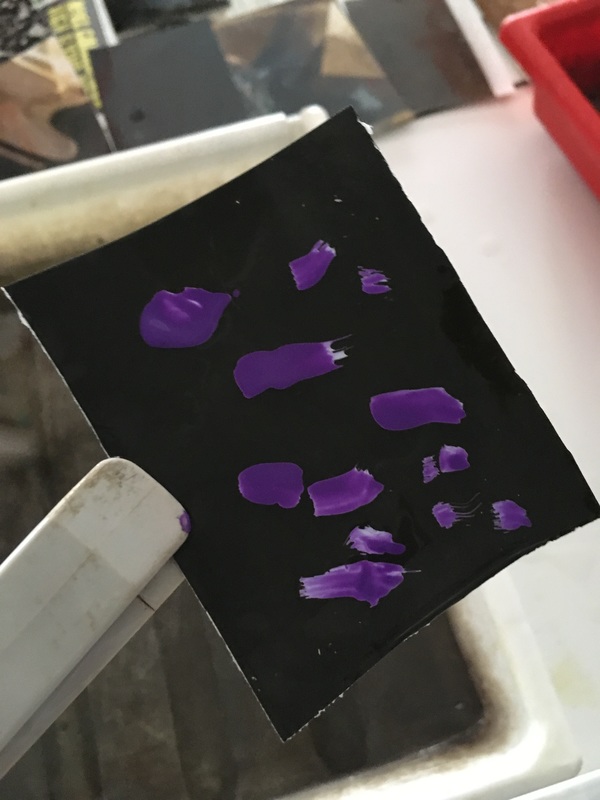
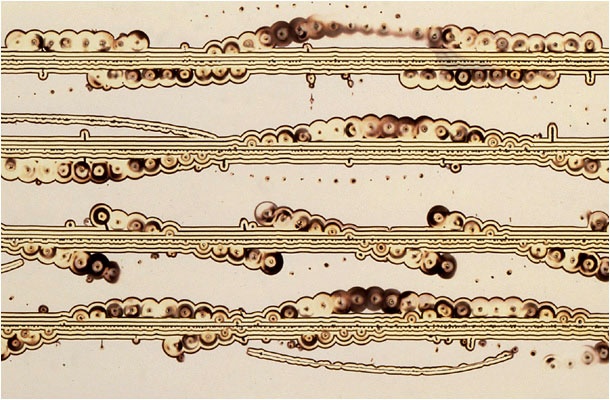
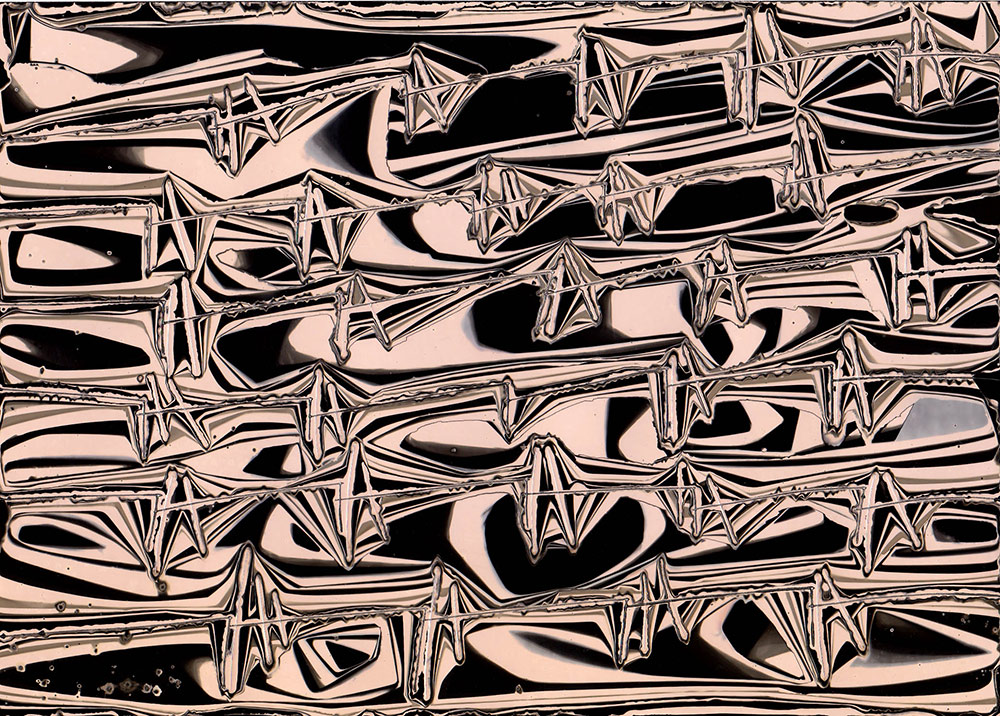
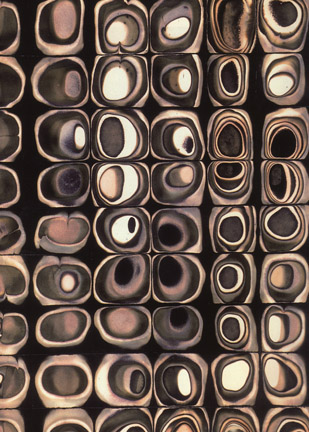
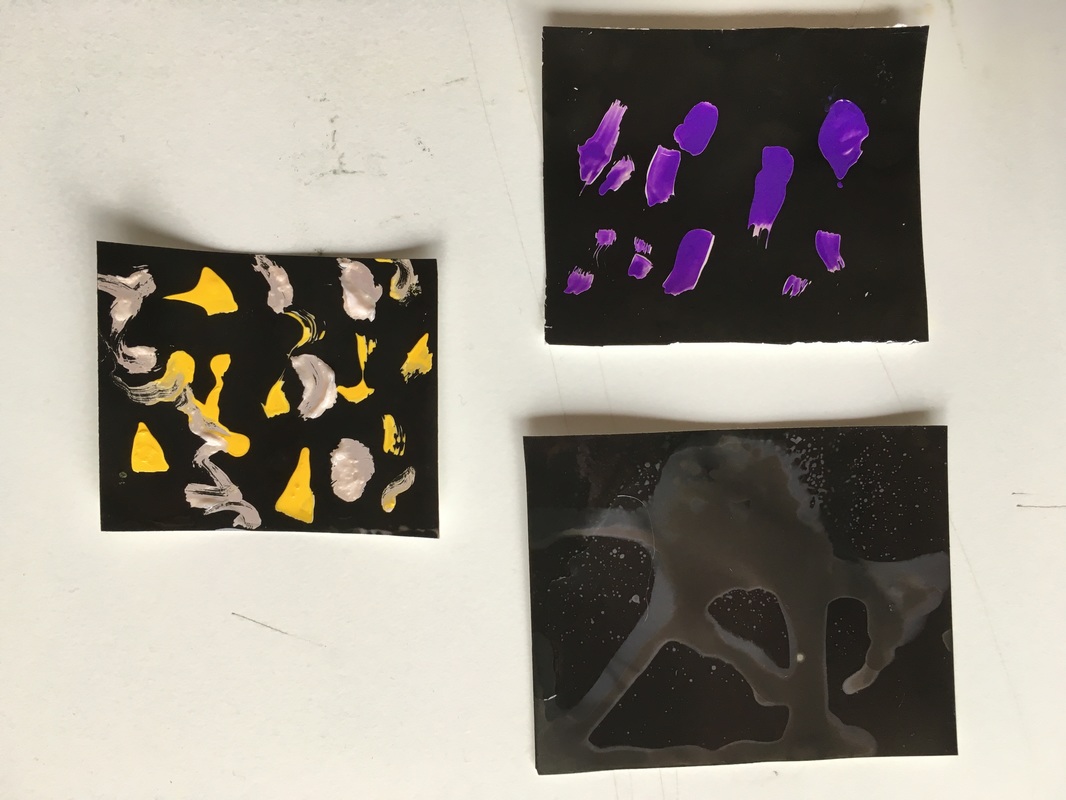
For my first experiment, I applied some purple nail varnish onto the surface of the piece of photographic paper. It is quite a thick, opaque substance so I expected areas covered by the varnish to lighter when developed, as less light with reach the surface of the paper in these places.
After I applied the varnish, I held the photographic paper up to the window to expose the photographic paper to bright light, although it was already pre-exposed. I held the paper up to the window for about 30 seconds, and the surface of the photographic paper appeared to turn to a light blue colour. I then developed the print and the paper then turned dark black, as it had been exposed to strong lighting. However, I noticed lighter white areas around the nail varnish where the light hadn't reached the surface of the paper and it wasn't as strongly exposed.
After I applied the varnish, I held the photographic paper up to the window to expose the photographic paper to bright light, although it was already pre-exposed. I held the paper up to the window for about 30 seconds, and the surface of the photographic paper appeared to turn to a light blue colour. I then developed the print and the paper then turned dark black, as it had been exposed to strong lighting. However, I noticed lighter white areas around the nail varnish where the light hadn't reached the surface of the paper and it wasn't as strongly exposed.
Experiment 2
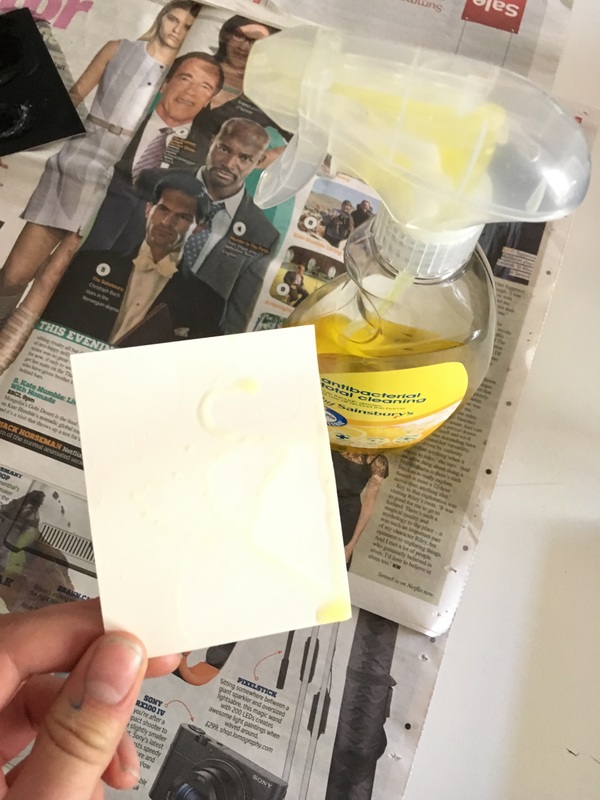
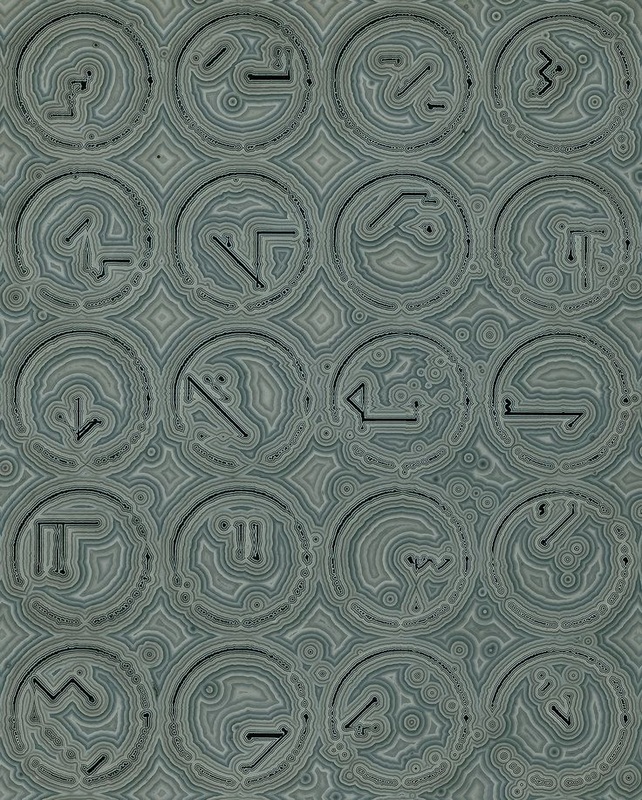
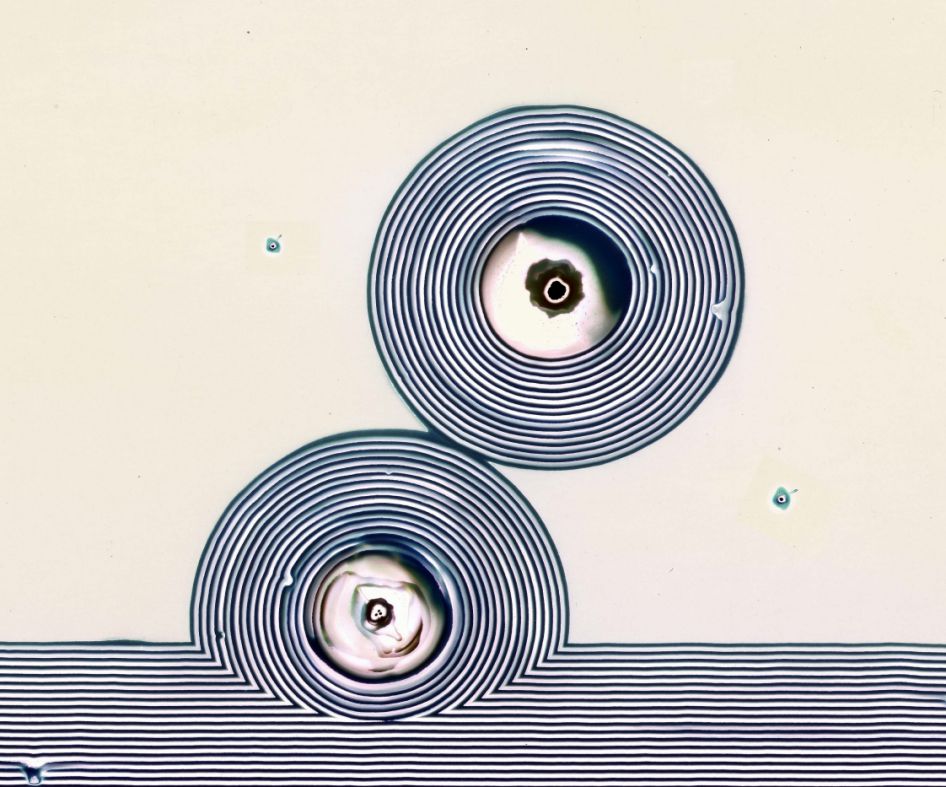
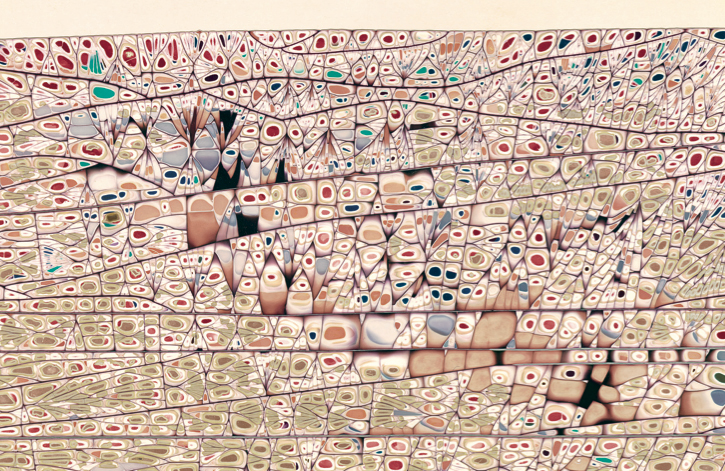
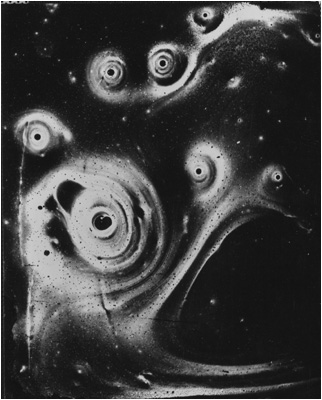
For my second experiment, I sprayed some antibacterial spray onto the surface of the photographic paper. I wasn't too sure how this experiment would turn out, as the liquid was yellow in colour but transparent - I didn't think it would alter the amount of light hitting certain areas of the photographic paper.
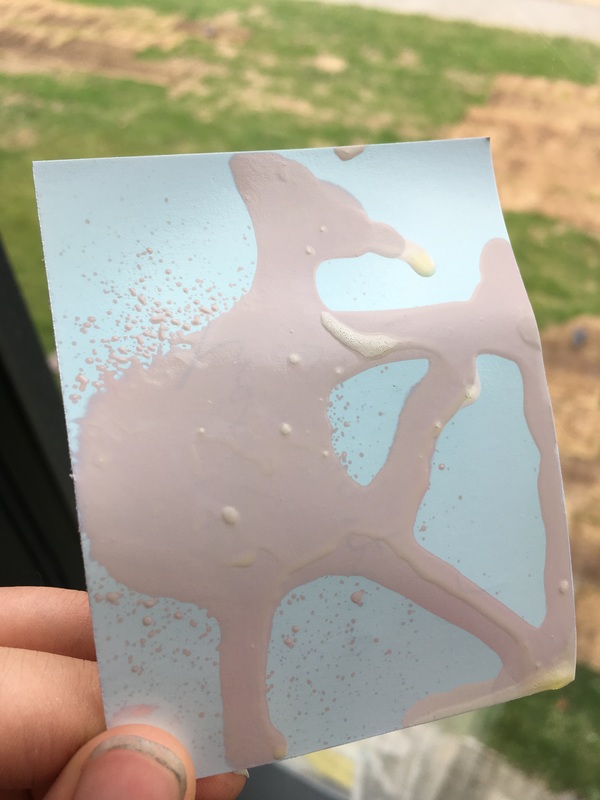
After this, I held the photographic paper up to the window to expose it to bright light. The effect was quite unusual as the paper turned to a light blue, however the areas affected by the spray turned to a pink colour. When I developed the print, although the areas affected by the spray were grey in tone, they were much lighter than I expected. I was surprised that the spray had a considerable effect on the exposure of the photographic paper to light, however this effect may also have been due to a chemical effect or reaction from the antibacterial spray.
After this, I held the photographic paper up to the window to expose it to bright light. The effect was quite unusual as the paper turned to a light blue, however the areas affected by the spray turned to a pink colour. When I developed the print, although the areas affected by the spray were grey in tone, they were much lighter than I expected. I was surprised that the spray had a considerable effect on the exposure of the photographic paper to light, however this effect may also have been due to a chemical effect or reaction from the antibacterial spray.
Experiment 3
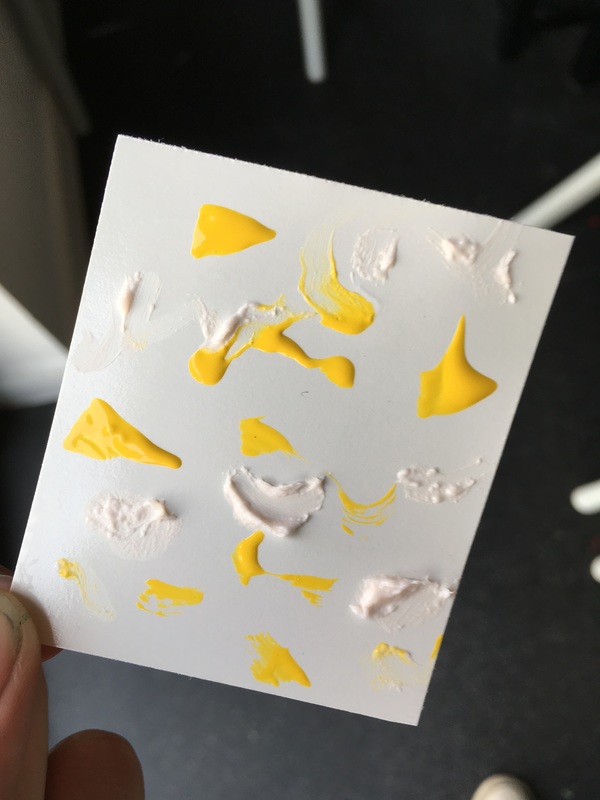
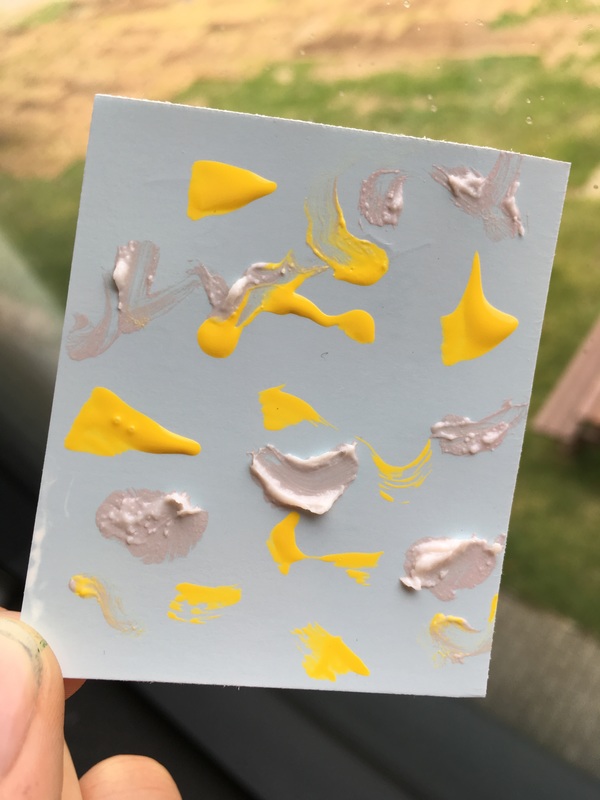
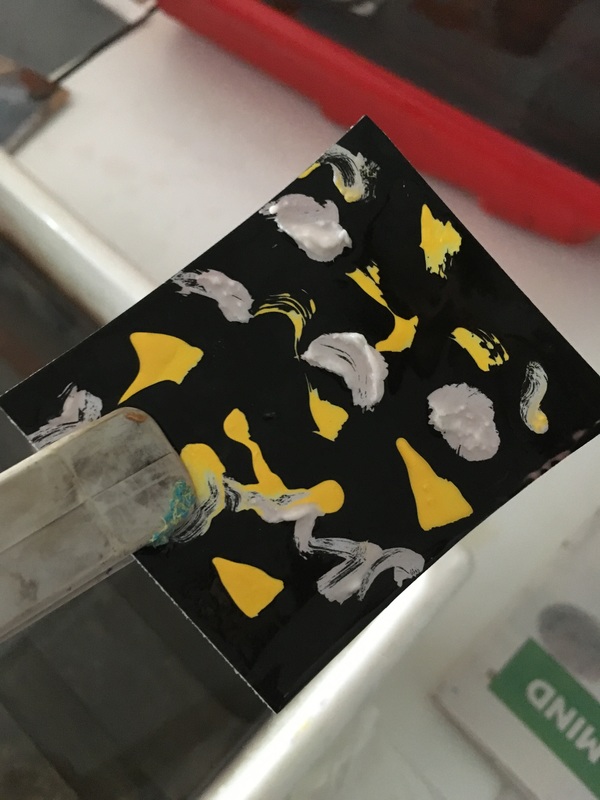
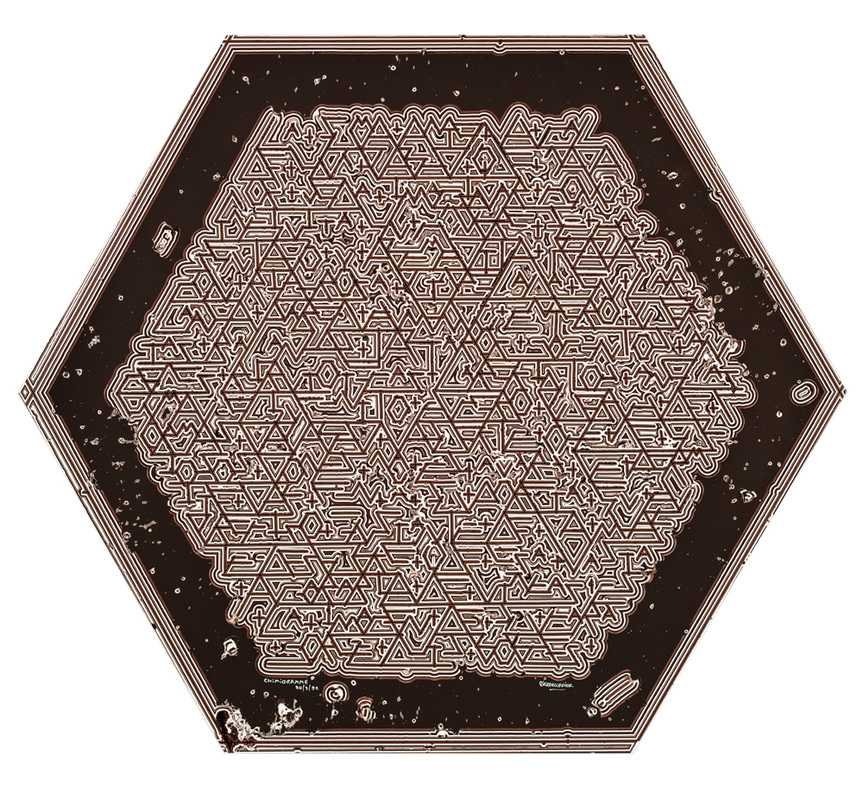
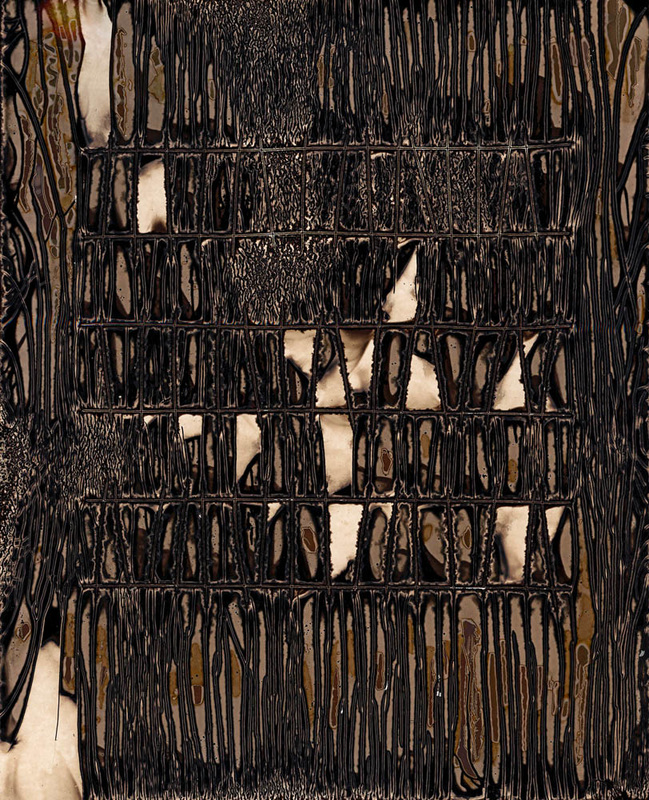
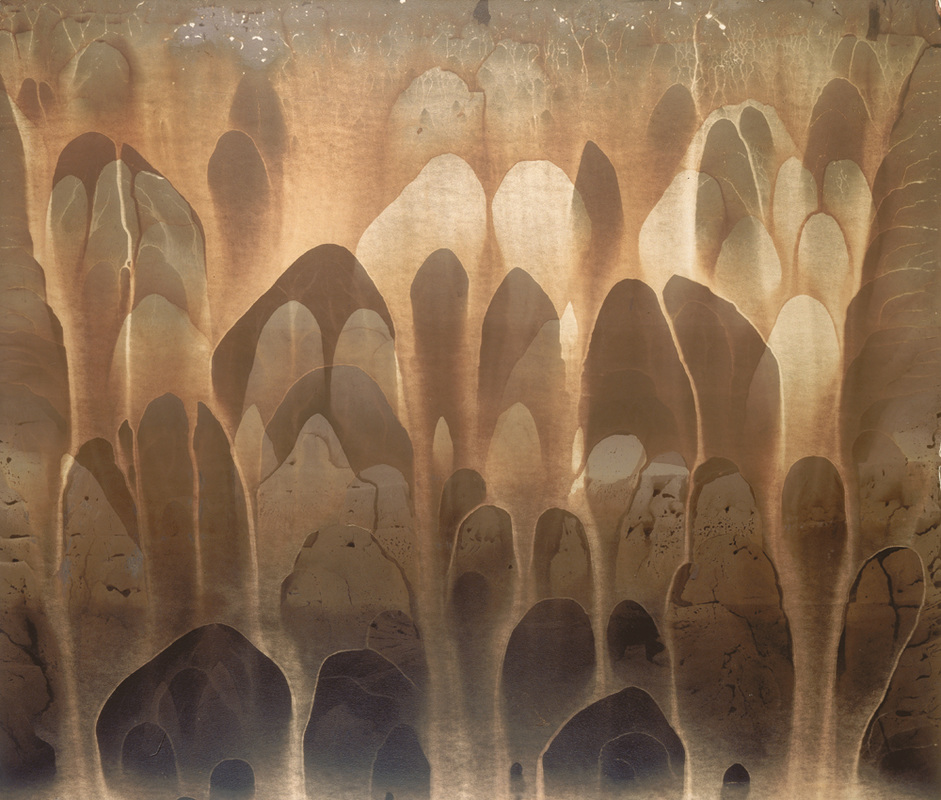
For my third experiment, I used hand cream and some yellow nail varnish. These are two thick, quite opaque substances - so I thought that these areas would be lighter in tone after I developed the photographic paper.
When I held the piece of photographic paper up to the window, the surface of the paper turned slightly blue, but not as much as Experiment 2. When I developed the print, it was noticeable that the areas covered with hand cream and nail varnish were lighter in colour as they hadn't been strongly exposed. I quite like the effect created on this piece of photographic, the lighter areas of hand cream and the vivid yellow nail varnish stand out well against the black background of the photographic paper.
When I held the piece of photographic paper up to the window, the surface of the paper turned slightly blue, but not as much as Experiment 2. When I developed the print, it was noticeable that the areas covered with hand cream and nail varnish were lighter in colour as they hadn't been strongly exposed. I quite like the effect created on this piece of photographic, the lighter areas of hand cream and the vivid yellow nail varnish stand out well against the black background of the photographic paper.
Experiment 4
|
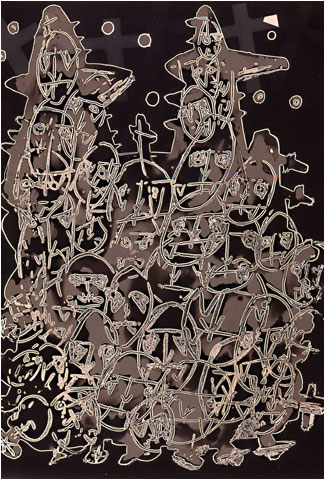
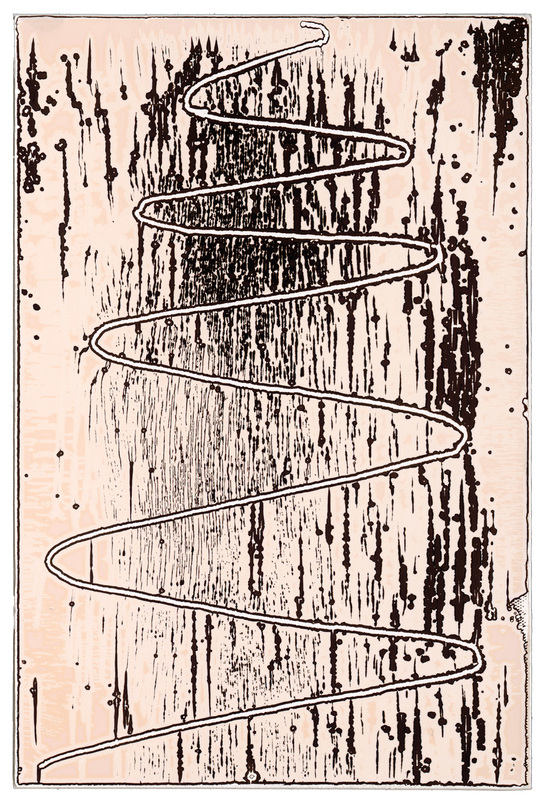
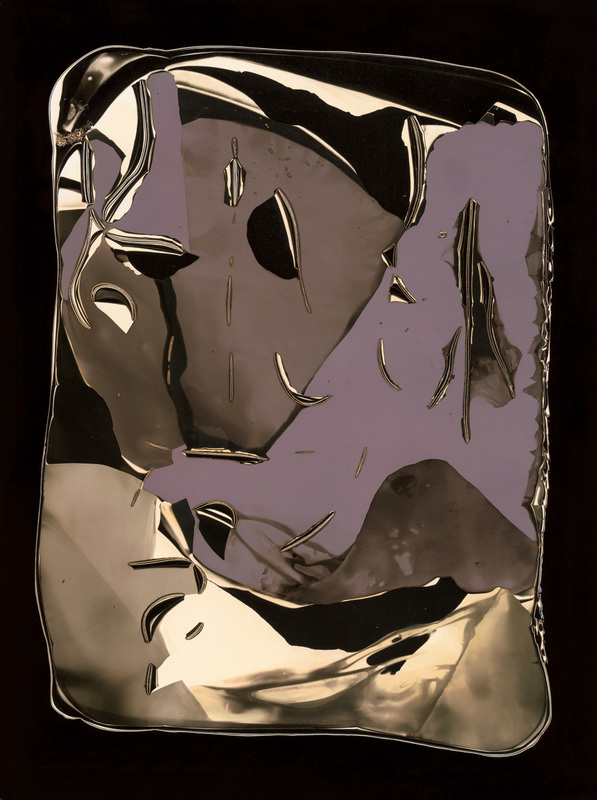
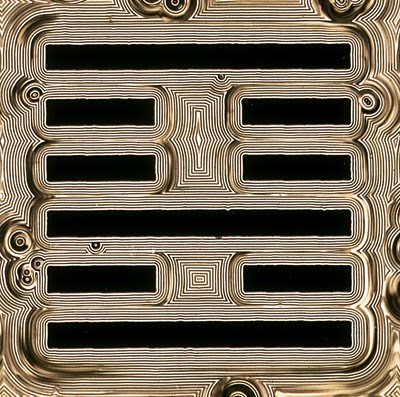
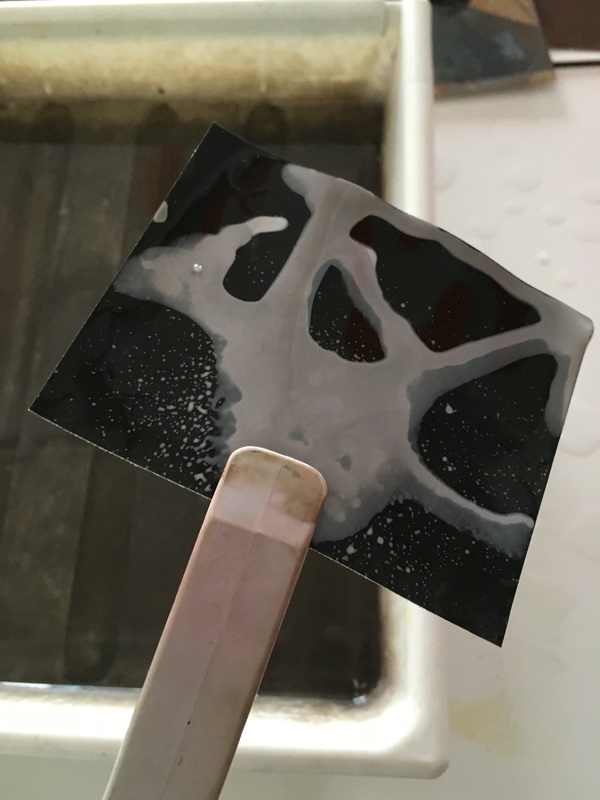
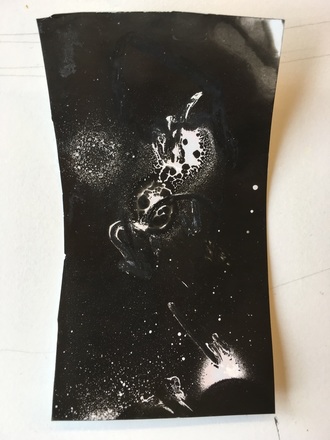
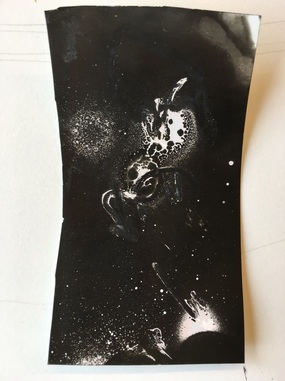
Unlike my previous experiments, I made this chemigram in the darkroom. This meant that the photographic paper hadn't be pre-exposed to light, giving me more control over the results and appearance of the chemigram.
For this chemigram, I sprayed deodorant onto the surface of the photographic paper, and I also rubbed some cream on the surface of the photographic paper with a cotton bud. I then placed the piece of photographic paper under a medium format enlarger, and exposed it for 3 seconds, at f2.8. It was interesting to see that the areas covered with the 'resist' were quite contrasty against the dark background. This is probably because the paper wasn't already pre-exposed to light, and was exposed under the medium format enlarger for a much shorter time (compared to being exposed for a longer period of time in the classroom). |
Chemigrams exposed to daylight |
Chemigram exposed in the Darkroom |
|
|
