The Surface of Things
Before The First World War, Pictorialism was the most dominant style of photography. Pictorialism focused on image manipulation, creating a stylised image rather than recording real life. However, The First World War (the first mechanised conflict) brought about a change in photography, and the art world overall prompting work with more strength and realism. In the 1920's, the 'Neues Sehen' (New Vision or Neue Optik) movement emerged. Similarly to the New Objectivity movement, the New Vision movement focuses on realism and depicting the world how it appears in real life. The New Vision aimed to use the camera lens as a second eye, using the camera as a documentary device to show everyday reality. This new movement and way of seeing the world was focused on the use of unexpected framings, high/low camera angles as well as bringing out contrast in light and shape. Many New Vision photographers focused on fine detail, softening experimenting with and altering light when photographing their subjects; often altering the initial appearance. They could capture the detailed surfaces and textures of objects and subjects, as finely detailed as they could see with their own eyes; they wanted to capture the surface reality of the world. Neue Sehen was also linked to the the Bauhaus and more experimental photographers such as László Moholy-Nagy. The movement was closely linked with the New Objectivity movement; however, the New Vision preferred experimentation as well as technology in photography.
Edward Weston
|
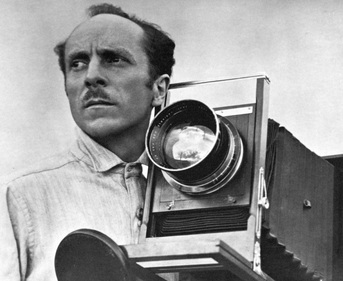
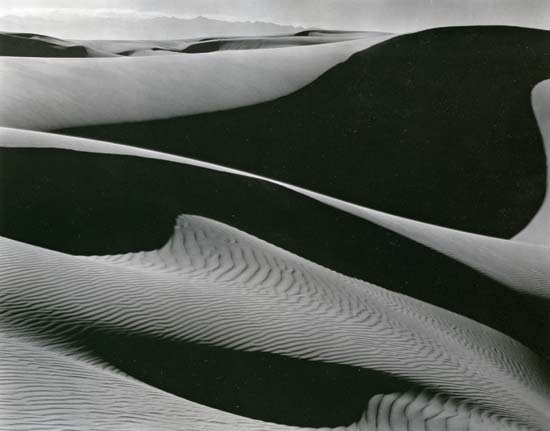
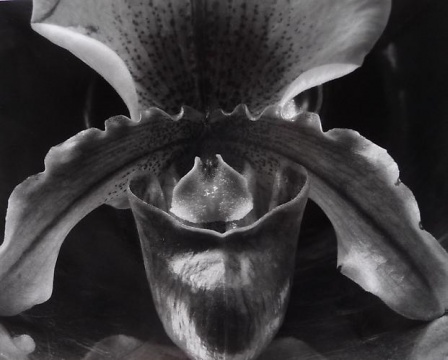
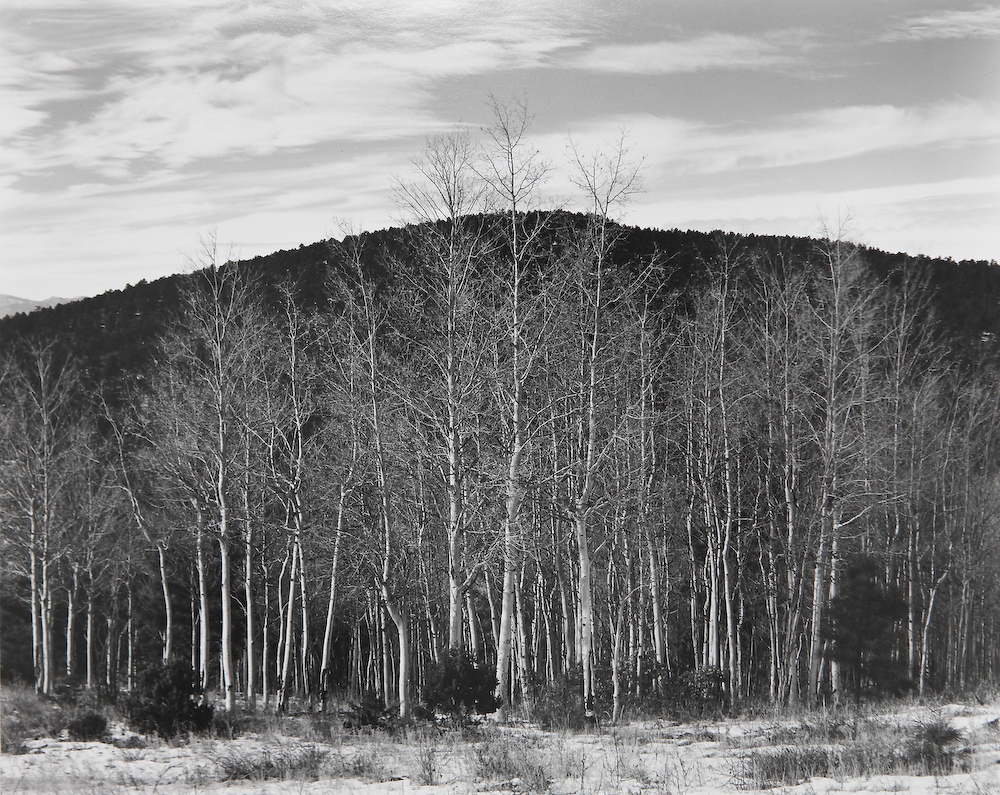
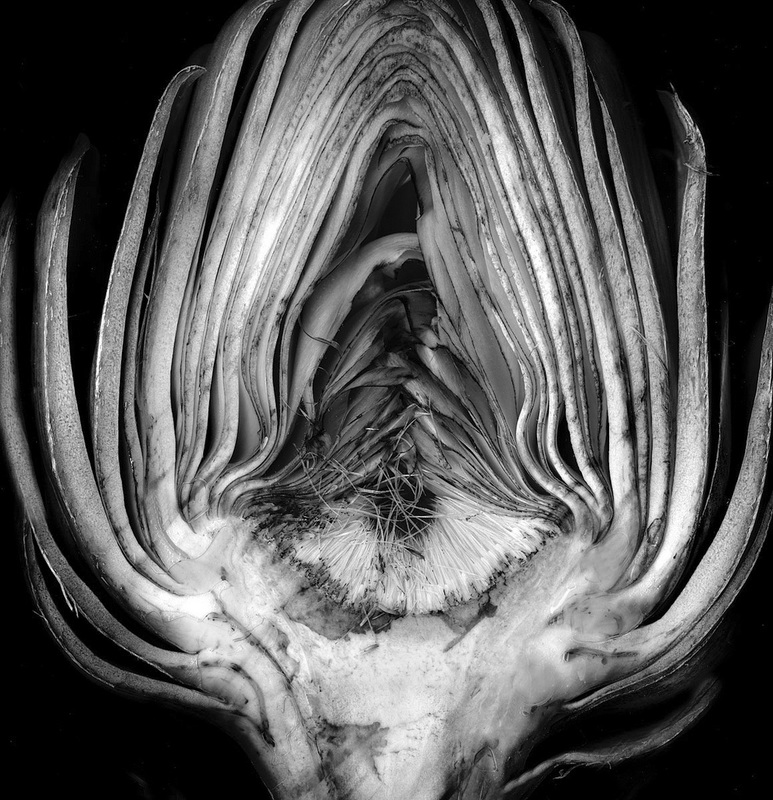
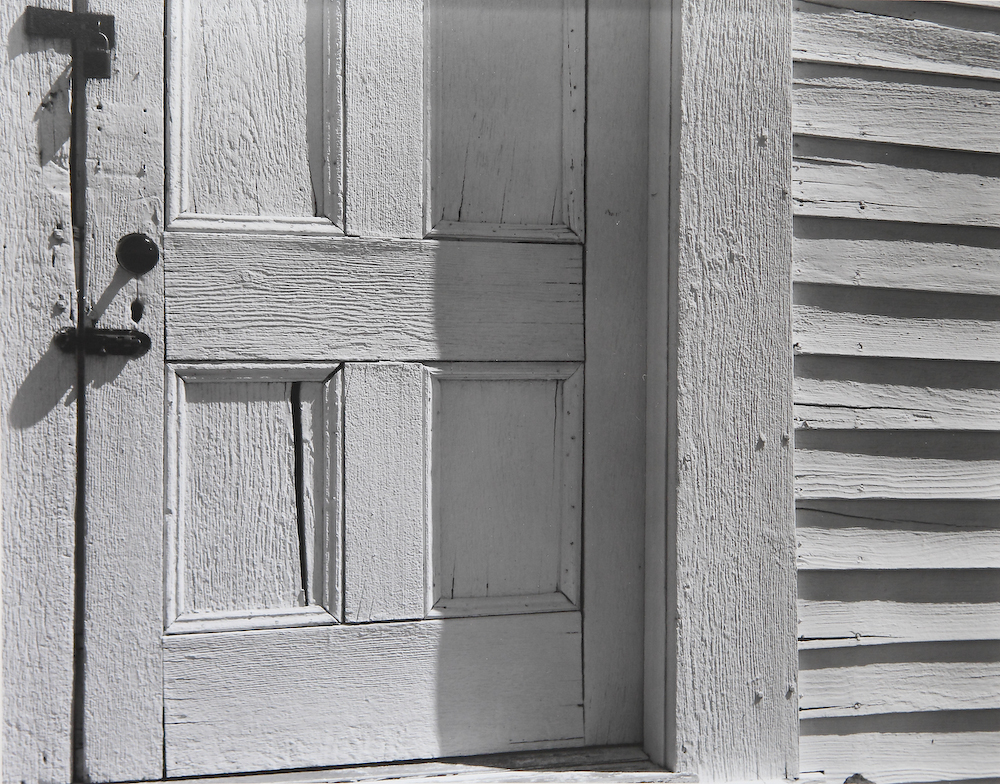
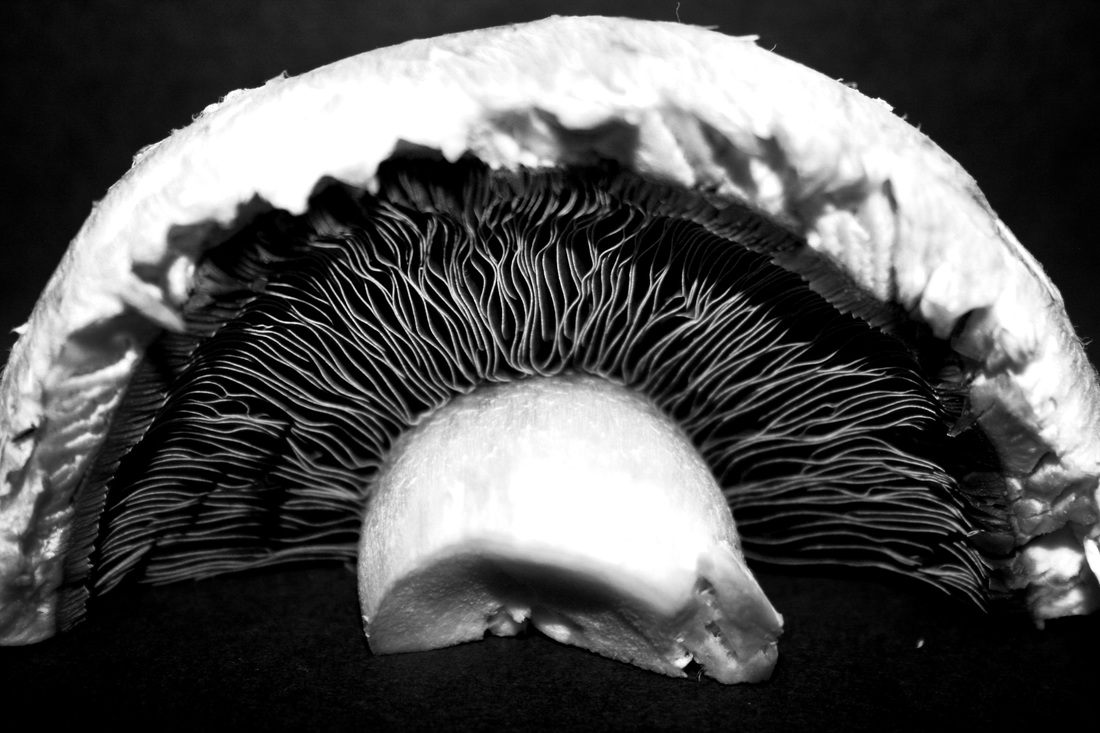
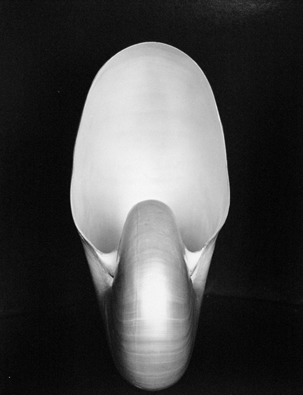
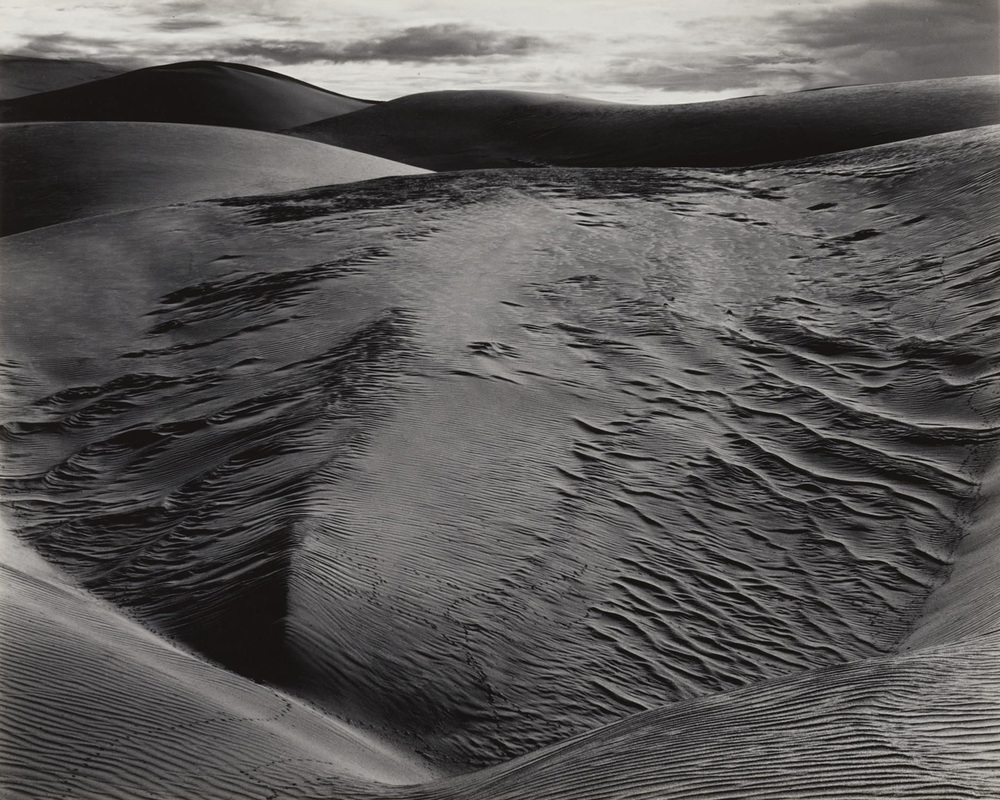
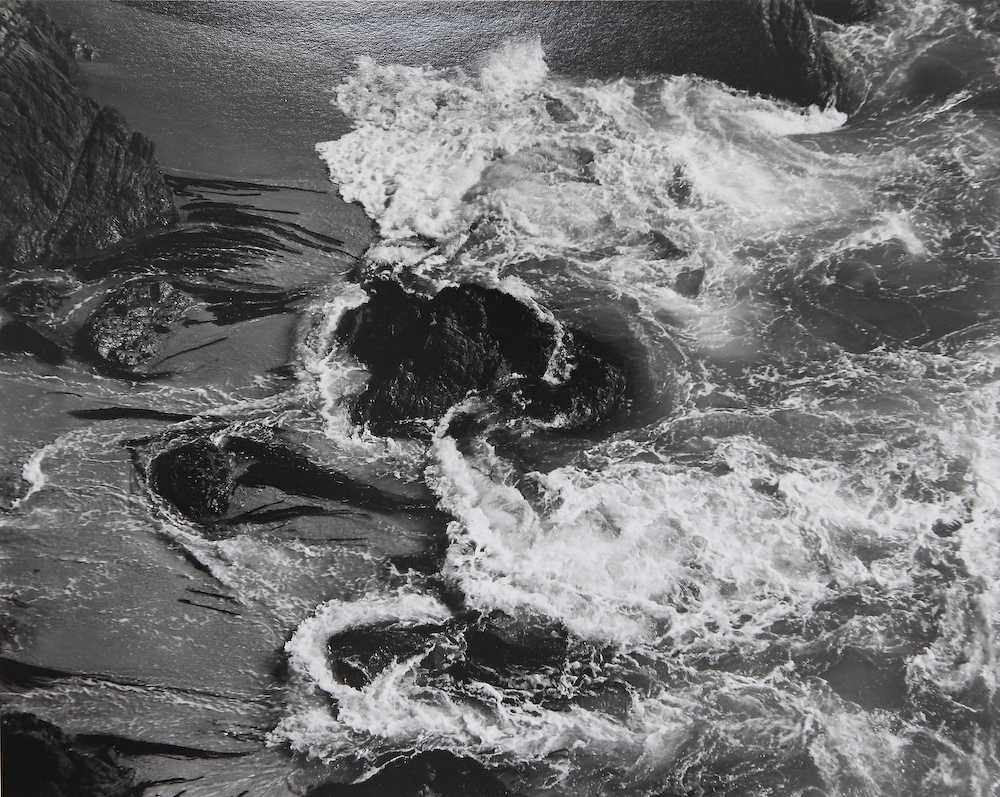
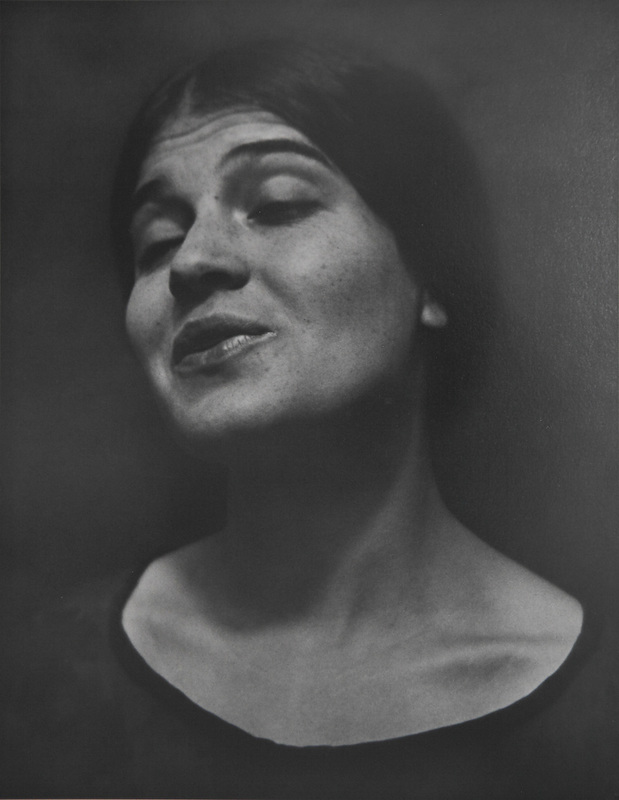
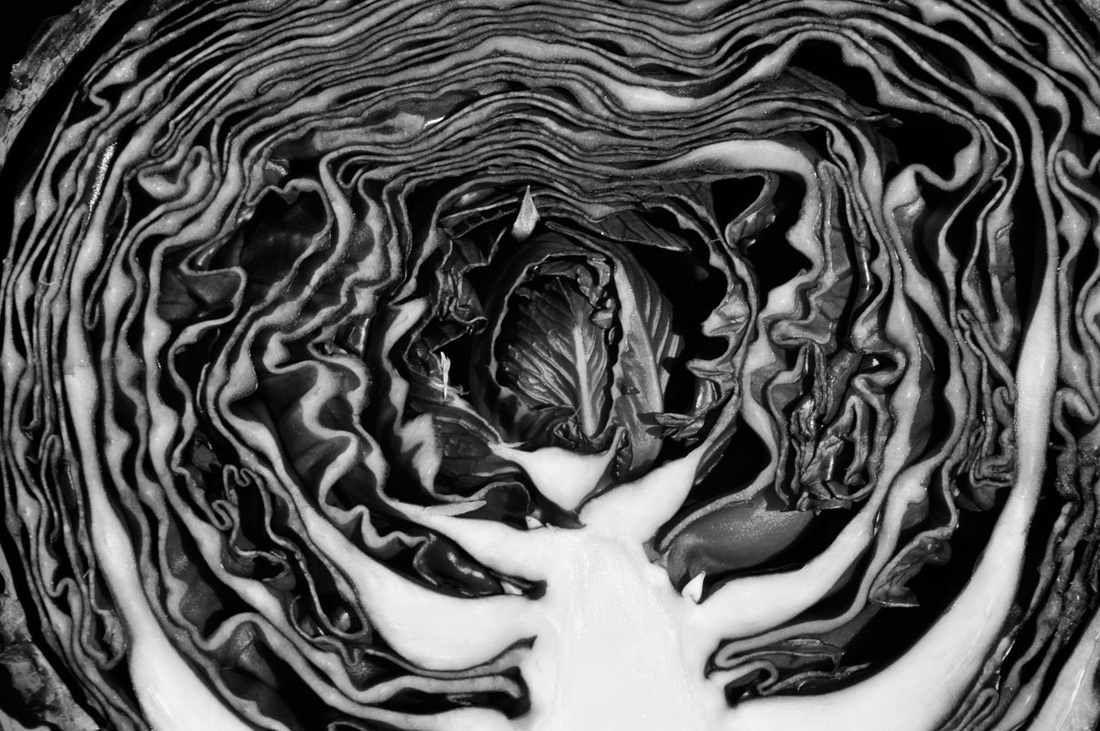
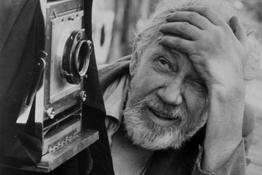
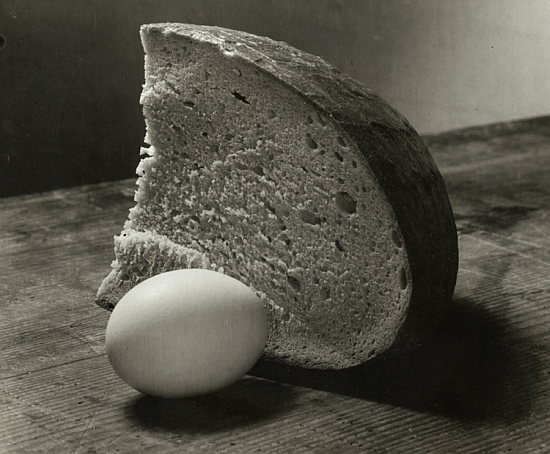
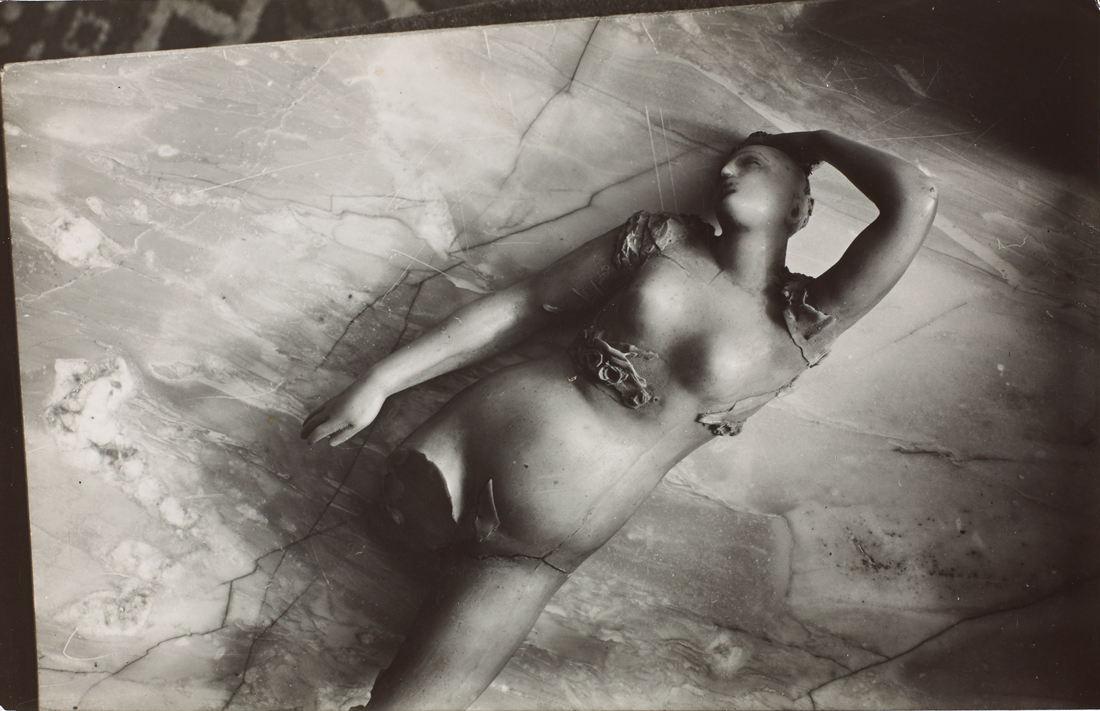
Edward Weston (1886-1958) was a very influential American photographer, and described as 'one of the most innovative and influential American photographers'. In his 40 year photography career, Weston created a wide ranging body of work. Weston photographed a wide range of subjects; these subjects included landscapes, still lives, nudes, portraits and more abstract work. Although initially he was involved in Pictorialism (which involved manipulating images and often softening the photo), he later abandoned this formerly popular style of photography. Edward Weston then become one of the most innovative more realistic and finely detailed and photographers.
|
"The camera should be used for a recording of life, for rendering the very substance and quintessence of the thing itself, whether it be polished steel or palpitating flesh."
- Edward Weston, 1924
- Edward Weston, 1924
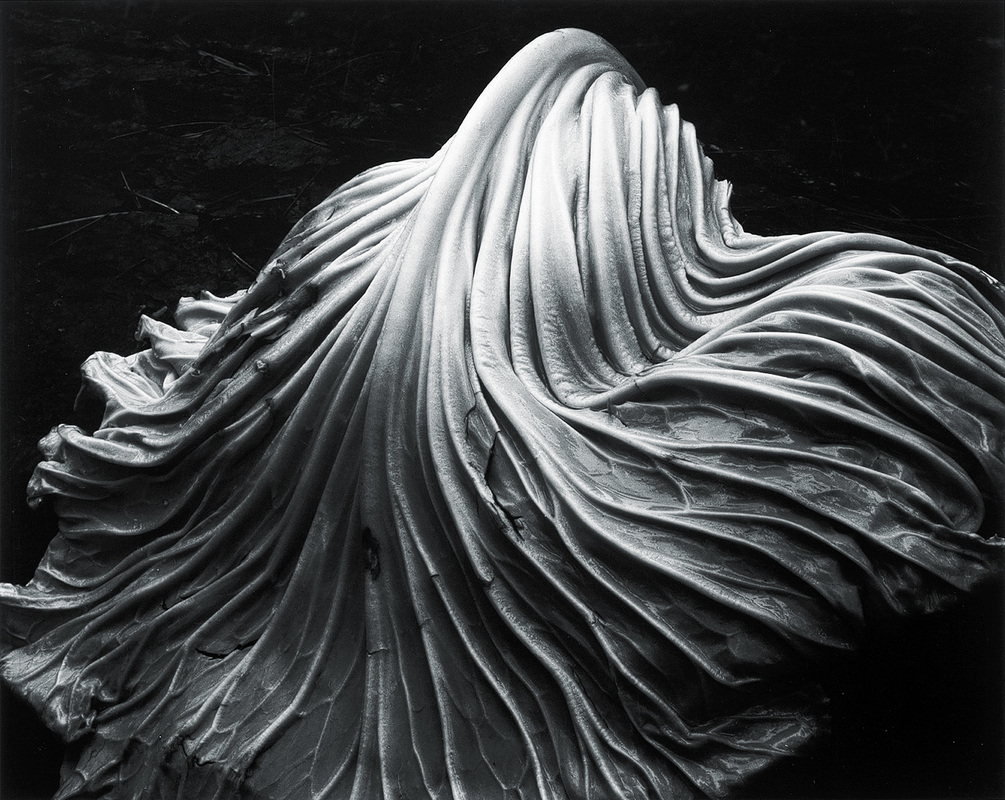
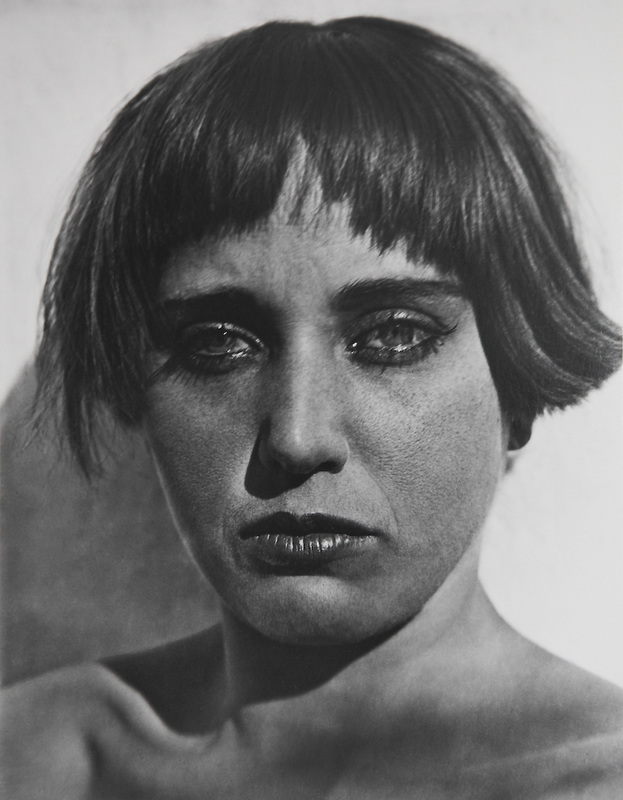
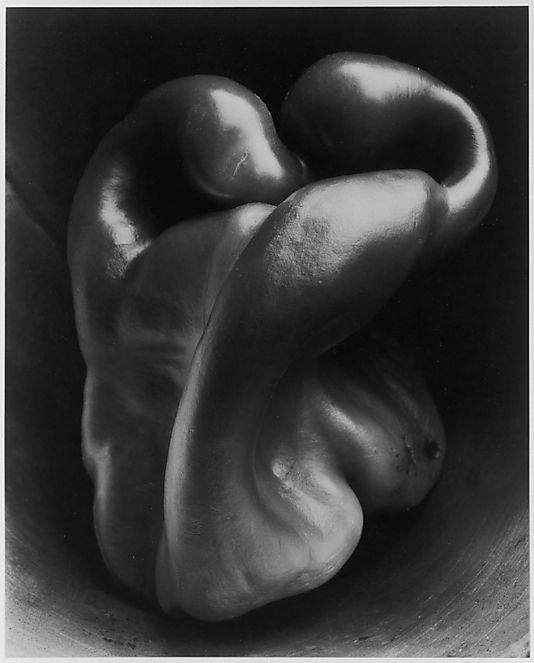
Gallery of Edward Weston's photography

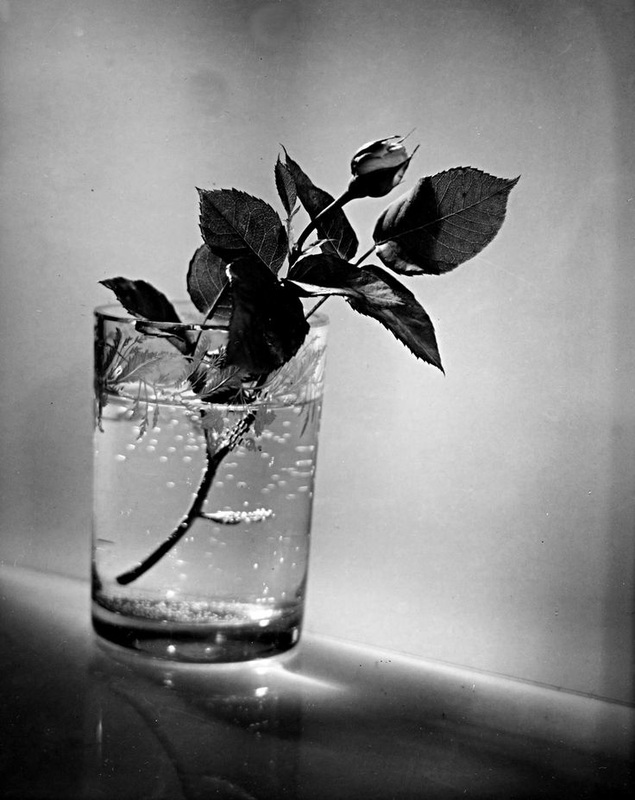
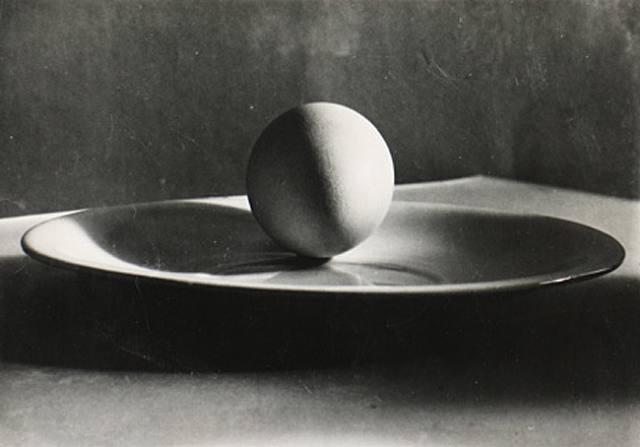
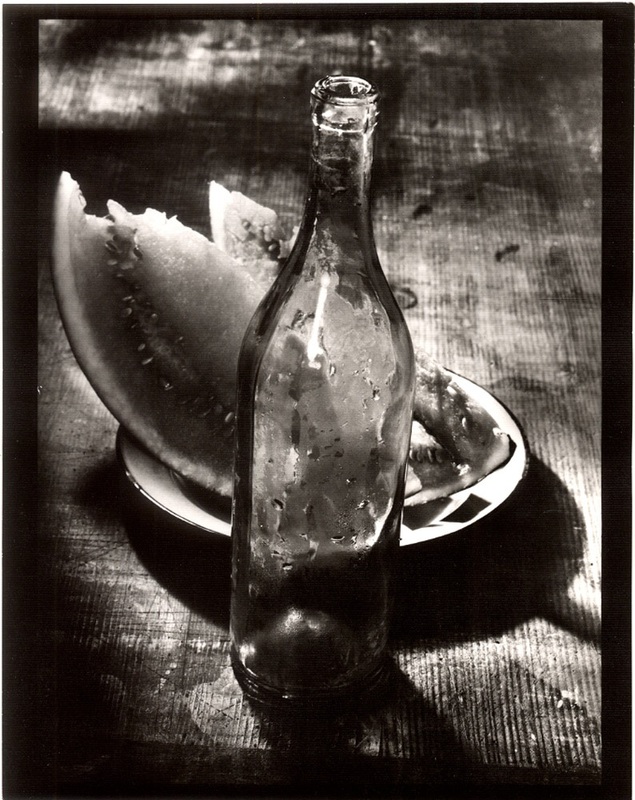
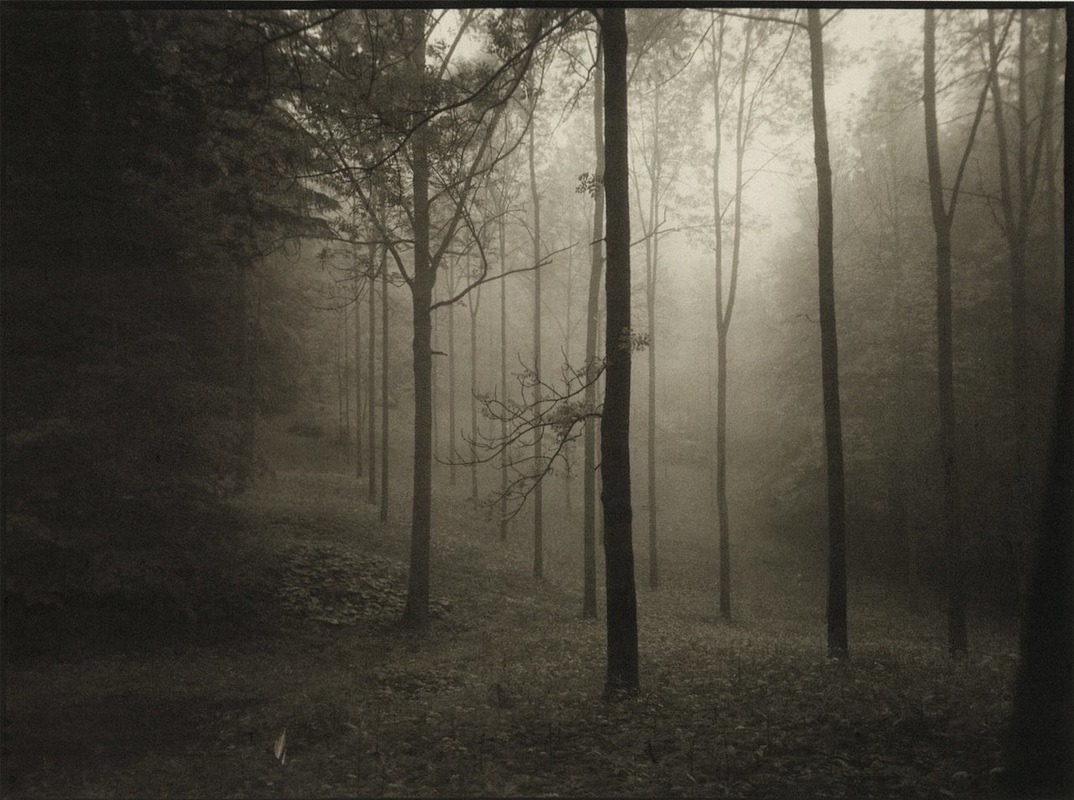
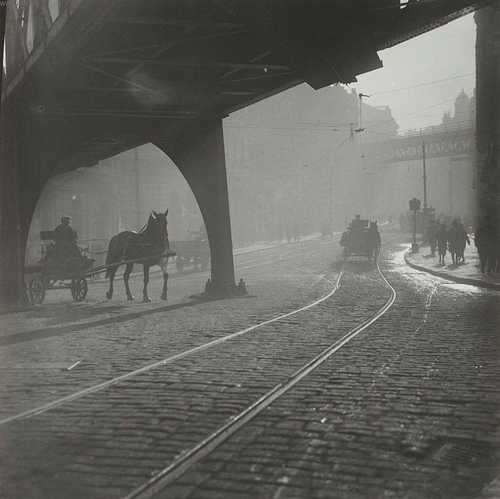
Josef Sudek
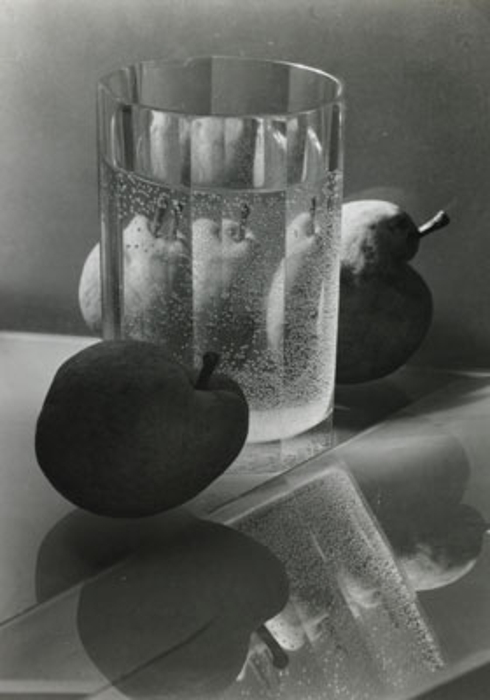
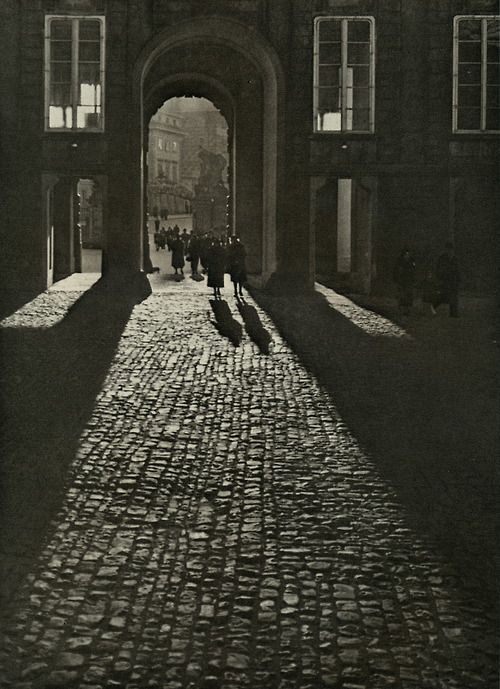
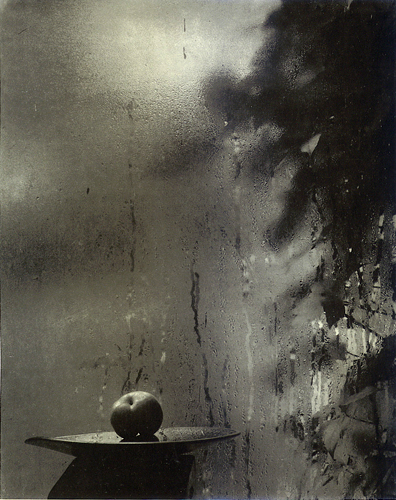
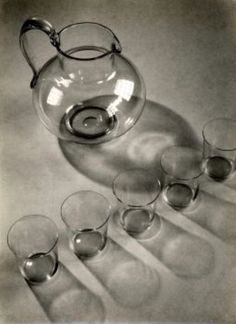
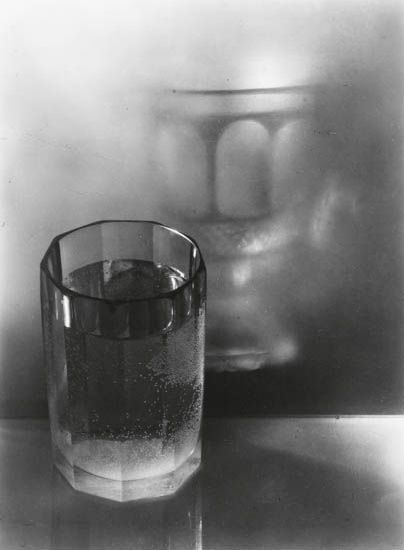
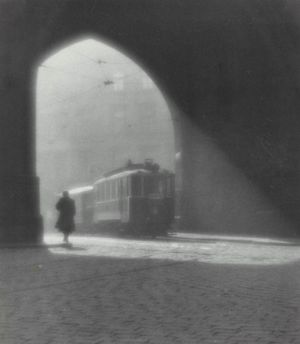
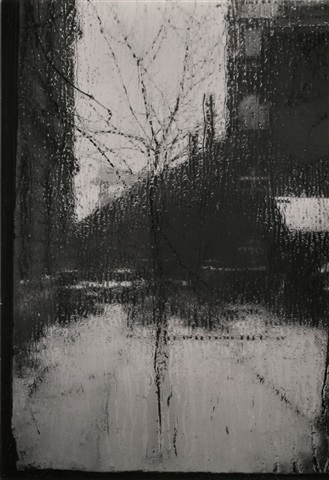
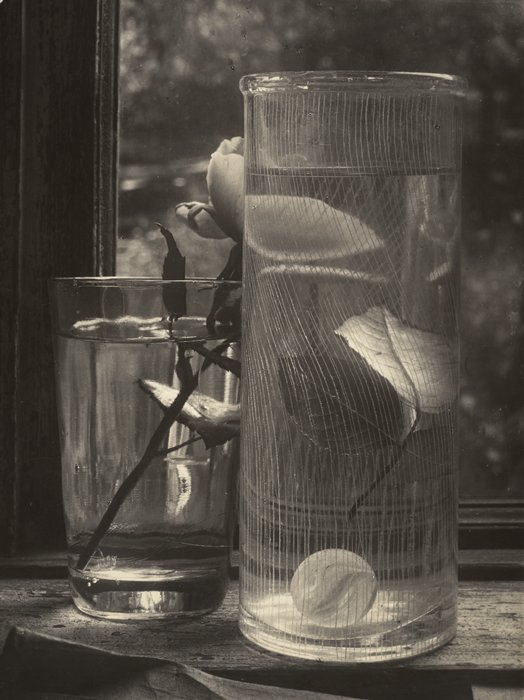
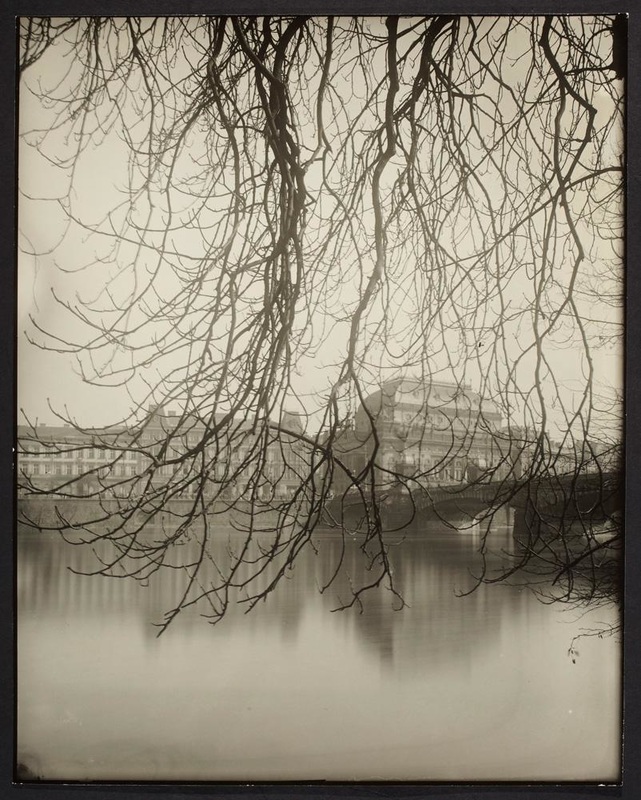
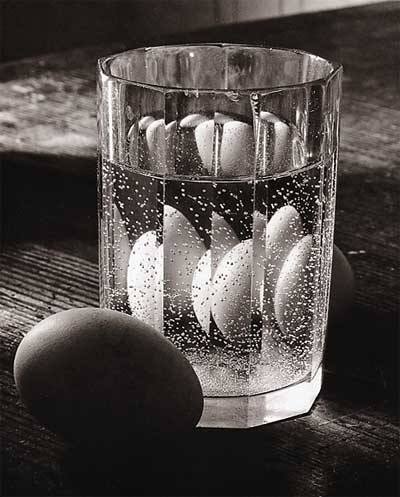
Josef Sudek (1896-1976) was a Czech photographer who was particularly well known for his monochrome landscapes, still lives, interiors and his photographs of Prague. Similarly to Edward Weston, Sudek started photographing in Pictorialist style , but began moving forward and progressing more with his photography, moving away from 'painterly' photography. linking with the 'high fidelity' of the New Objectivity Movement as well as the New Vision Movement, Sudek was particularly focused on the detail and quality of his prints. Josef Sudek also studied under Jaromir Funke, and the inspiration and likeness Sudek took from him was clear. Sudek experimented with lighting to create reflections, shapes and shadows, particularly in still lives - showing similarity to Funke's style, as well as the detail in his photographs.
Gallery of Josef Sudek's photography
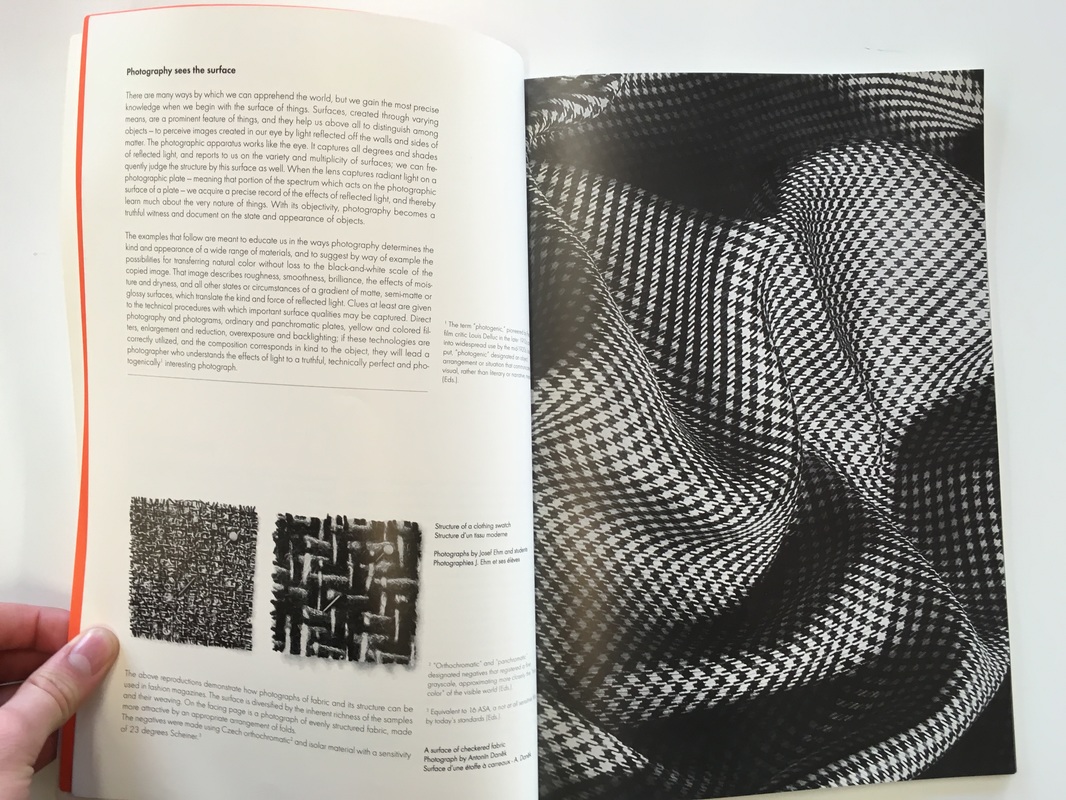
'Photography sees the surface'
|
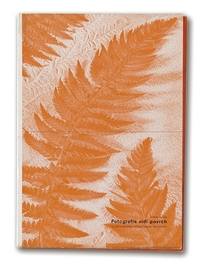
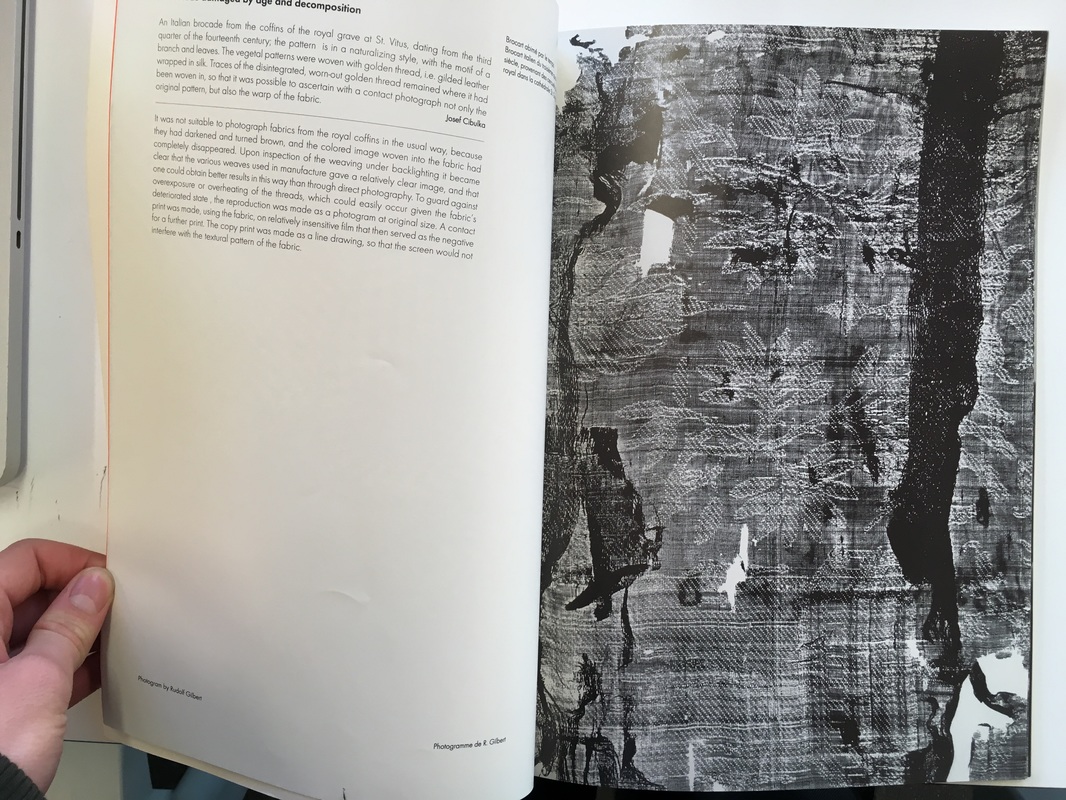
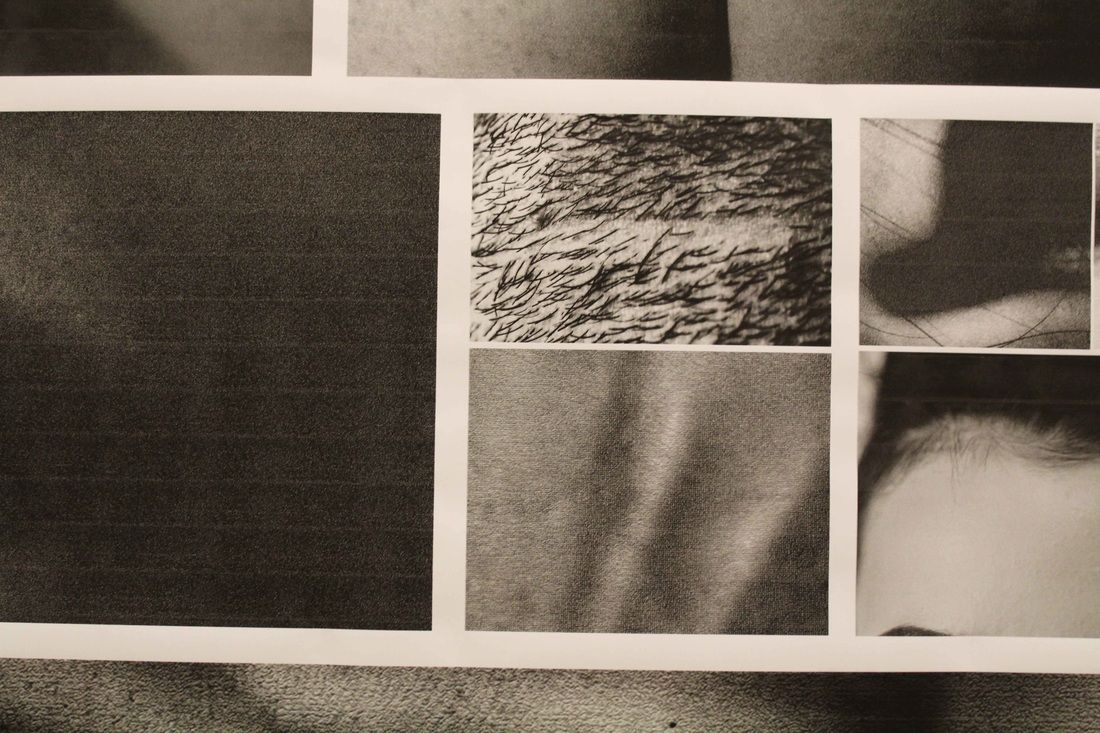
Jaromir Funke collaborated with Ladislav Surnar in 1935, subsequently publishing 'Fotografie vidí povrch' - 'Photography sees the surface'. This book was related to the New Objectivity movement and contained photographs from Funke, and his photography students.
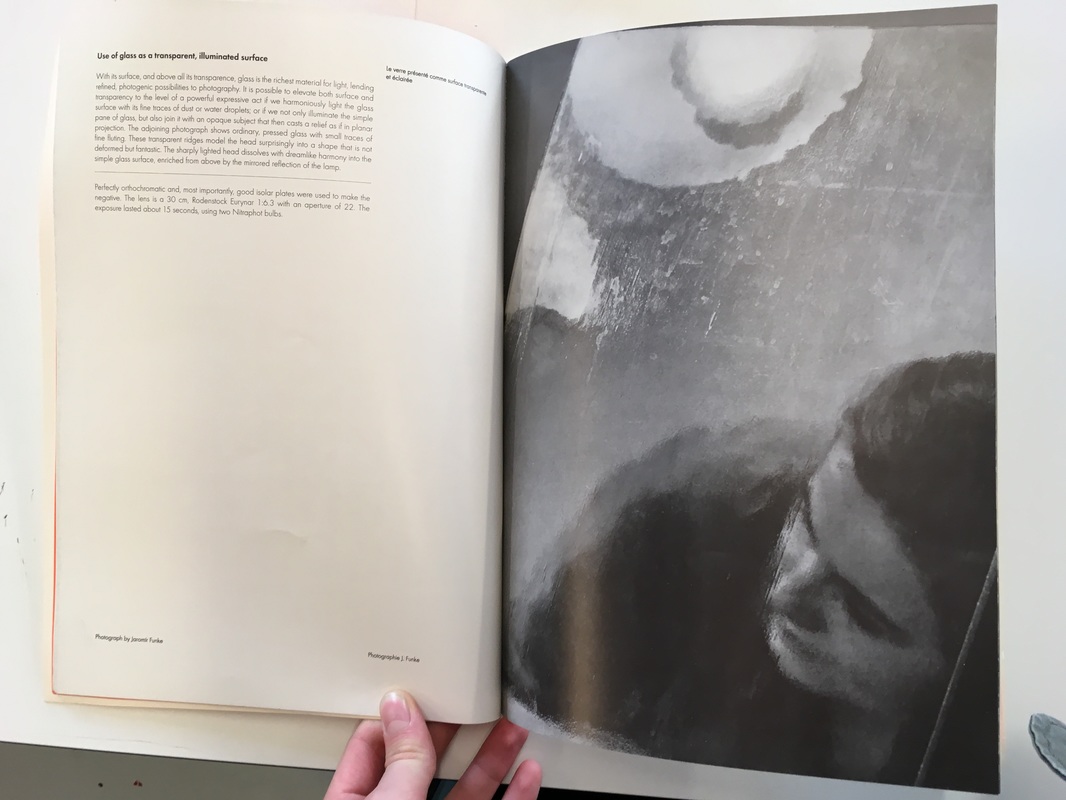
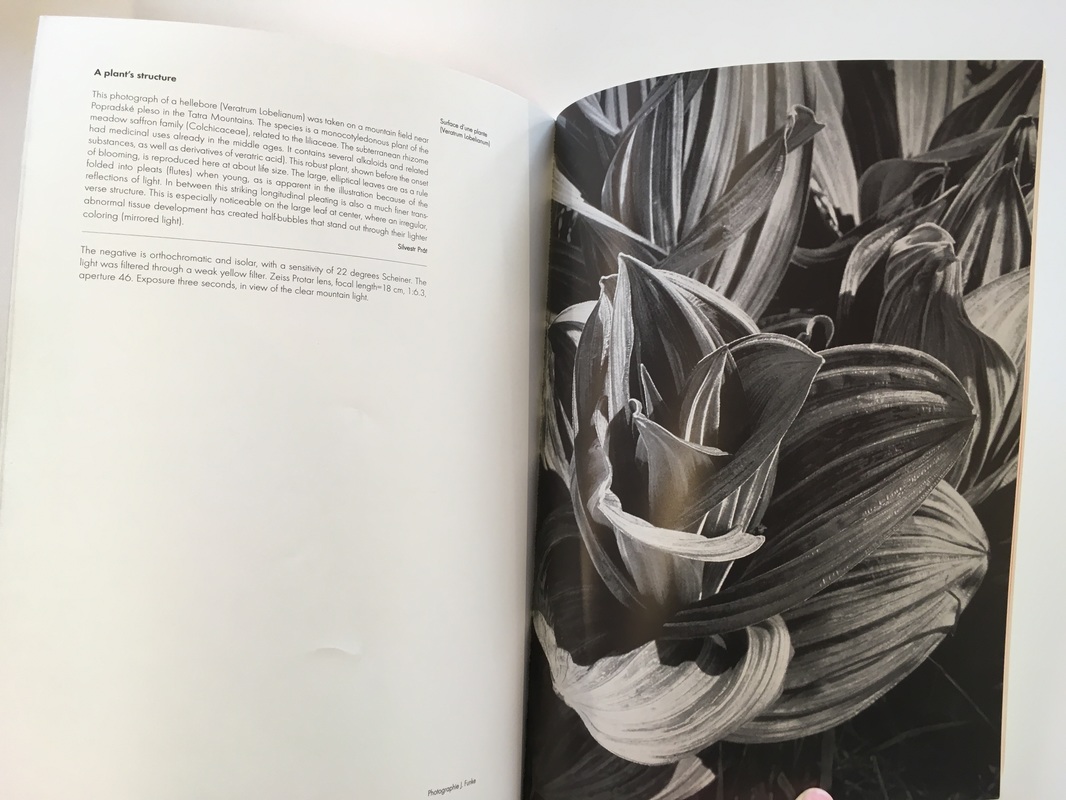
This book focuses on the camera's ability to capture the camera's ability to capture the detailed surface of different objects. The book is instructional, with various notes camera settings beside the photographs. The photographs depict a range of different subjects, surfaces and objects; from the underside of a brazilian butterfly and glass as a transparent illuminated surface to human skin and the structure of a plant. The different types of surfaces and subjects that he photographs can inspire my own response and set of photographs. |
Analysis: Pictorialism vs. New Objectivity/New Vision
Edward J. Steichen
|
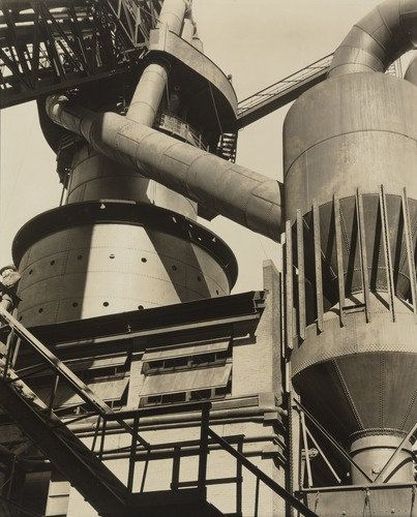
Charles Sheeler
|

My 'Surfaces' Photo Gallery
First set of images
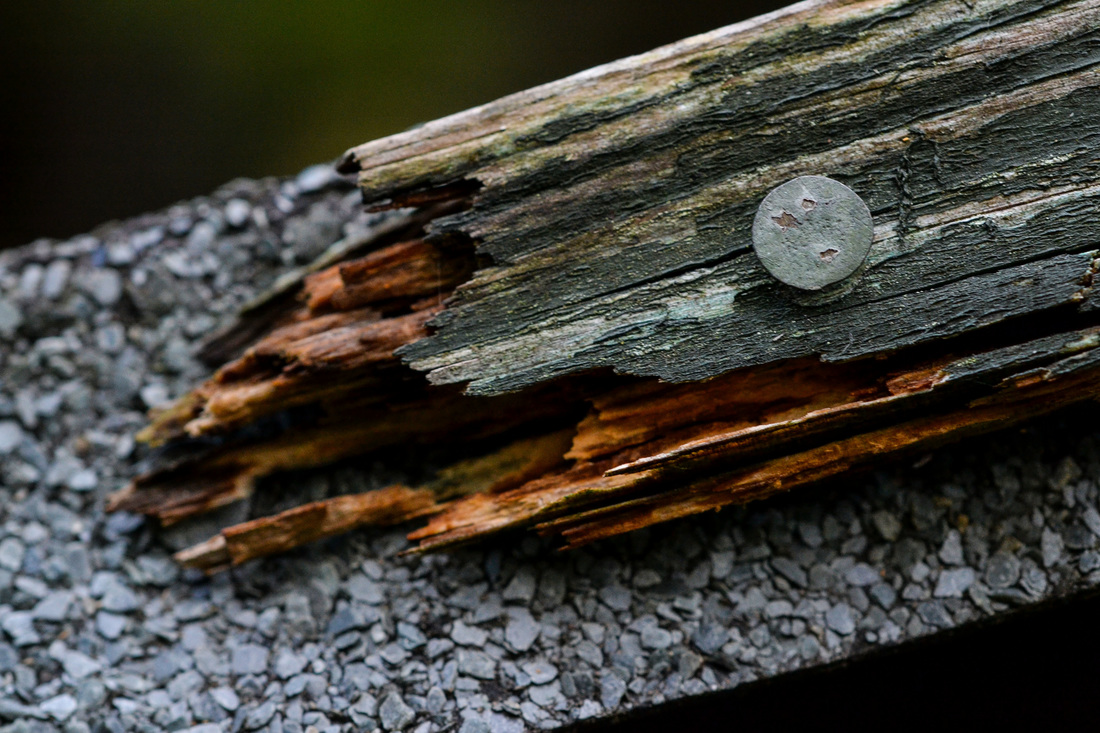
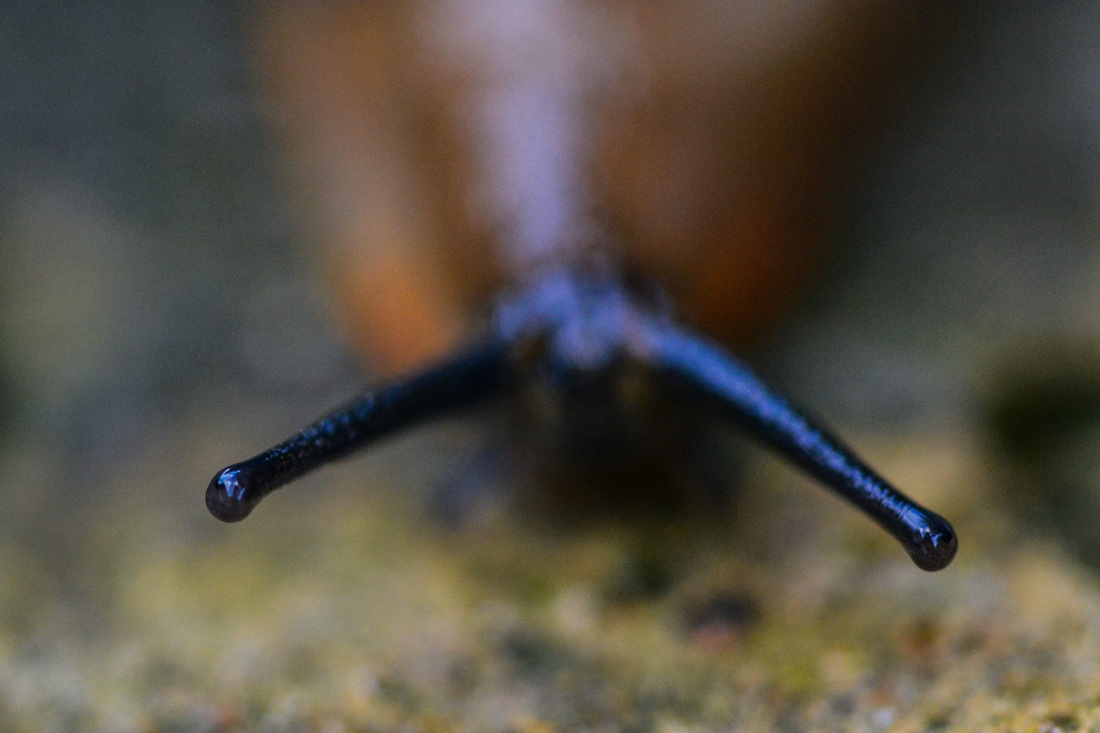
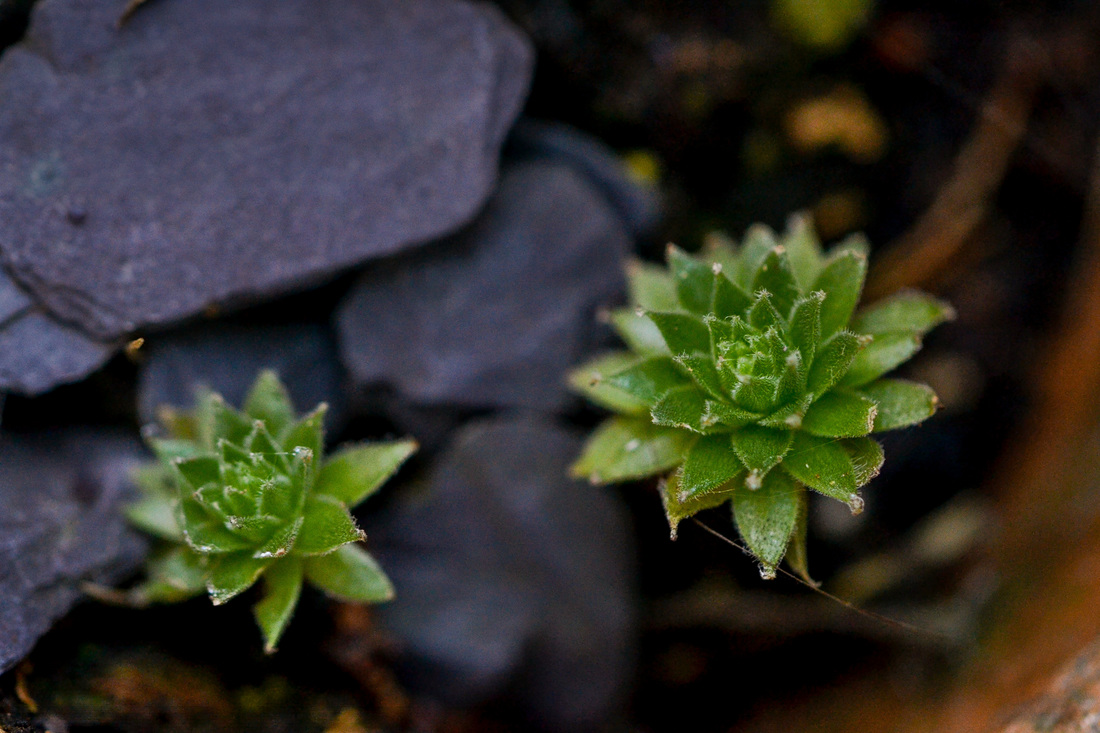
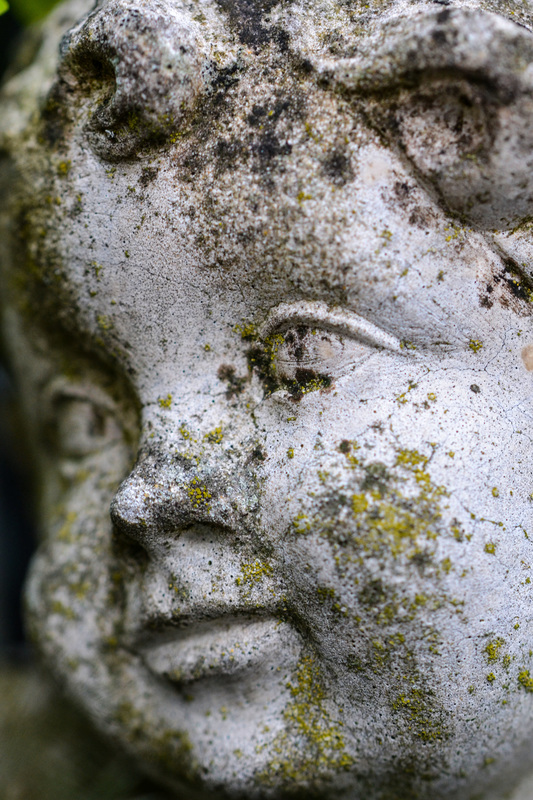
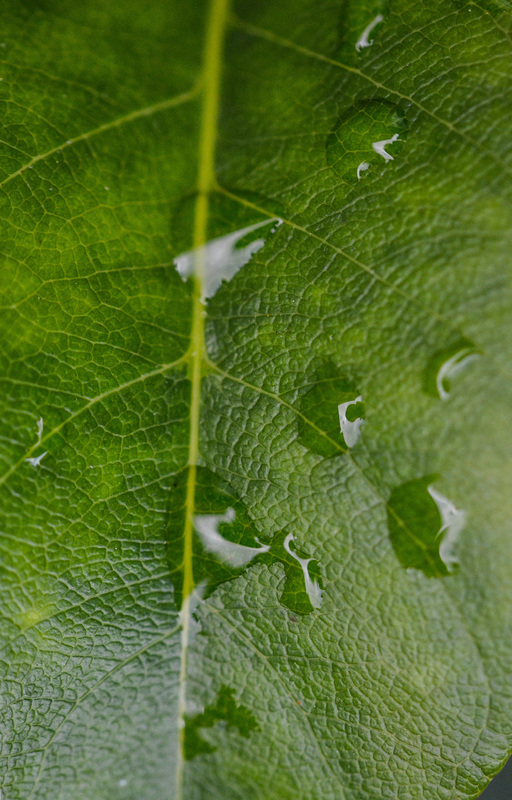
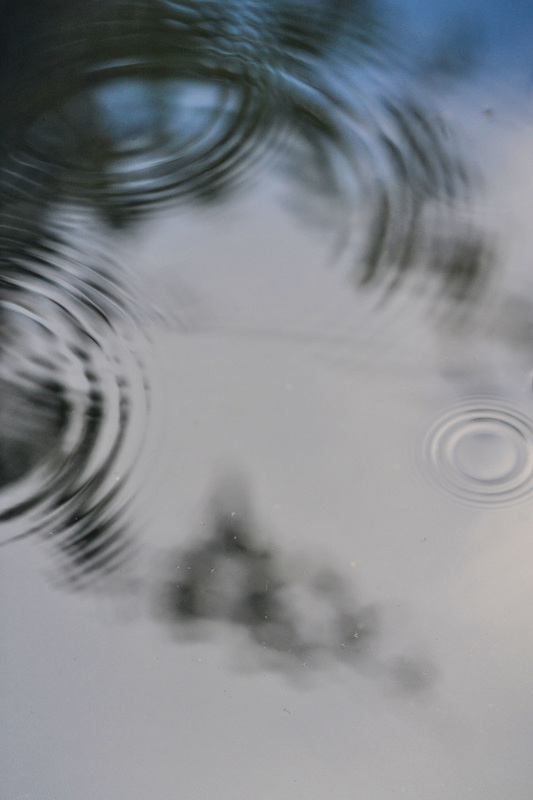
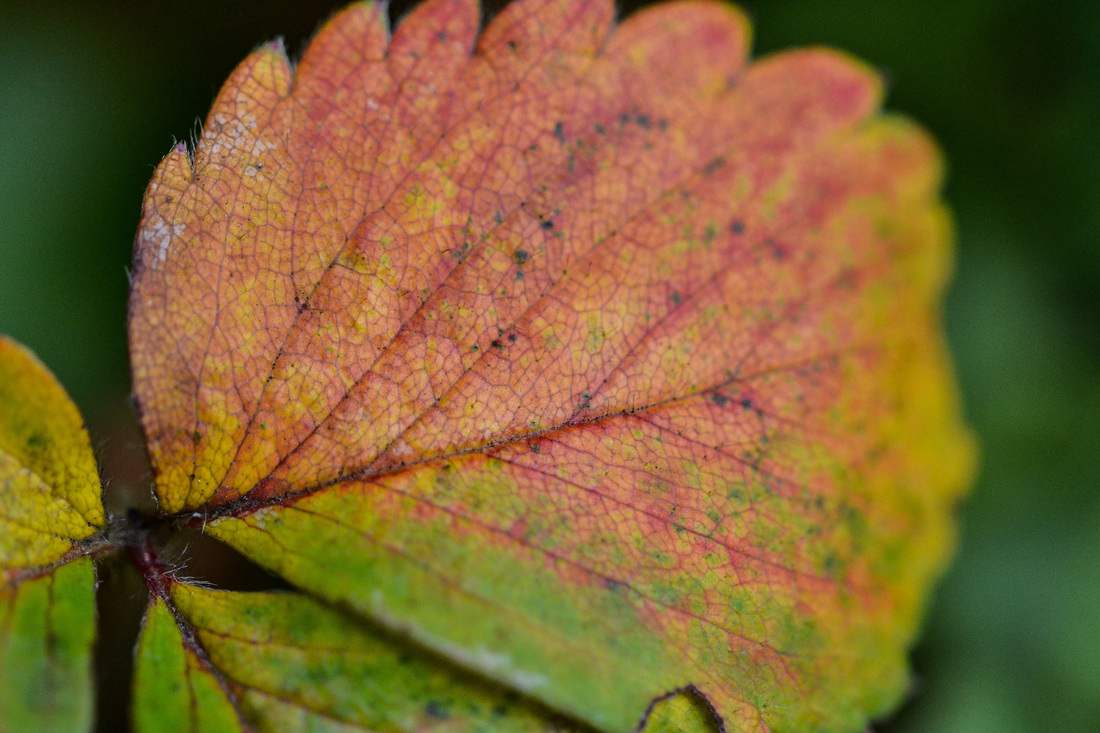
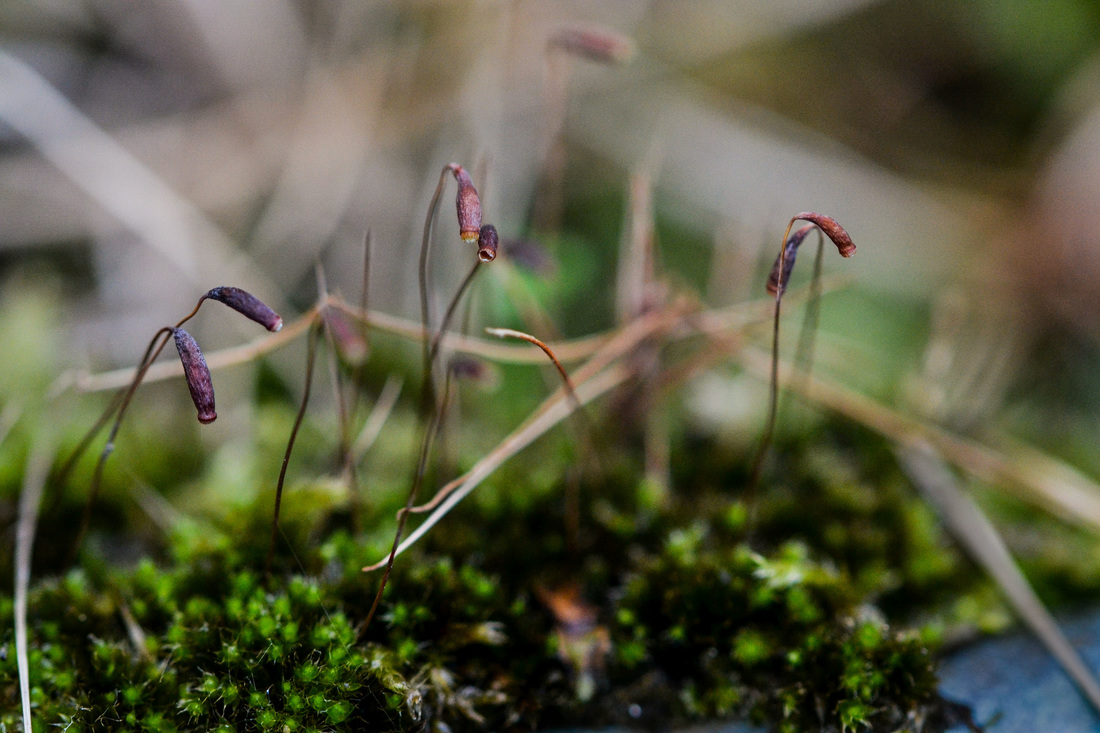
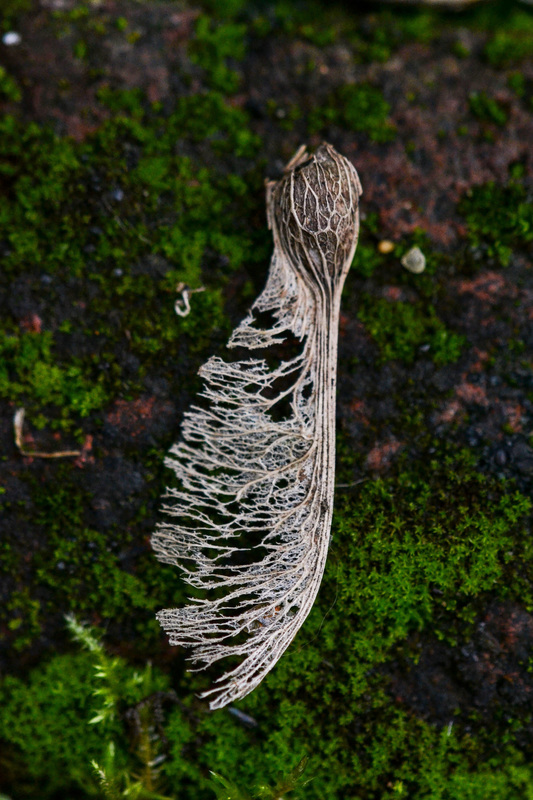
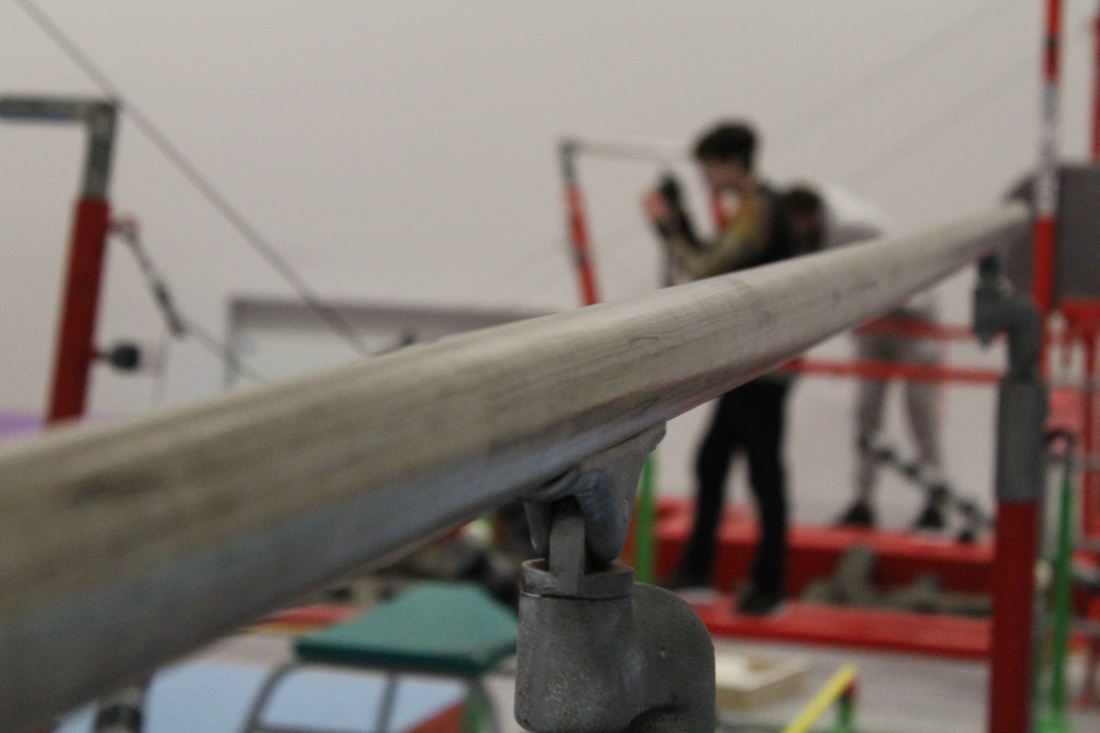
For my first set of images focusing in on the surface of objects, I had to create a list of different subjects, materials, surfaces or objects to photograph. As well as creating a list of different subjects, I also photographed other interesting subjects that I noticed when photographing the list. For this set of images, I used a macro lens. My macro lens can focus very closely, with a very close minimum focusing range. This meant I could get very close to my subjects and capture close-up detail.
I am relatively pleased with the outcome of this first set of images, as I have managed to capture some interesting surfaces. When editing this set of images, I especially focused on brightening and increasing the exposure of these photographs. Often when photographing, I had to underexpose the photographs with relatively fast shutter speeds (in manual settings) to ensure that the photographs were sharp and had no motion blur (caused by slow shutter speeds); as it was quite gloomy and cloudy at the time - the light wasn't great. I think these photographs work quite well as a set, however I could have included a wider variety of subjects. Also, as we were using the New Vision and New Objectivity movements especially as inspiration which we could interpret, I could have used smaller apertures so that there was a wider depth of field - a common feature of the movements we studied. However, this requires longer shutter speeds (due to less light hitting the censor at smaller apertures - which may have required a tripod to ensure there was no motion blur in the images). However, I had to use wide apertures to ensure the images were sharp, and depth of field is shallower when using longer or telephoto lenses (I used a a telephoto 105mm lens for these photos, creating a shallower depth of field compared to more wide angle lenses).
I am relatively pleased with the outcome of this first set of images, as I have managed to capture some interesting surfaces. When editing this set of images, I especially focused on brightening and increasing the exposure of these photographs. Often when photographing, I had to underexpose the photographs with relatively fast shutter speeds (in manual settings) to ensure that the photographs were sharp and had no motion blur (caused by slow shutter speeds); as it was quite gloomy and cloudy at the time - the light wasn't great. I think these photographs work quite well as a set, however I could have included a wider variety of subjects. Also, as we were using the New Vision and New Objectivity movements especially as inspiration which we could interpret, I could have used smaller apertures so that there was a wider depth of field - a common feature of the movements we studied. However, this requires longer shutter speeds (due to less light hitting the censor at smaller apertures - which may have required a tripod to ensure there was no motion blur in the images). However, I had to use wide apertures to ensure the images were sharp, and depth of field is shallower when using longer or telephoto lenses (I used a a telephoto 105mm lens for these photos, creating a shallower depth of field compared to more wide angle lenses).
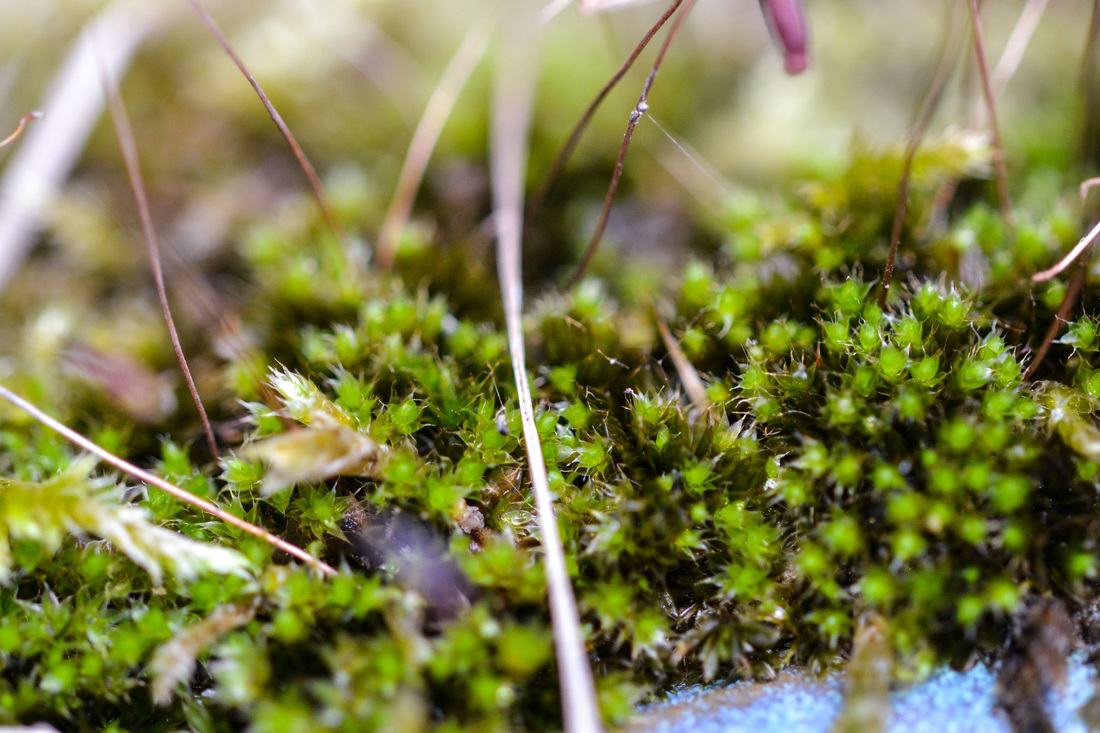
Moss |
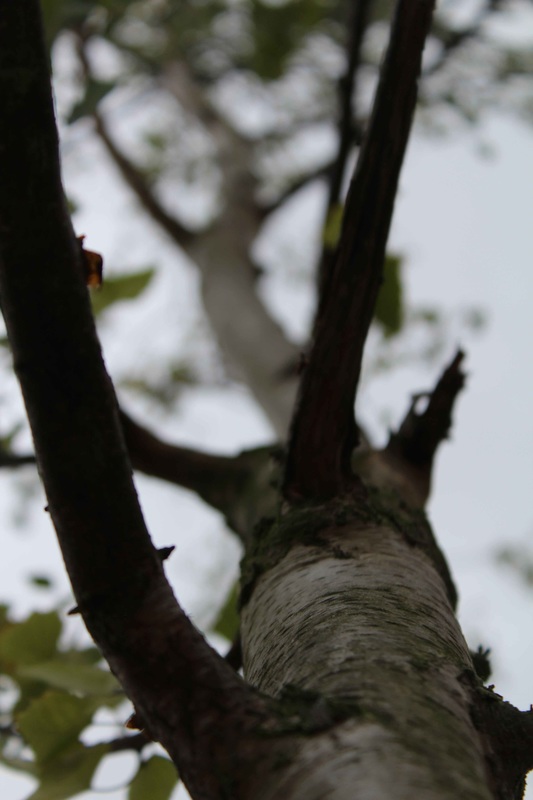
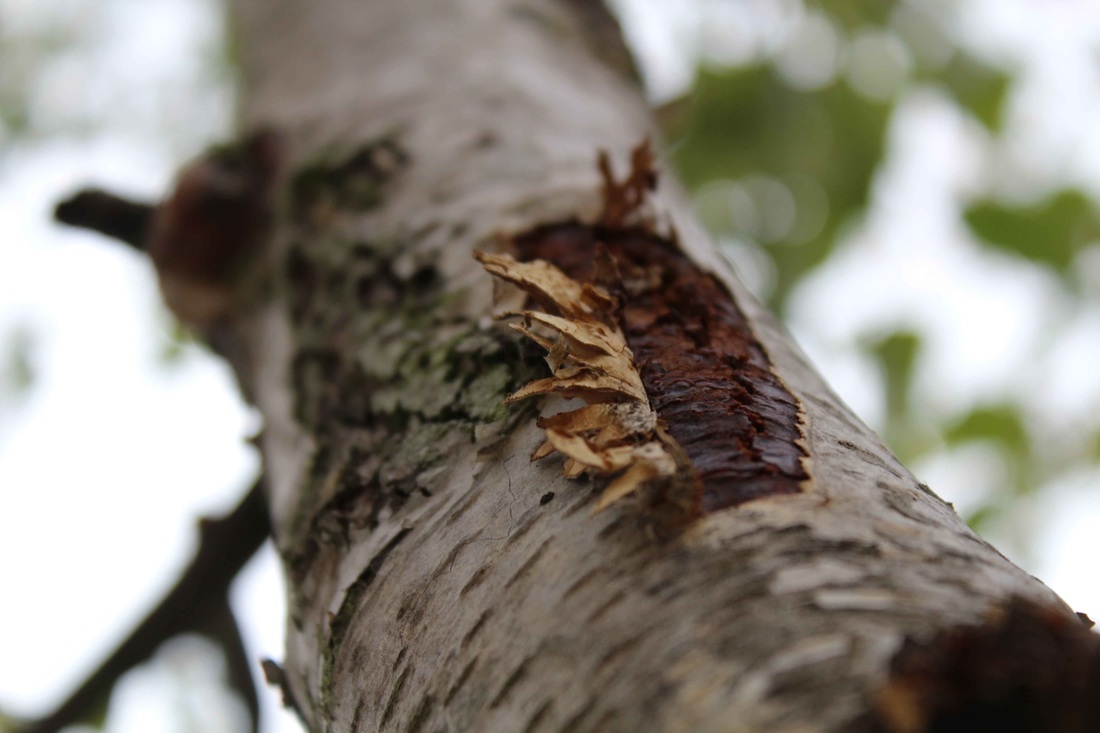
Wood Splinters |
Snail |
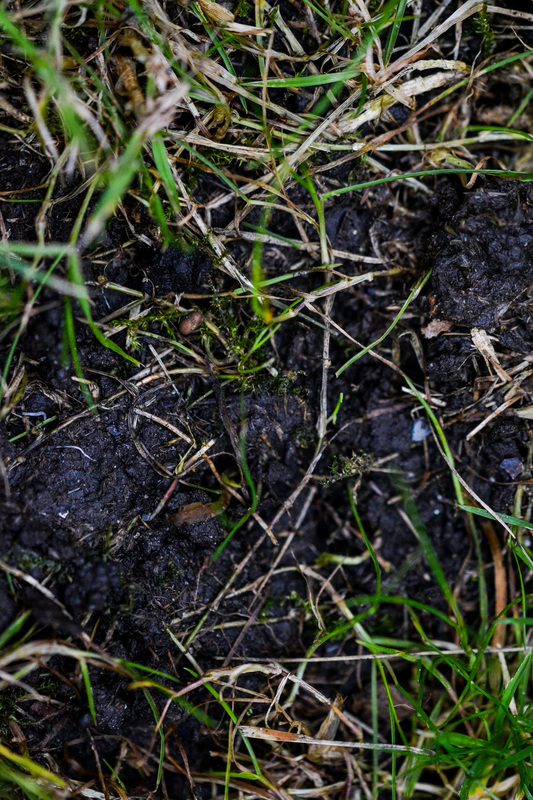
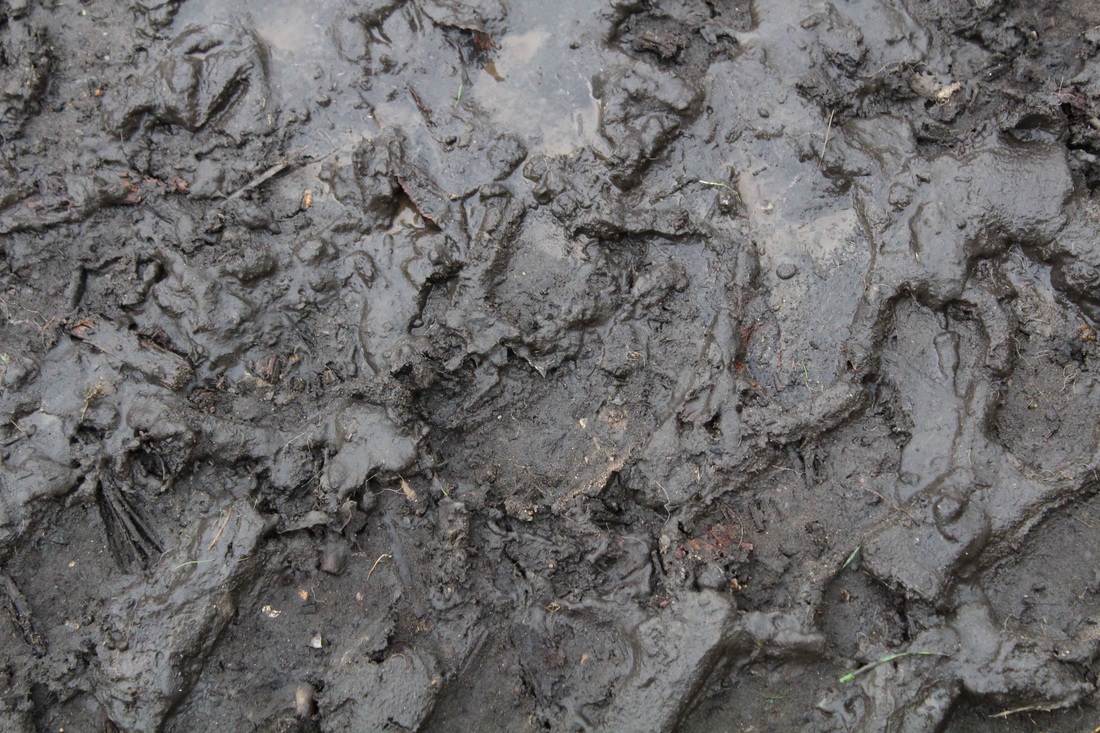
Grass and Earth |
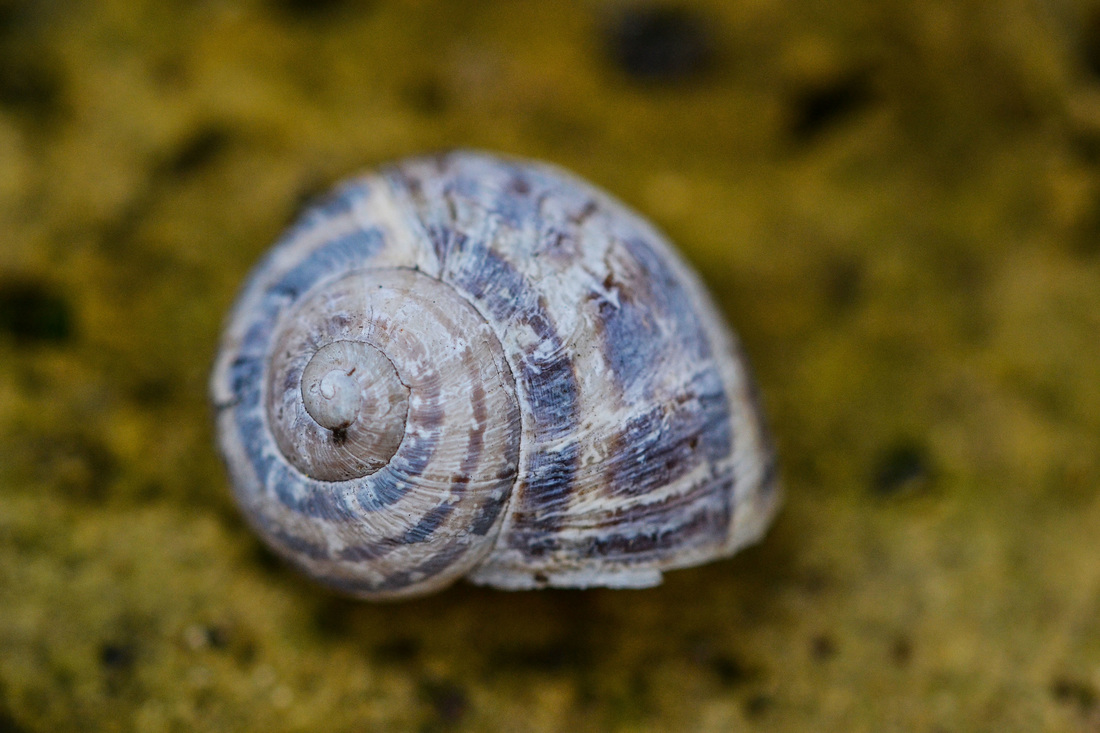
Shell |
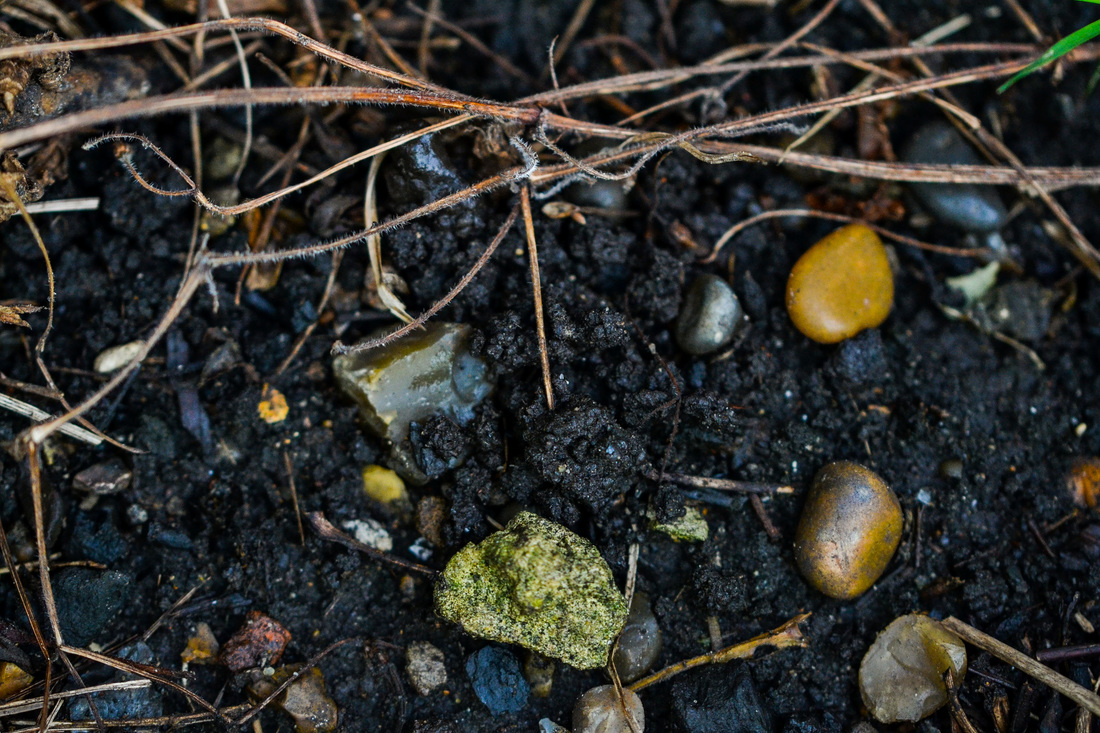
Soil |
Succulent Plants |
Sculpture |
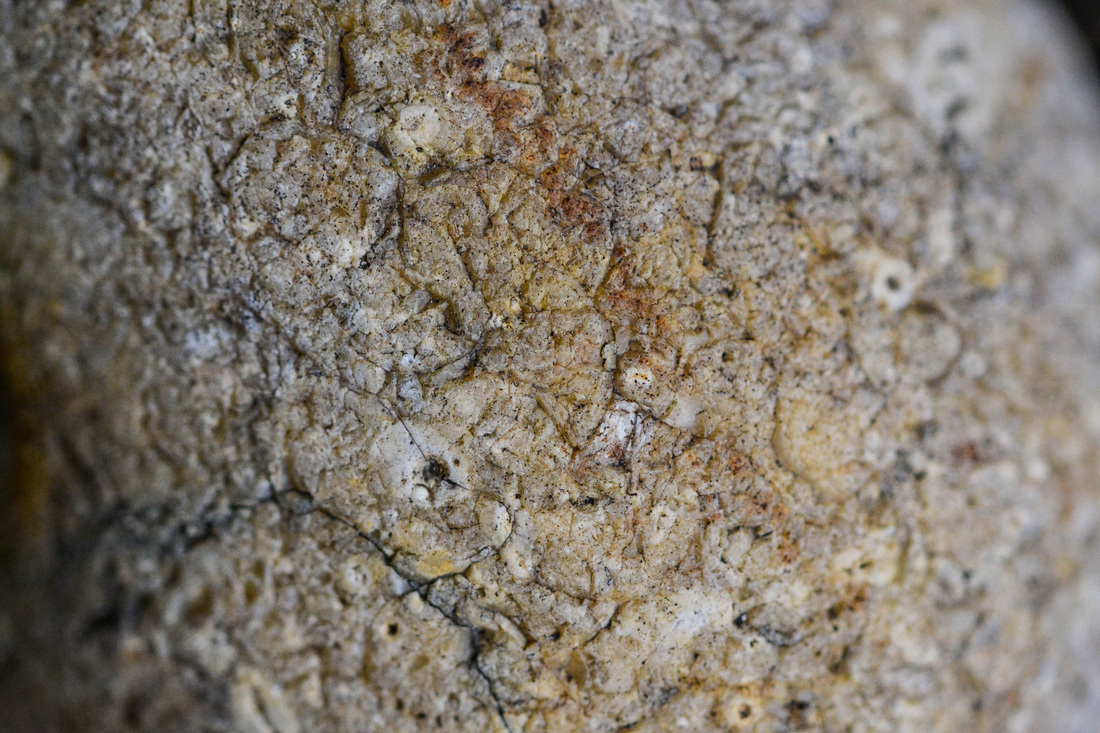
Pebble |
Water Droplets |
Water Ripples |
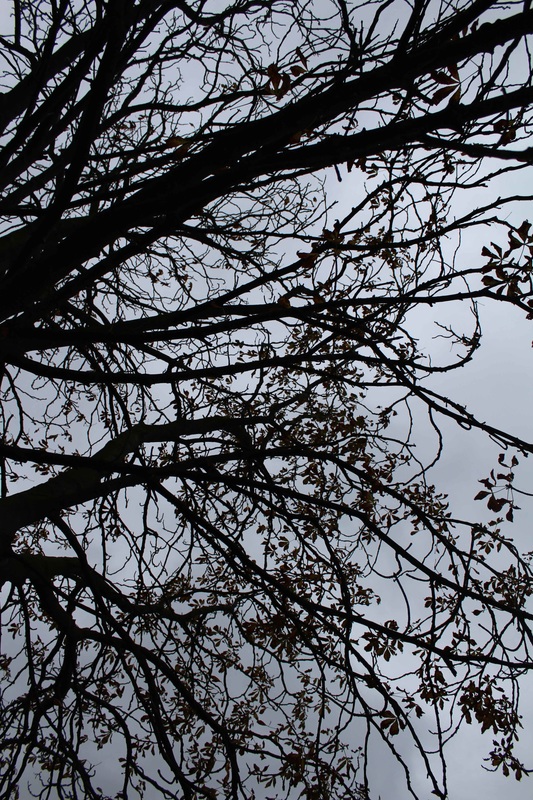
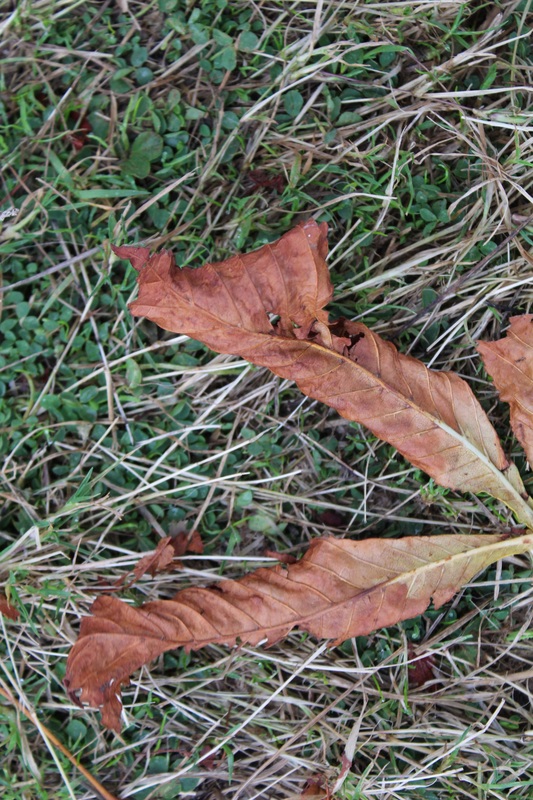
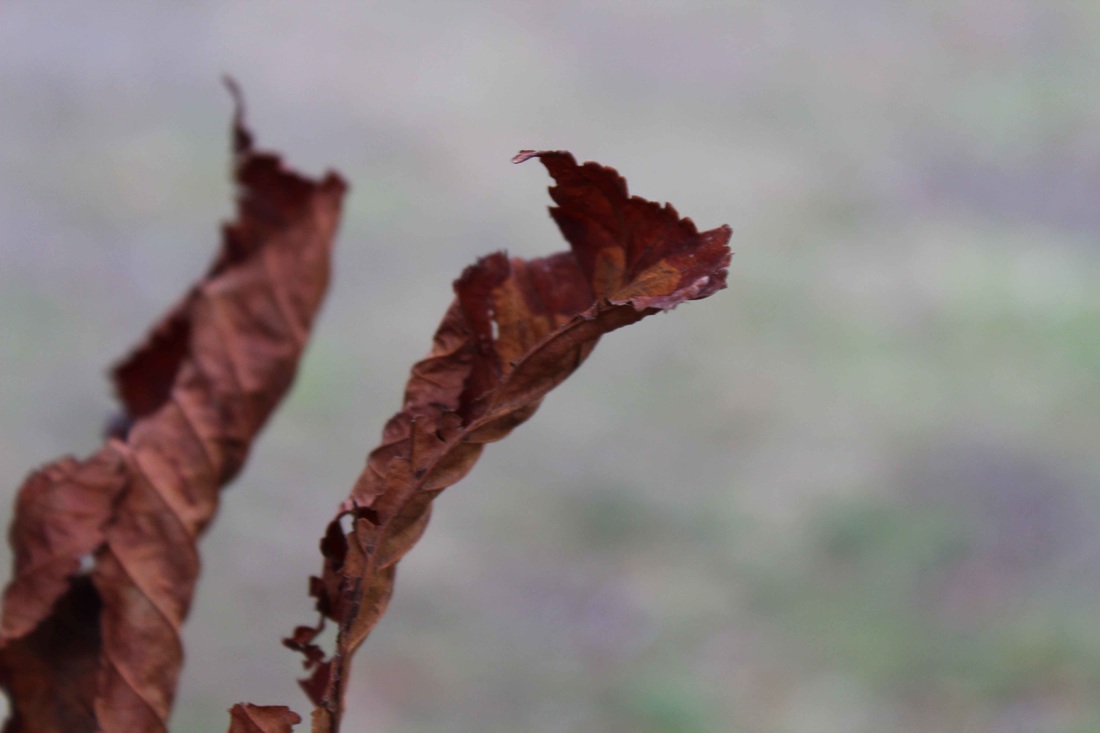
Leaf |

Poppy Head |
Flower Heads |
Leaf Skeleton |
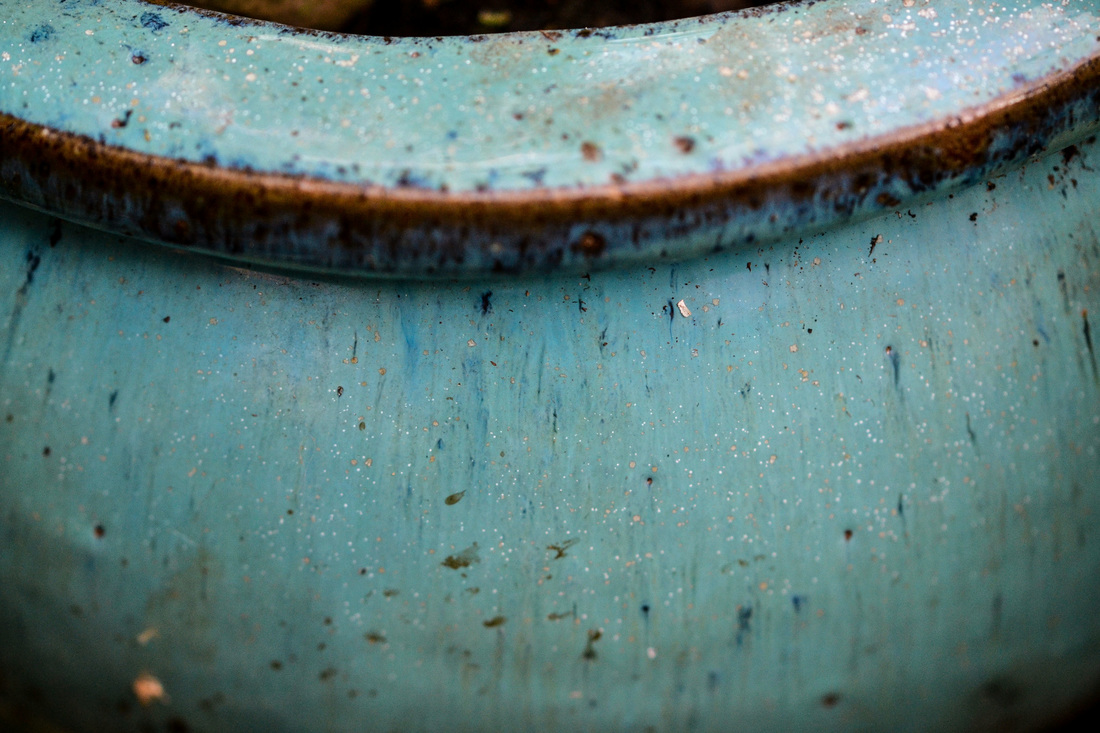
Plant Pot |
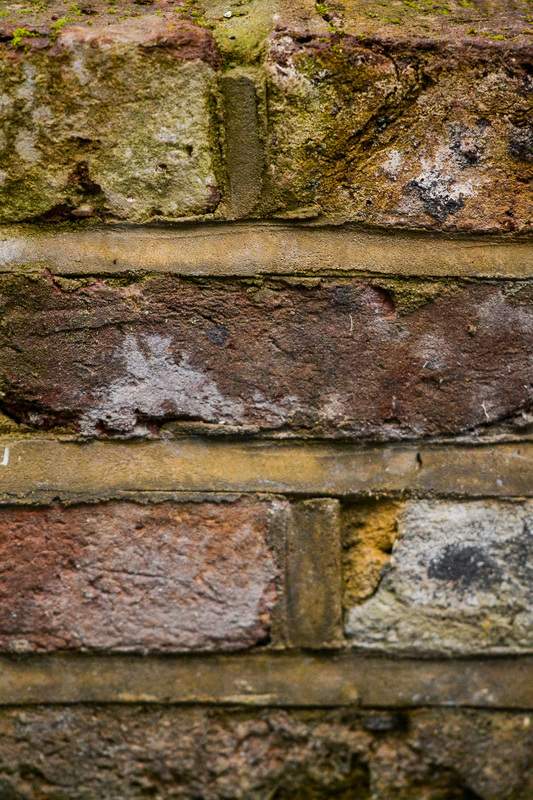

Bricks |
Fingerprint |
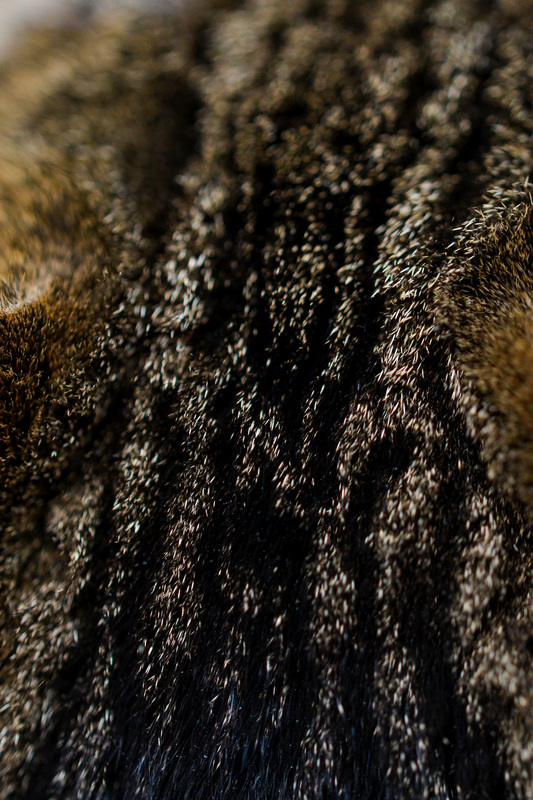
Cat's Fur |
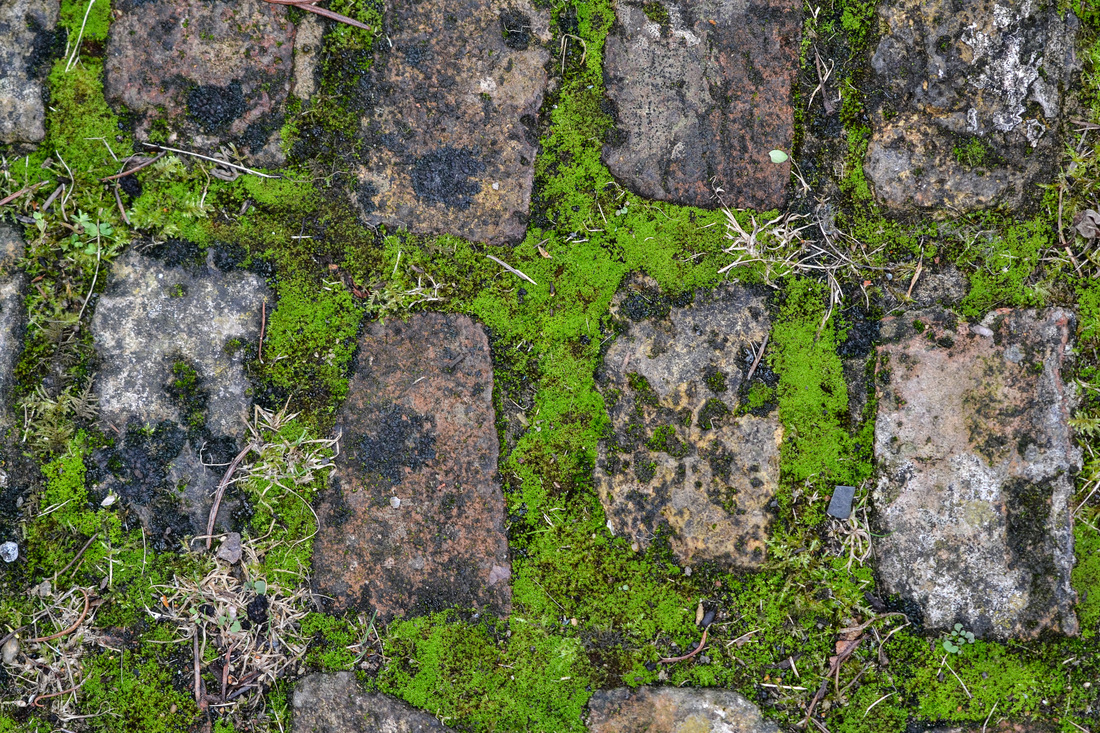
Cobblestones |
Second set of images
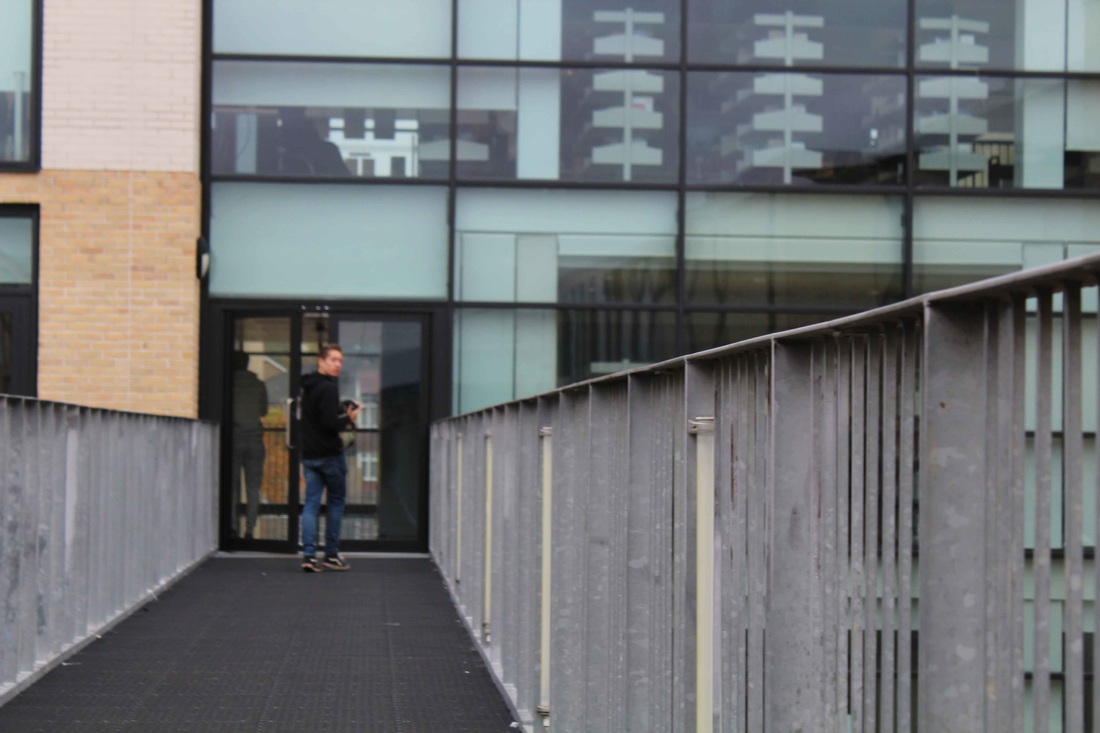
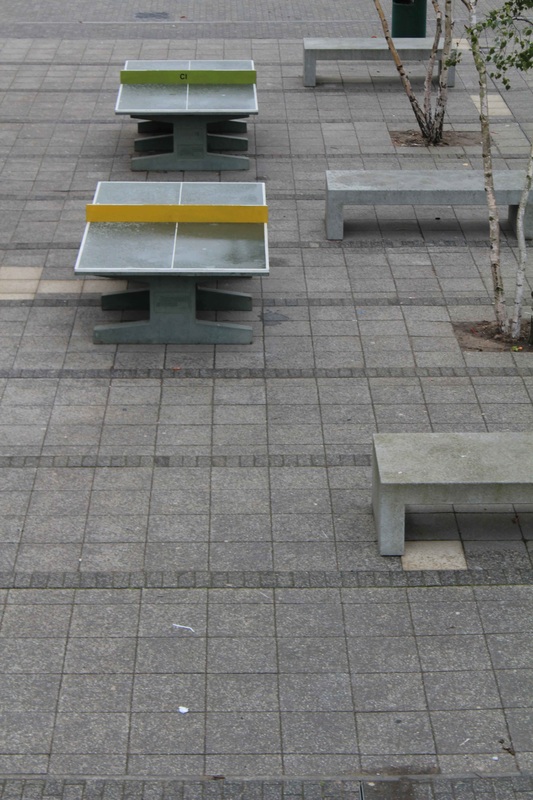
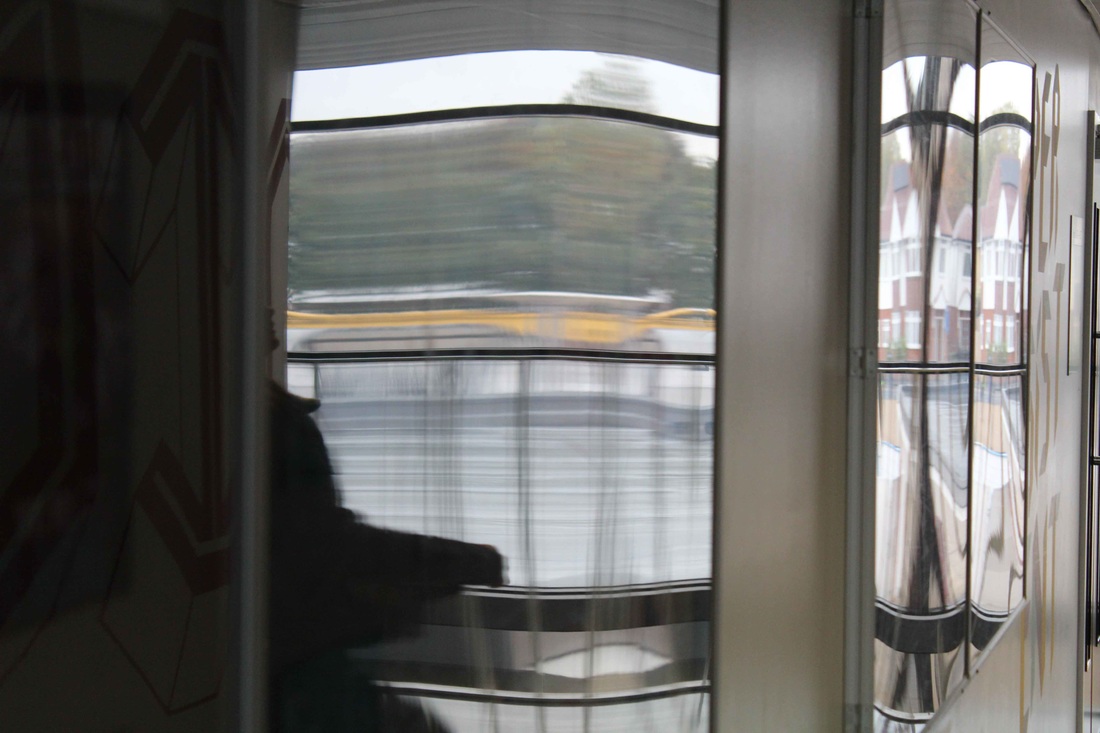
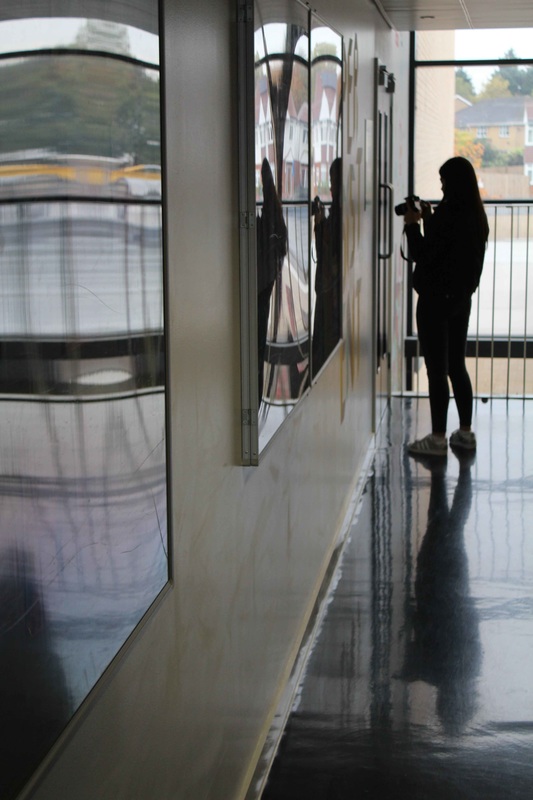
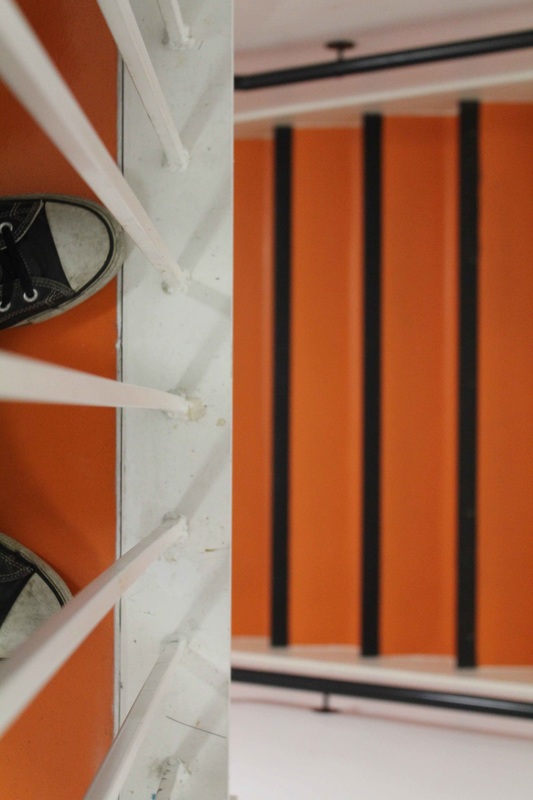
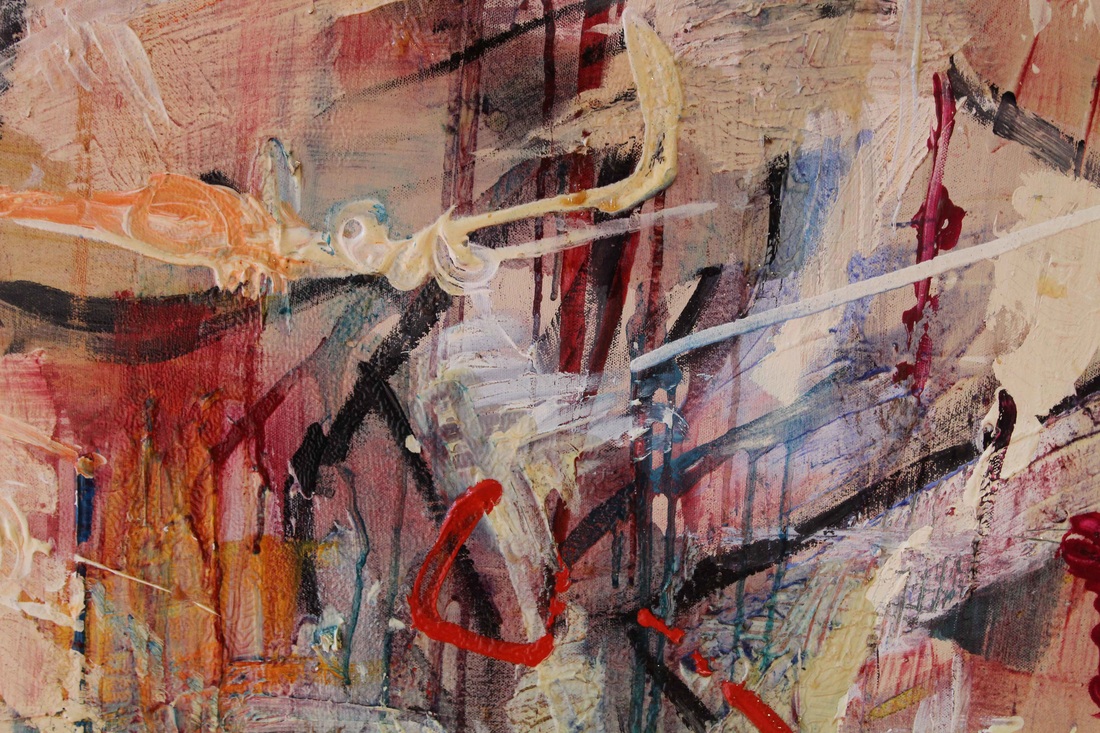
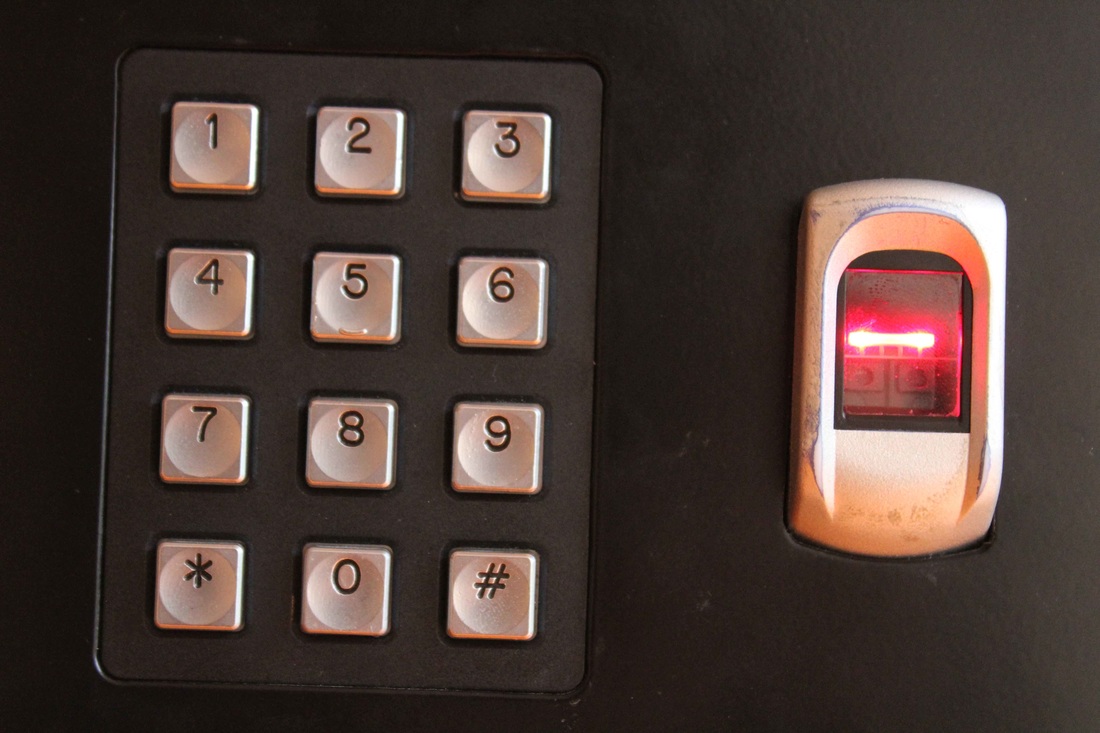
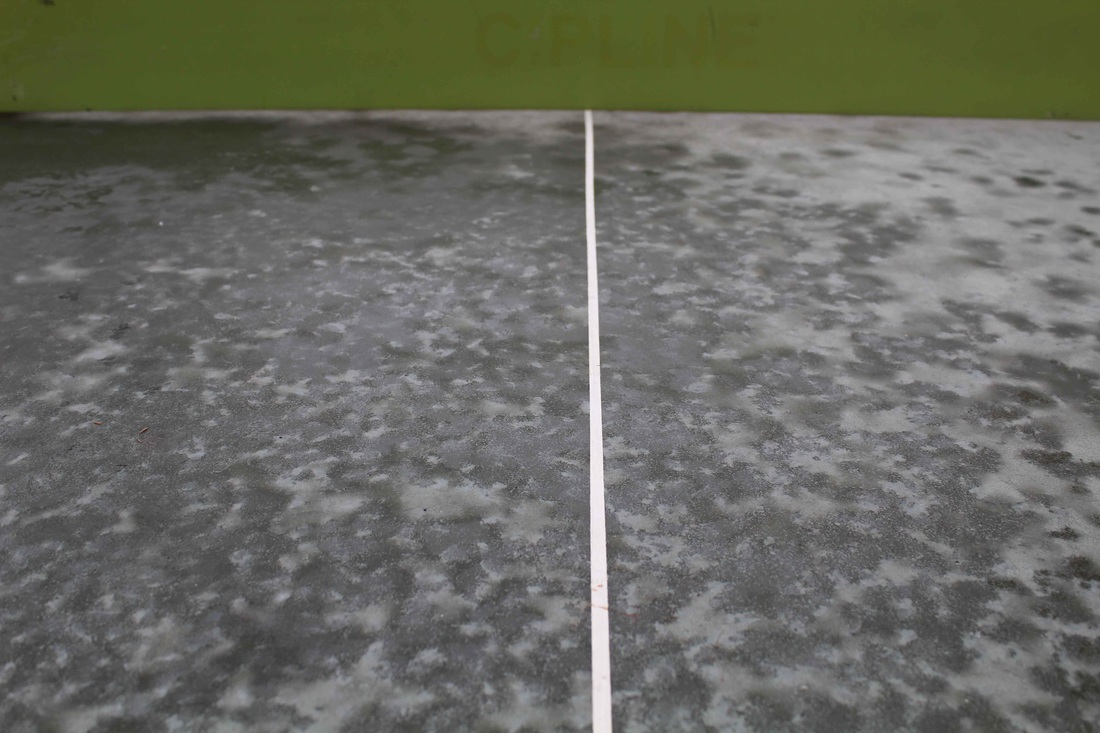
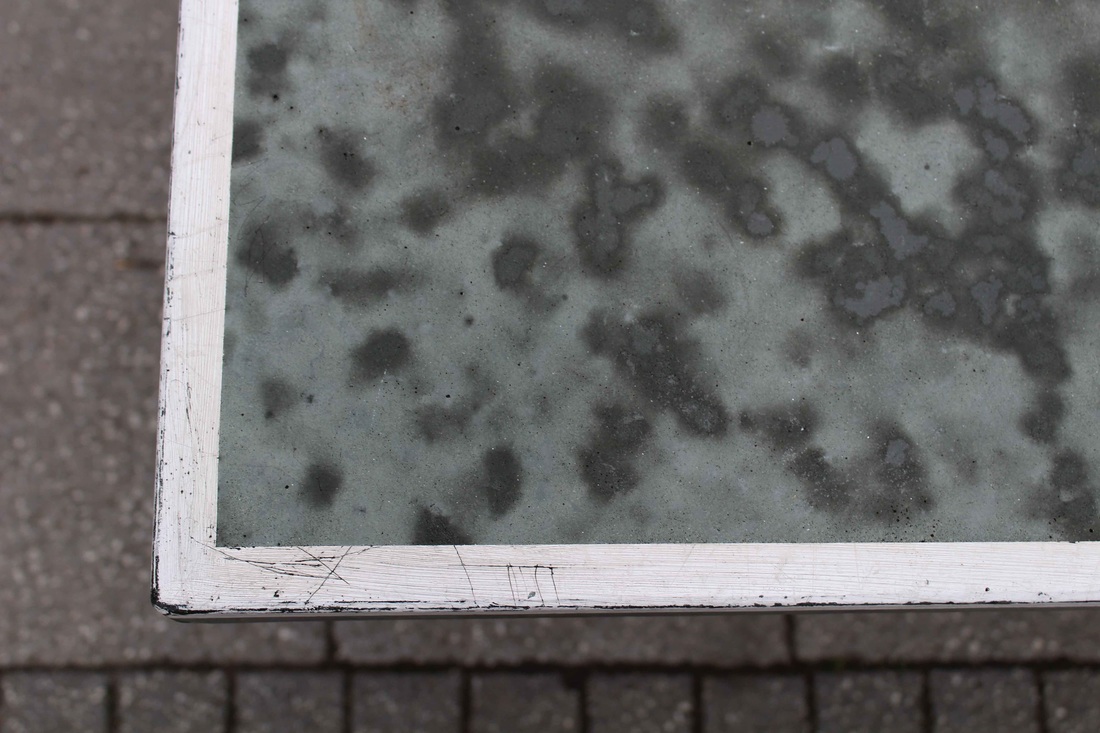
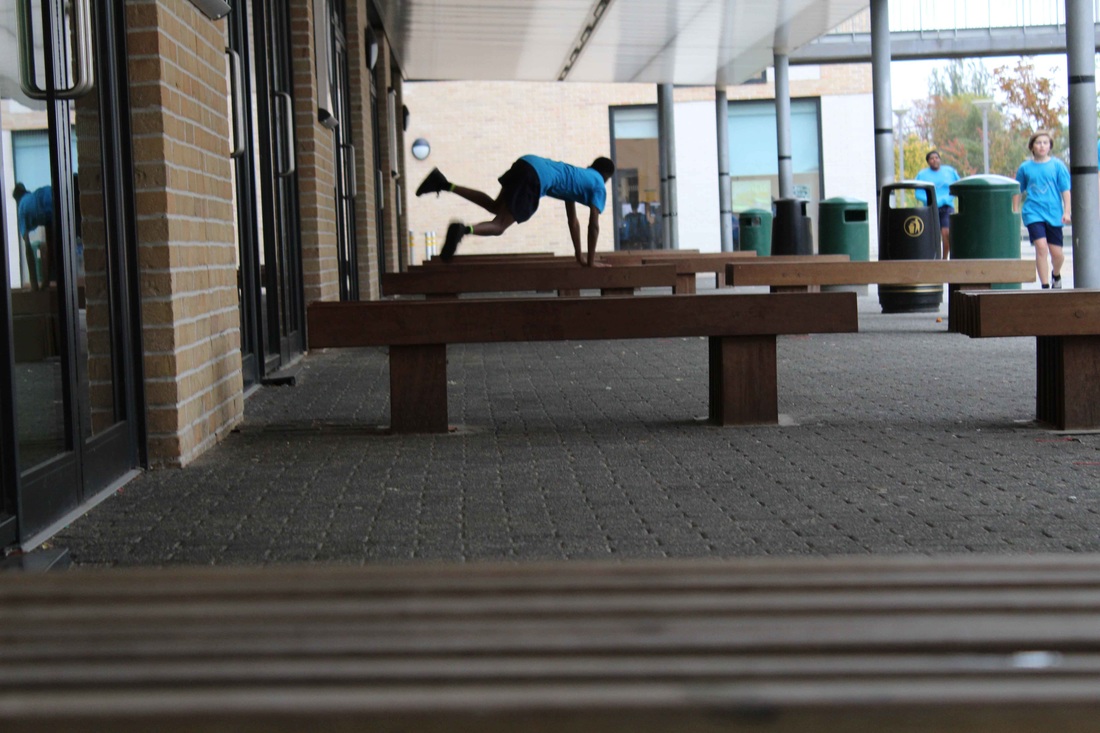
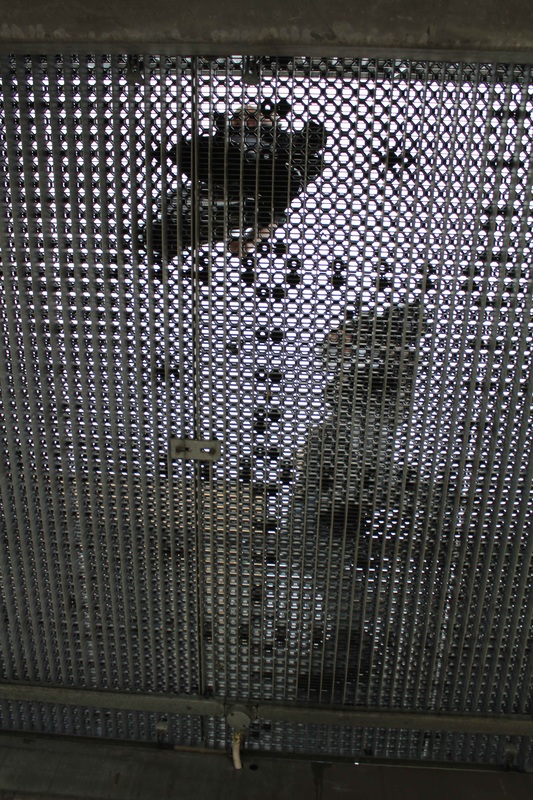
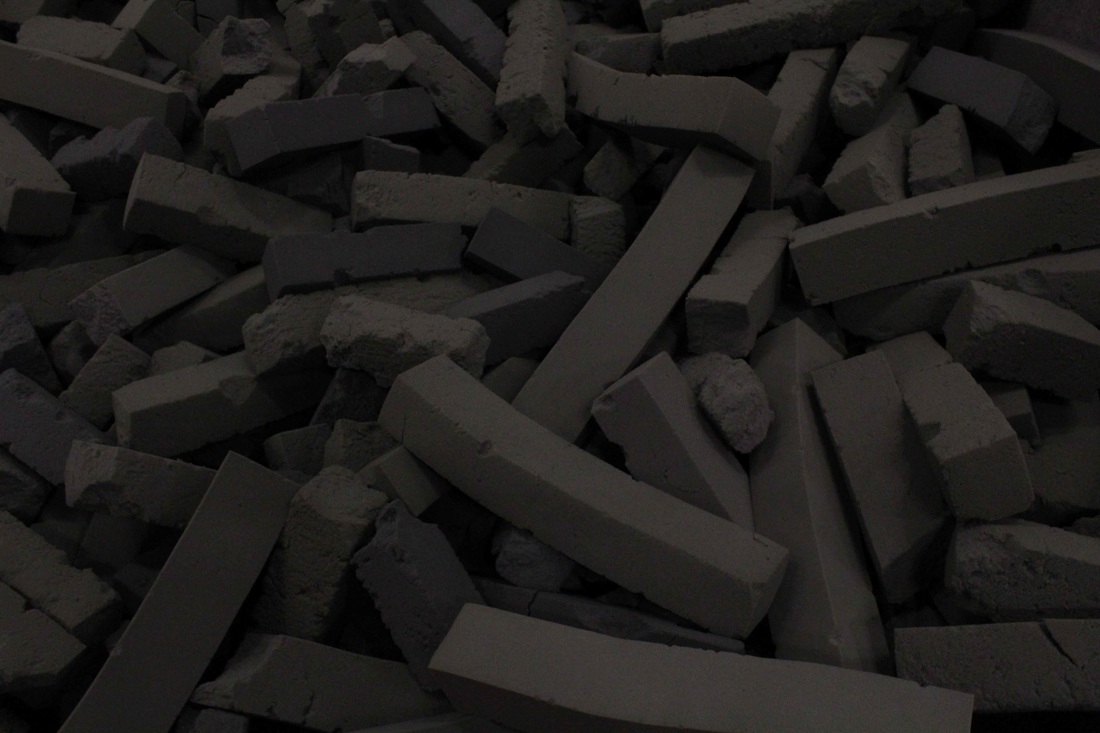
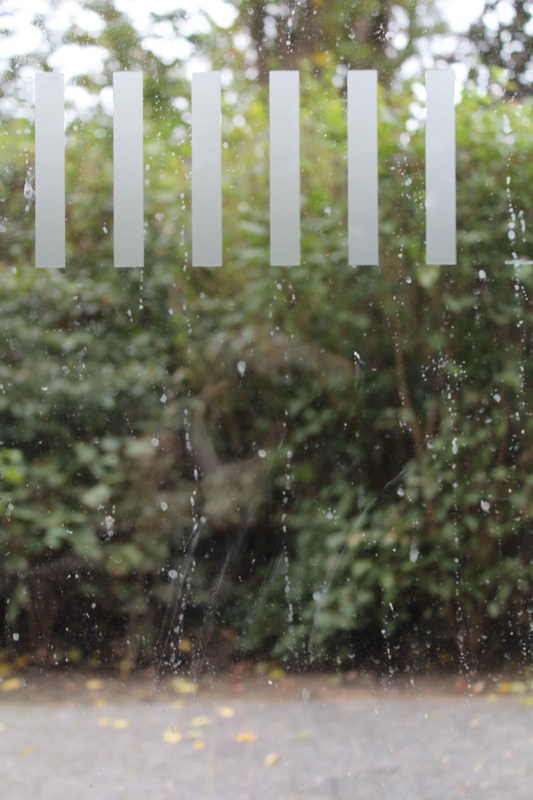
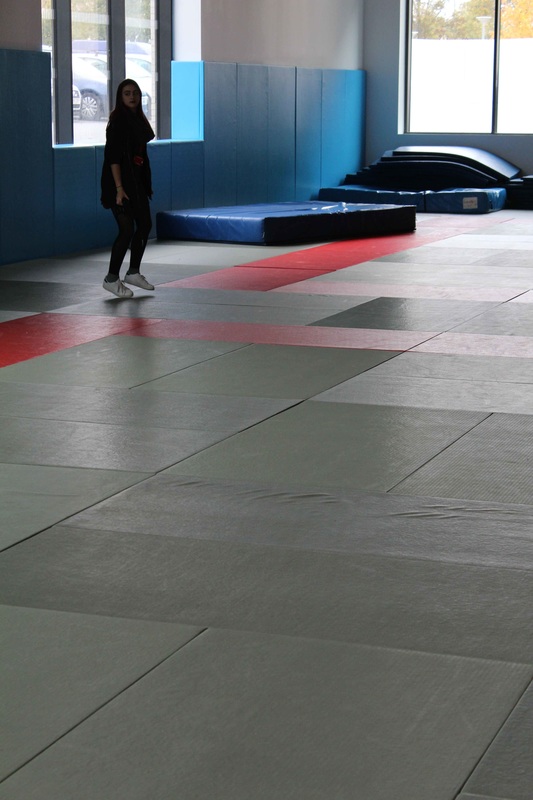
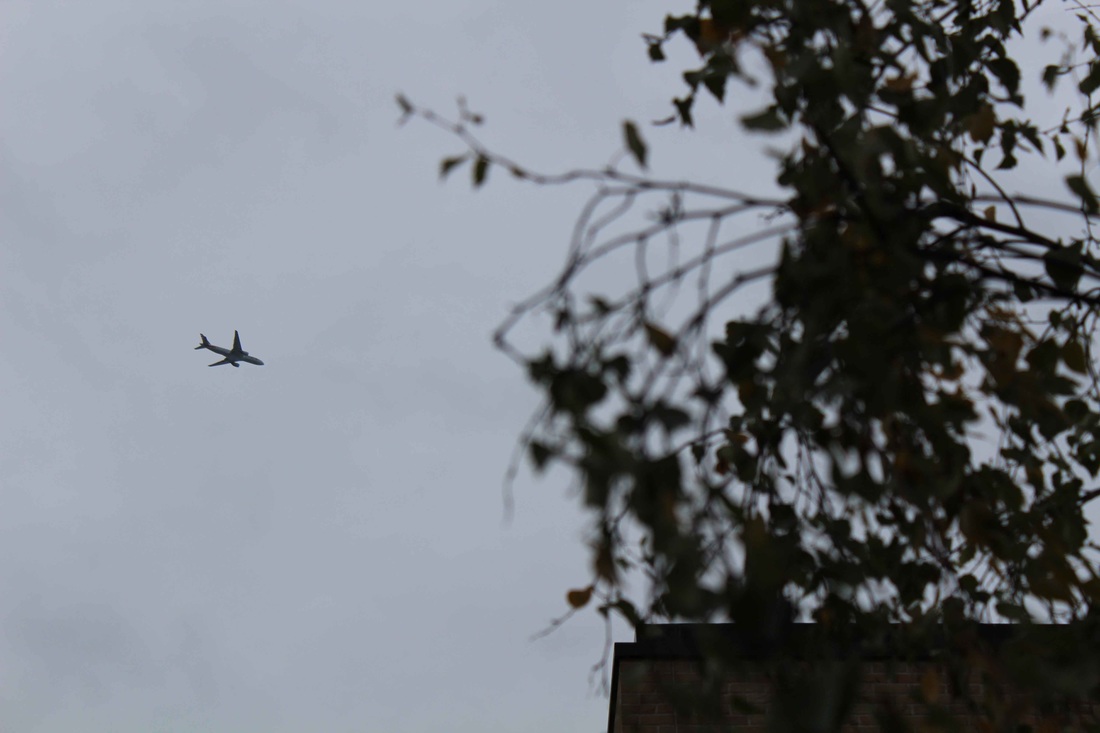
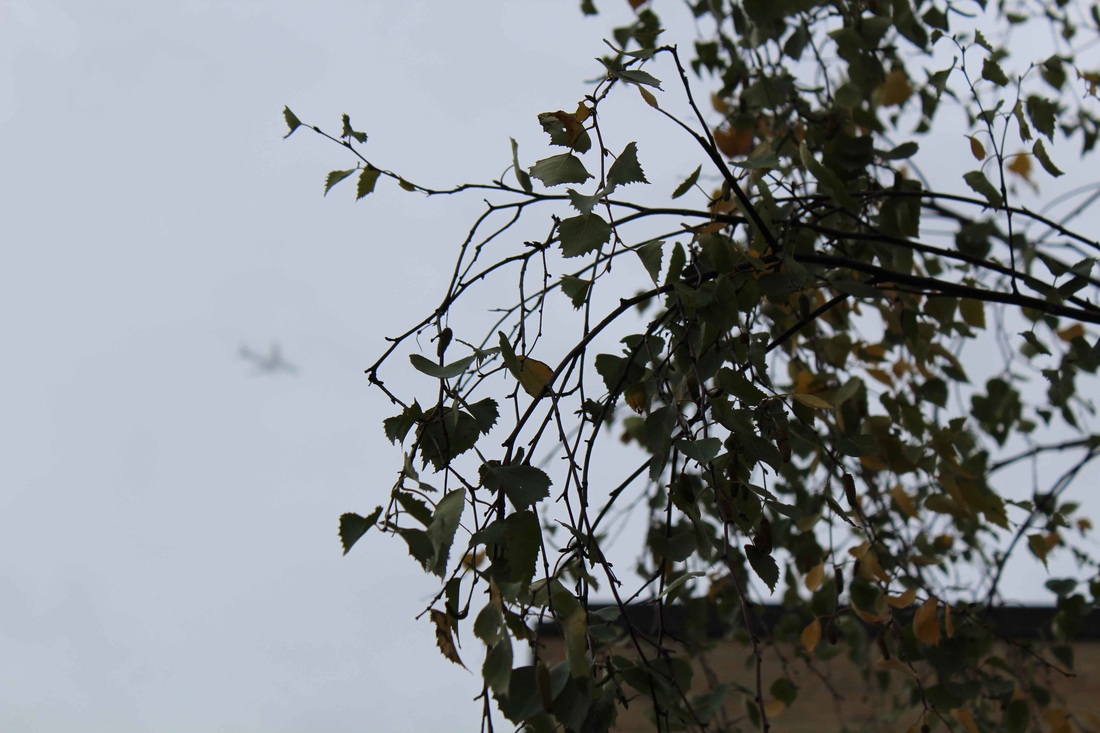
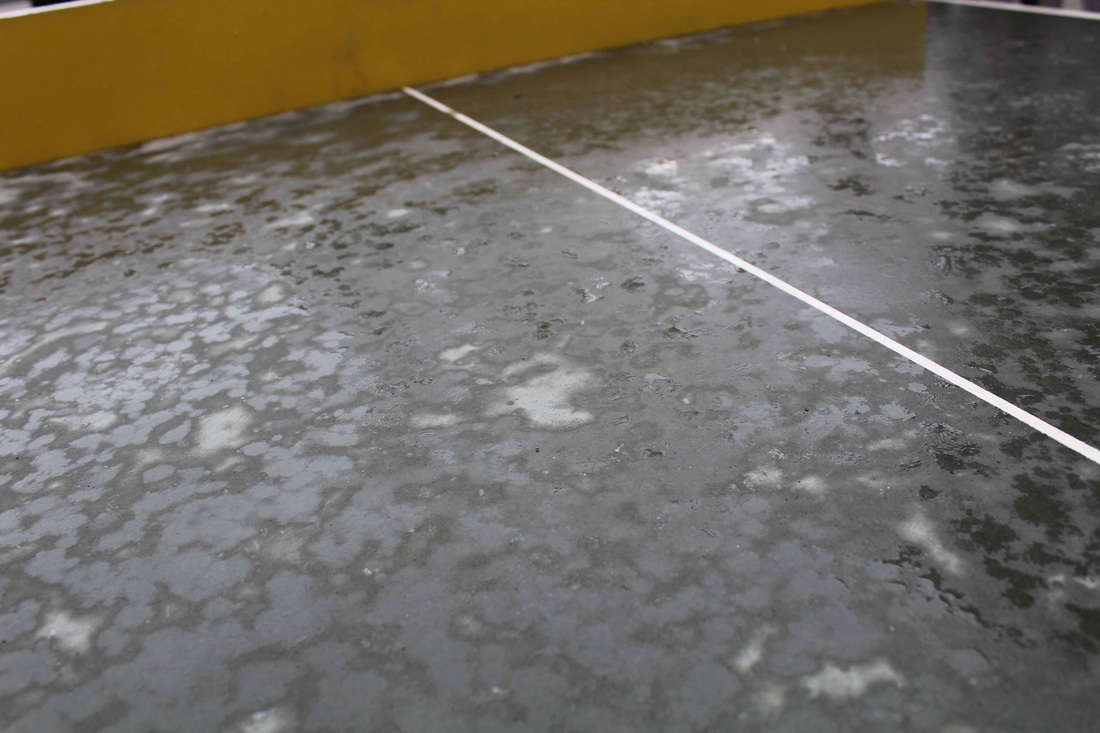
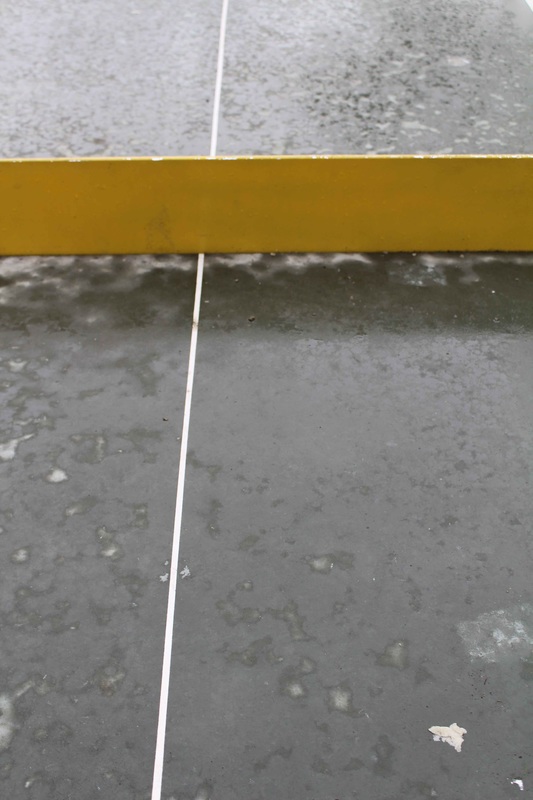
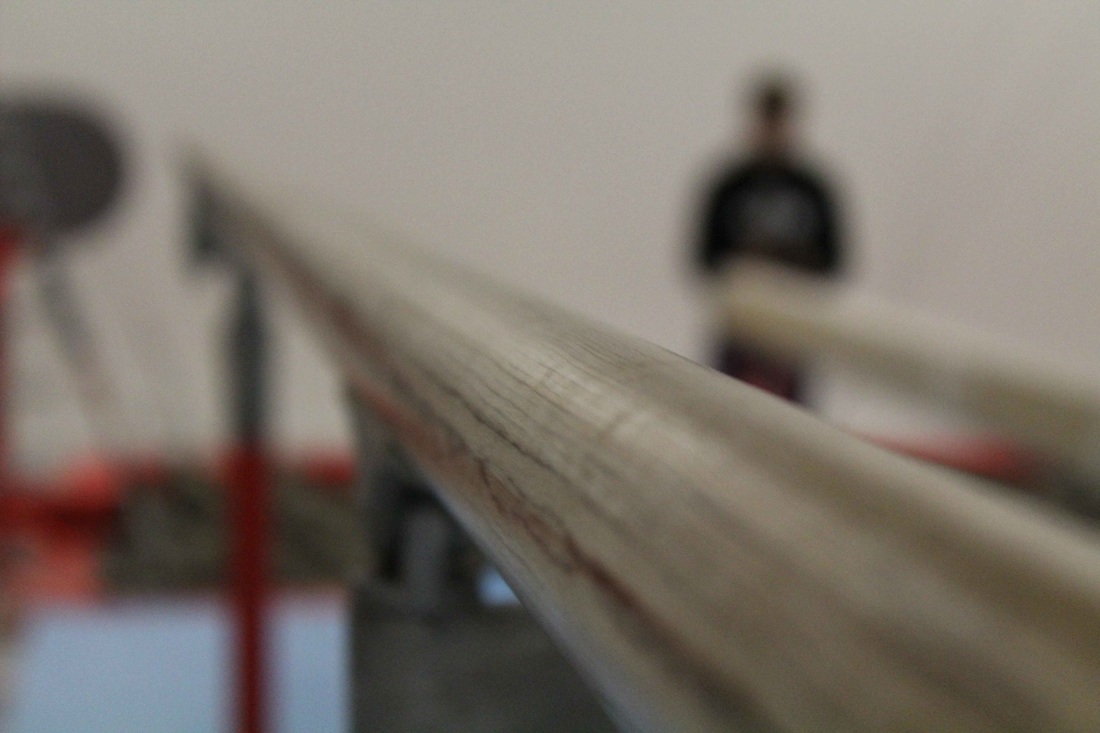
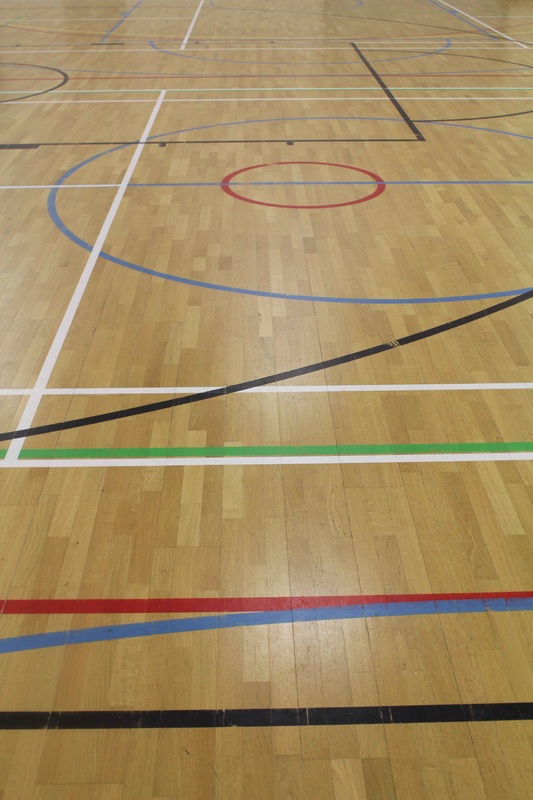
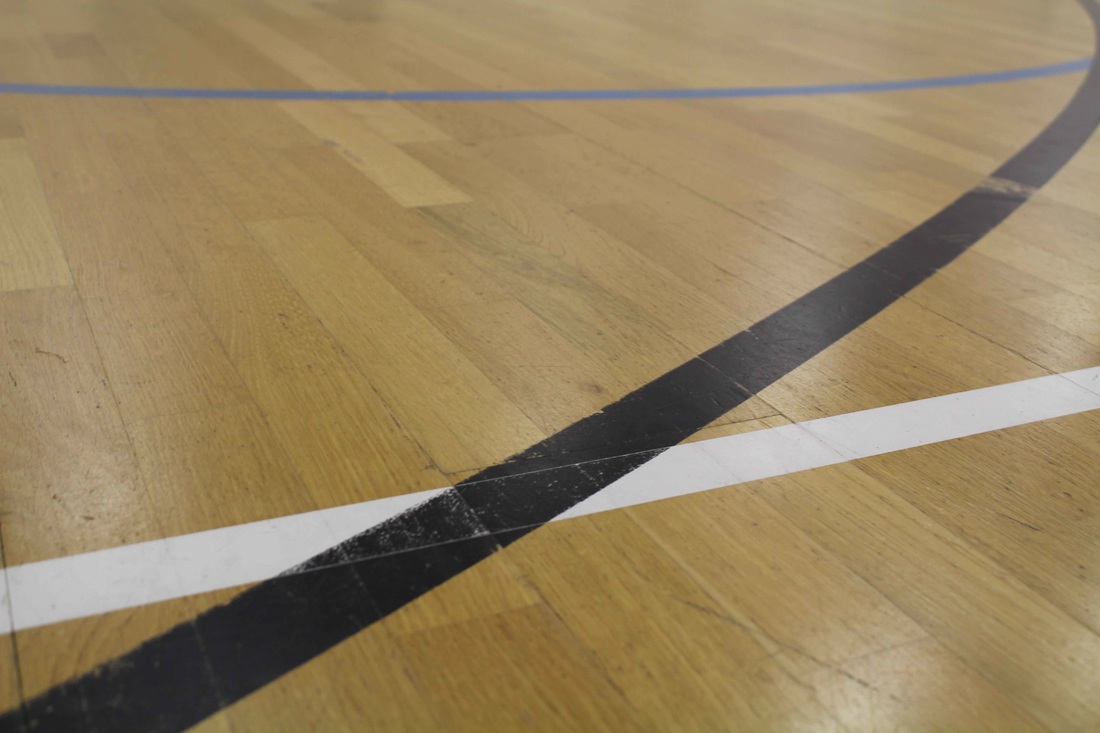
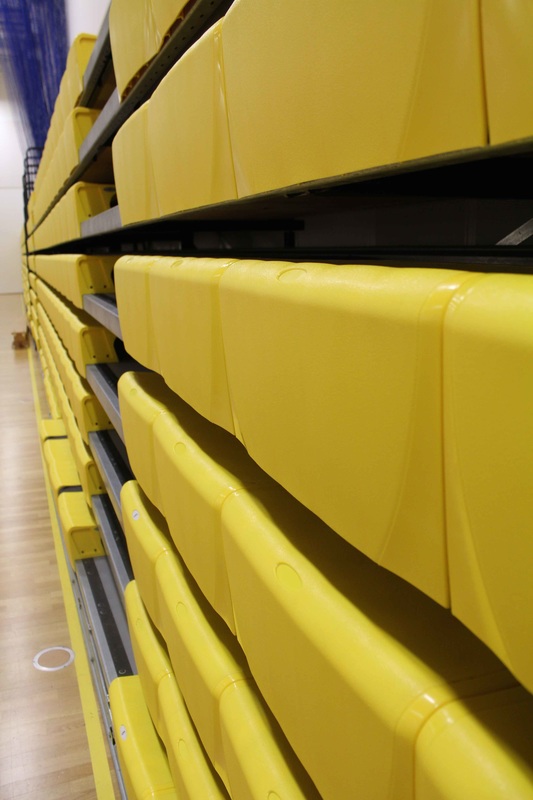
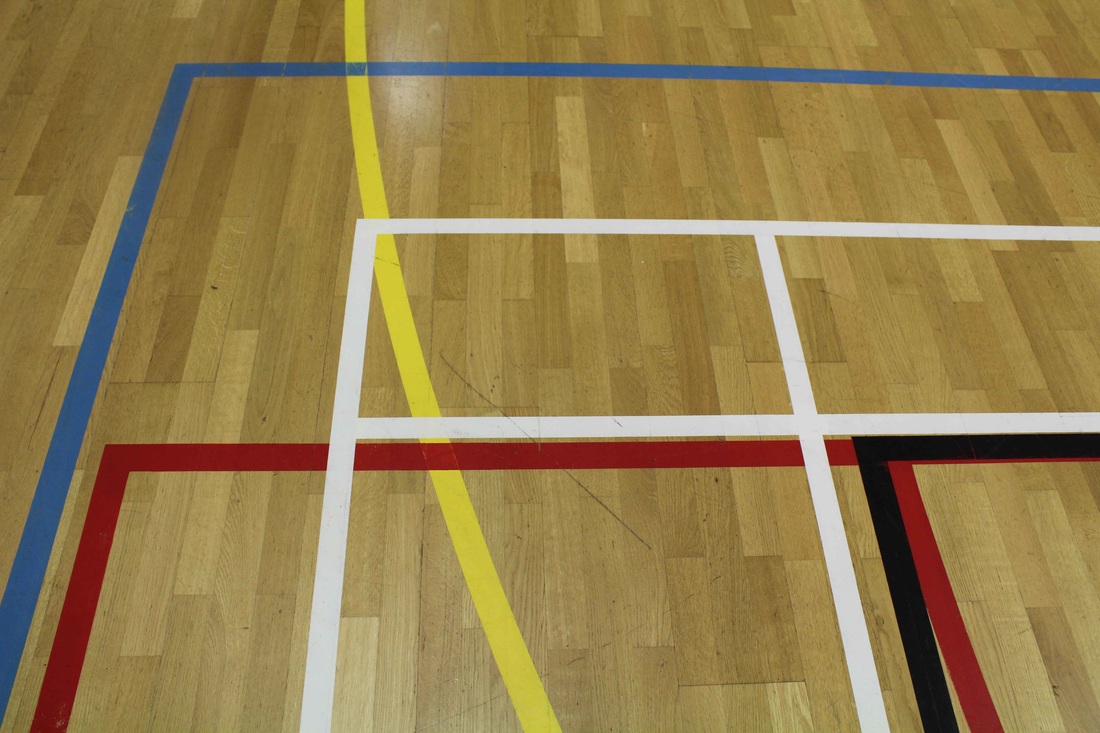
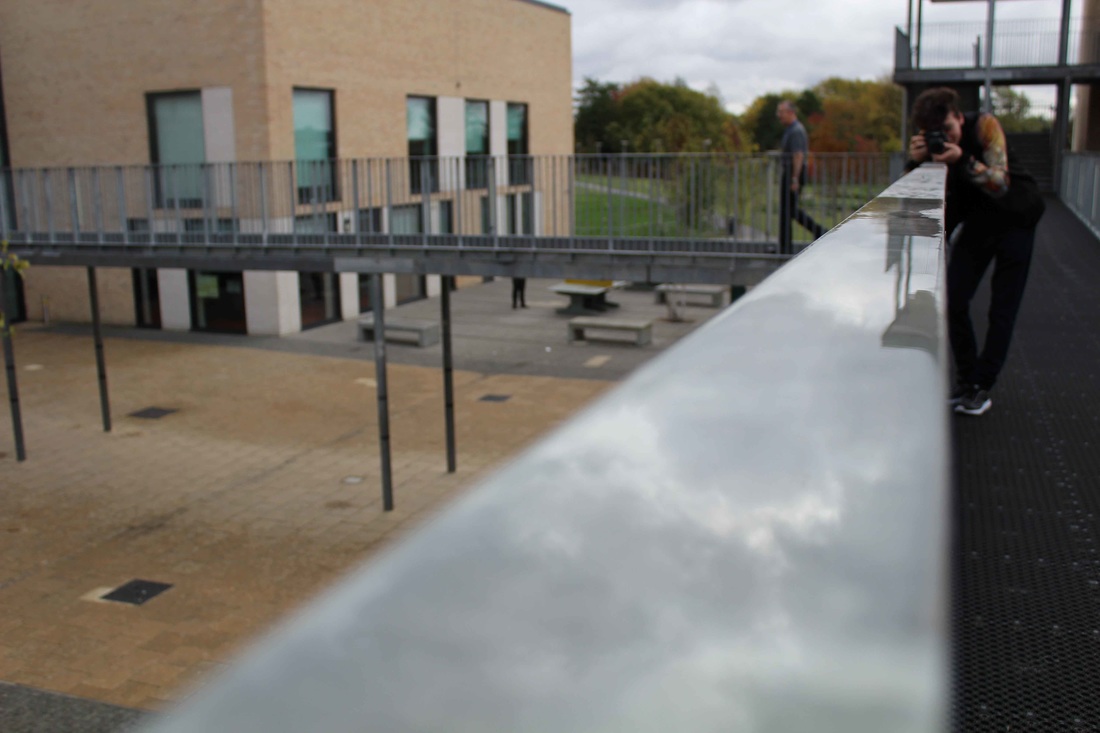
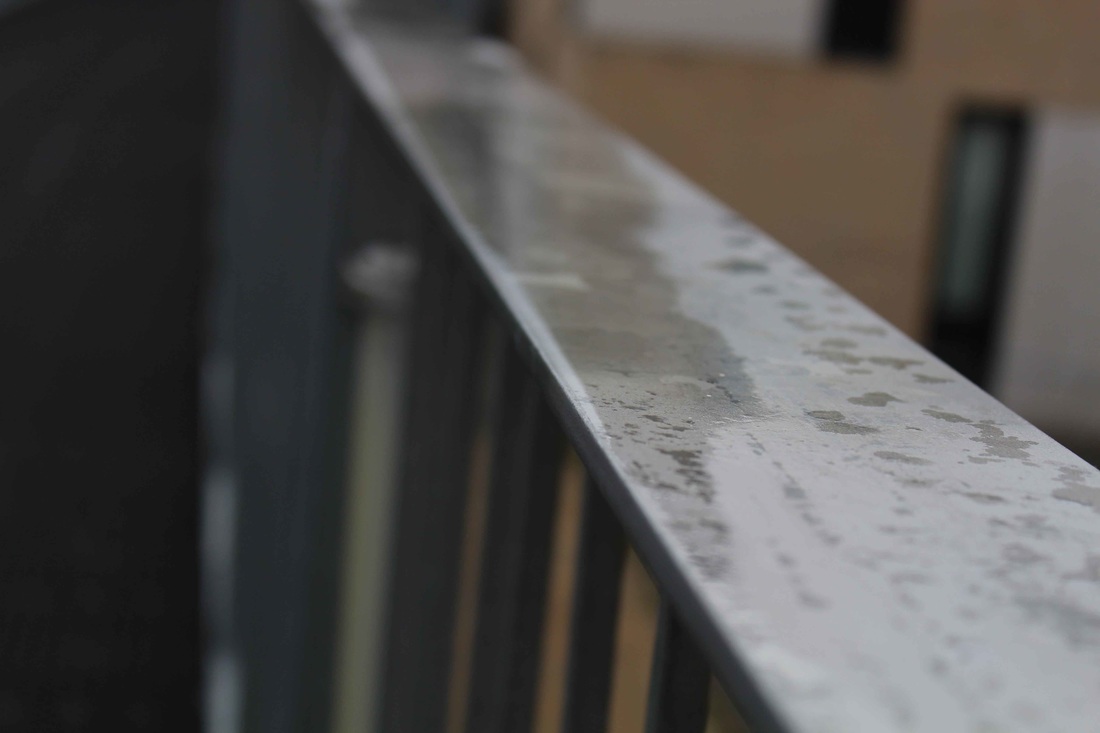
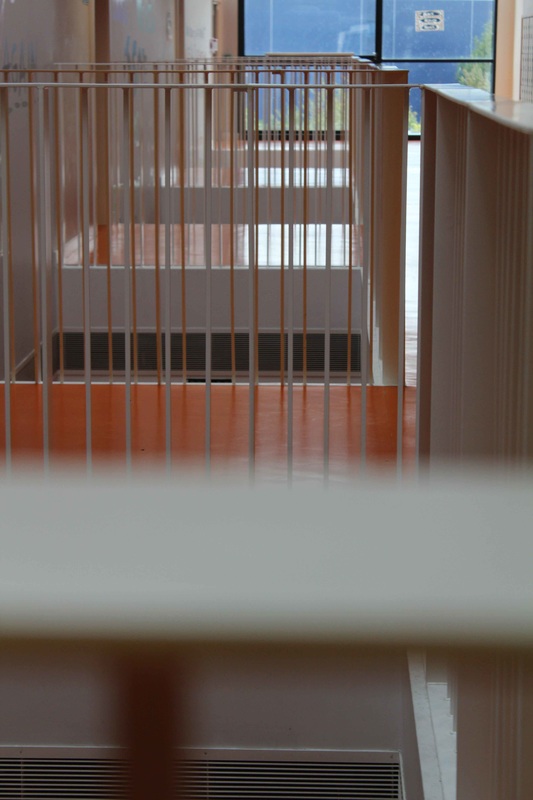
I shot this second set of images during a photography lesson, using a Canon DSLR. Again, I was using the New Objectivity and New Vision movements as inspiration for this set of images. For this set of images, I wanted to photograph a wider and different range of subjects and surfaces, and different subjects to my first set of images. Generally, I used a wider depth of field using smaller apertures, depending on how much light was available; meaning that many of my photographs were in focus throughout the image. Although some close ups or low light images were shot at wider apertures especially when there wasn't much light available (meaning I had to open up the aperture to maintain relatively fast shutter speeds and sharp images with no motion blur). I used a quite a wide angle lens (18-55mm) but I could zoom in to also let me focus relatively closely on the surface of different subjects, when using the macro mode/function on the camera.
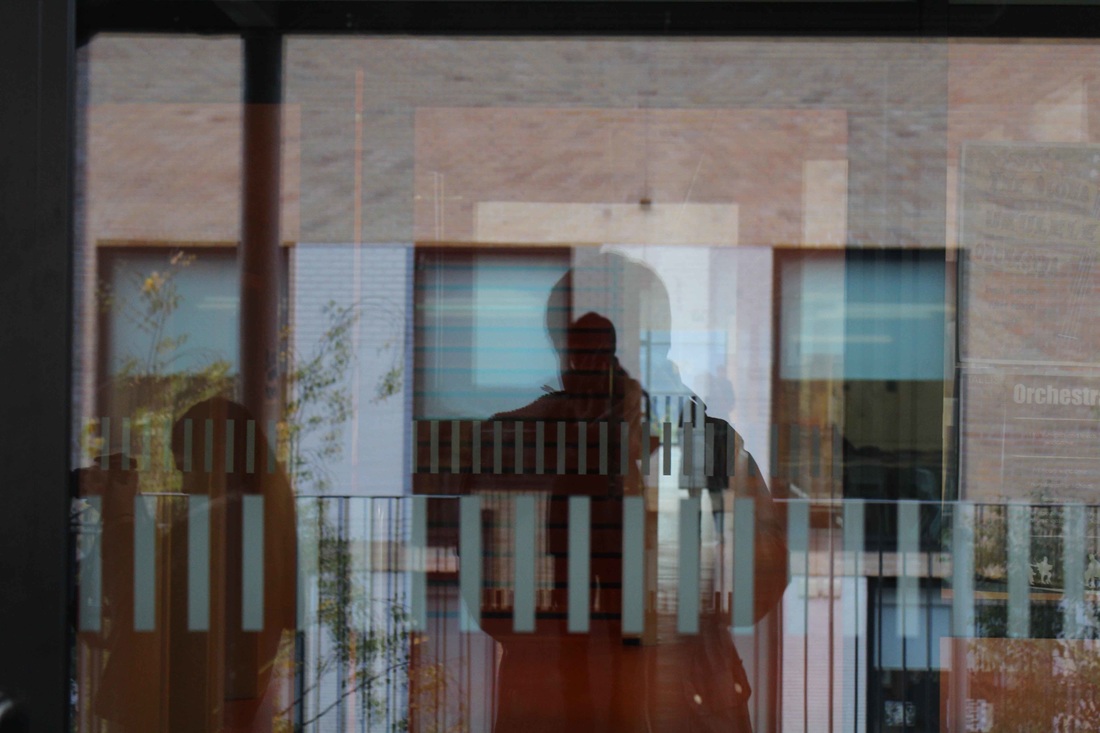
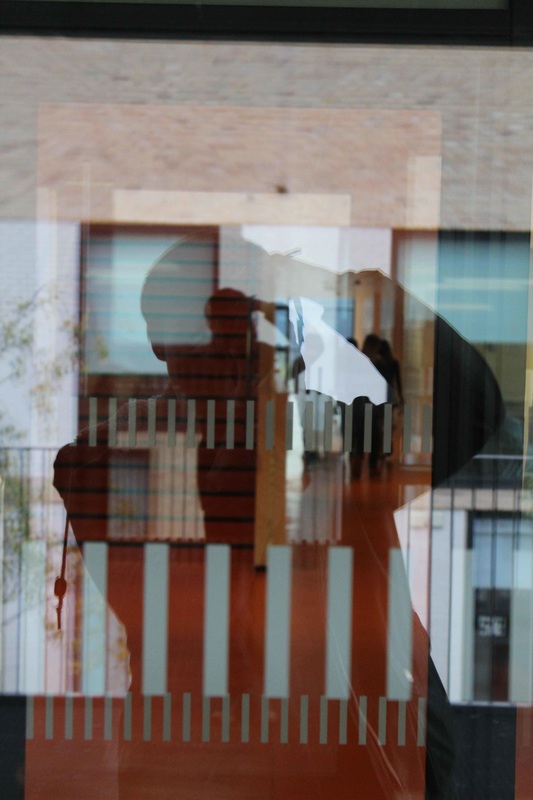
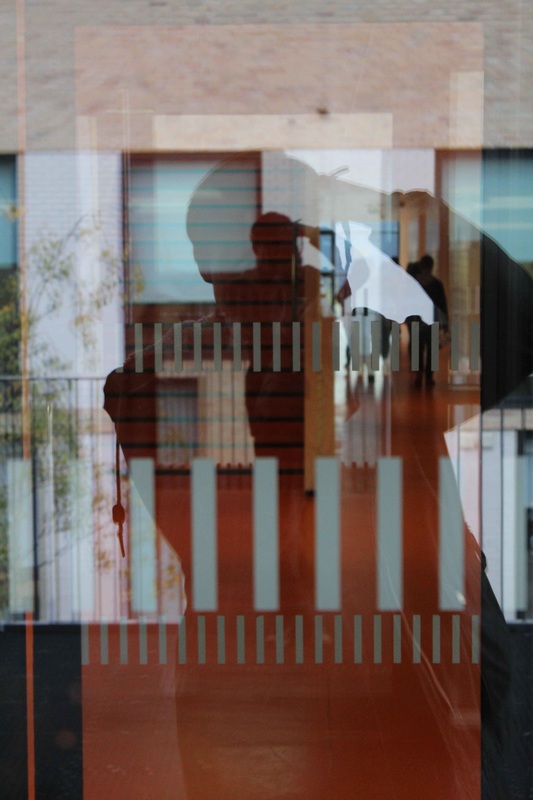
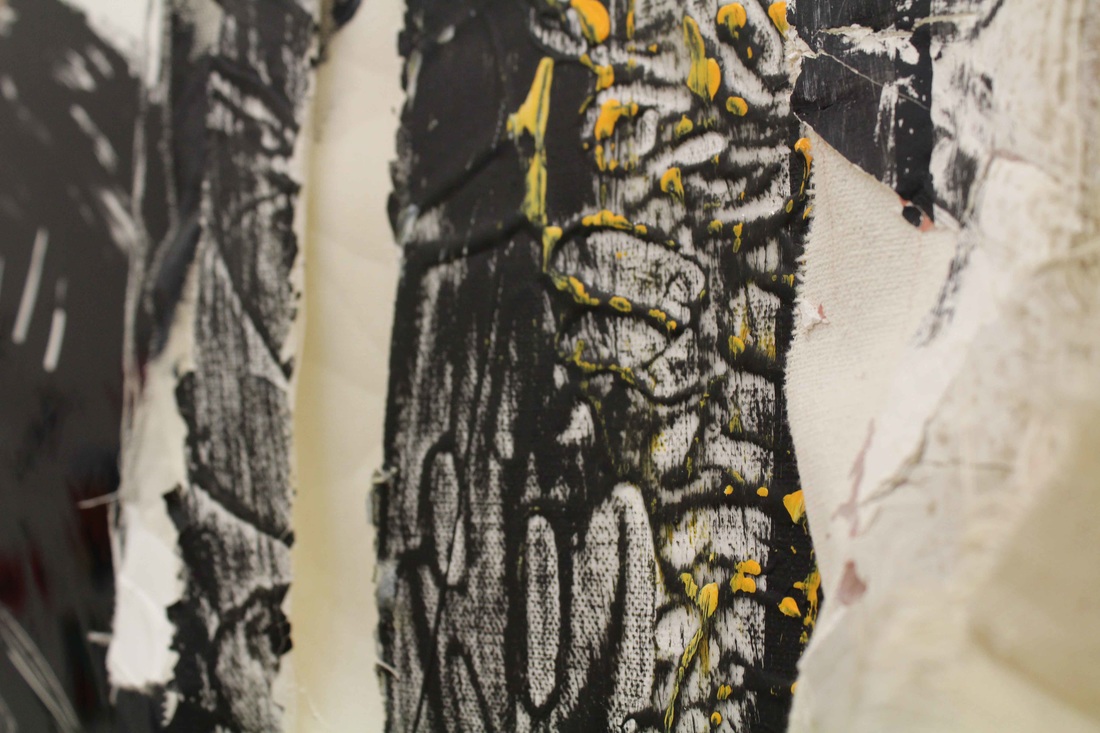
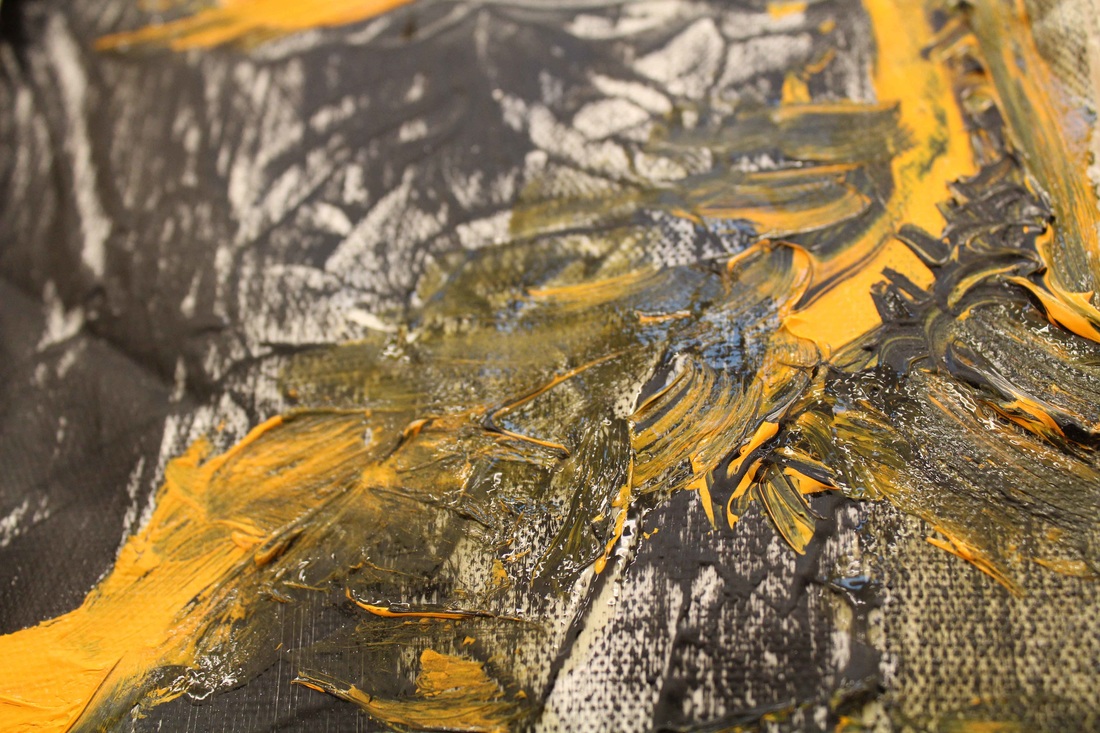
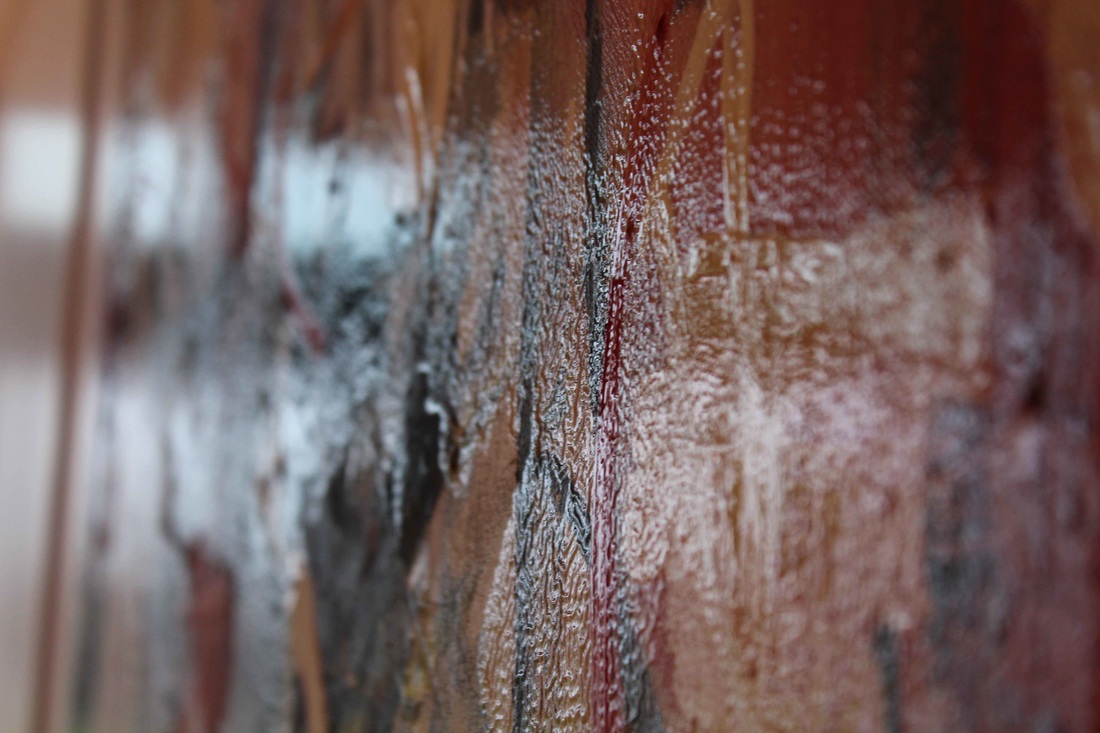
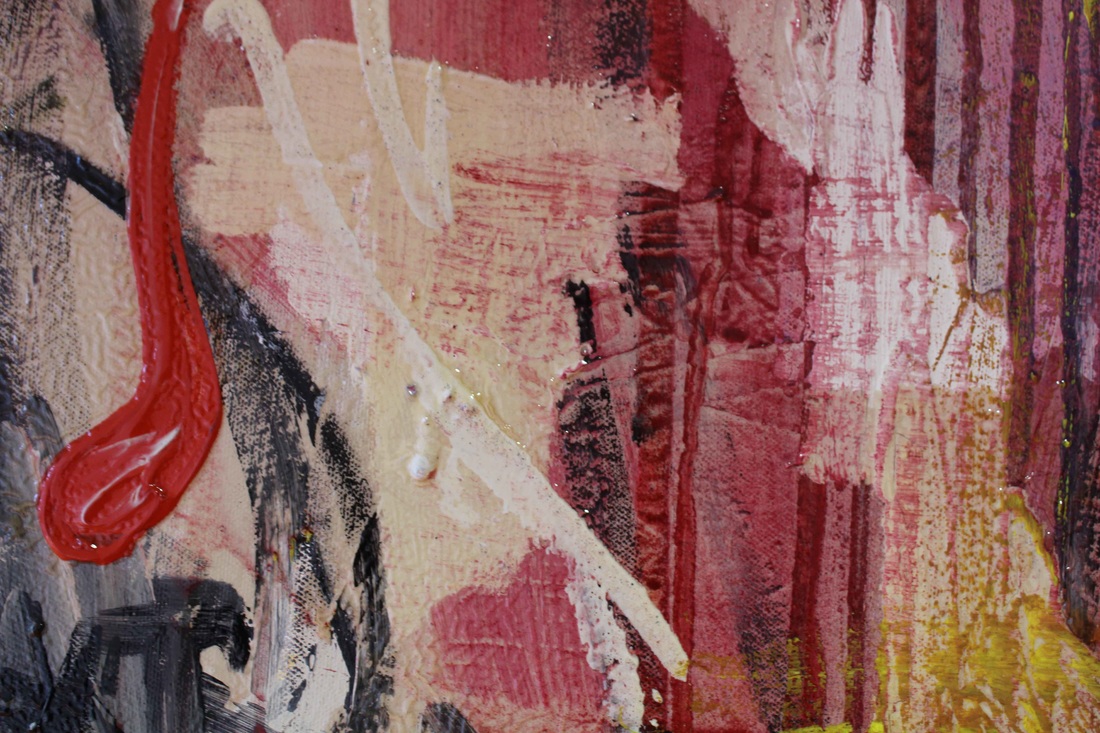
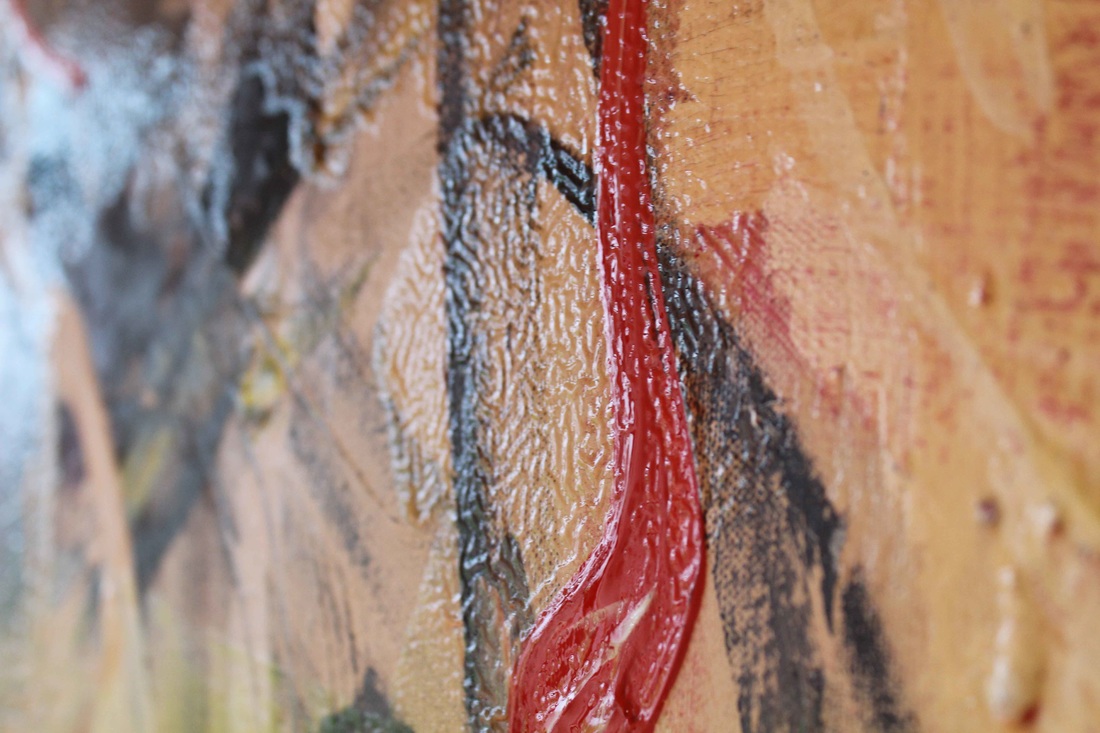
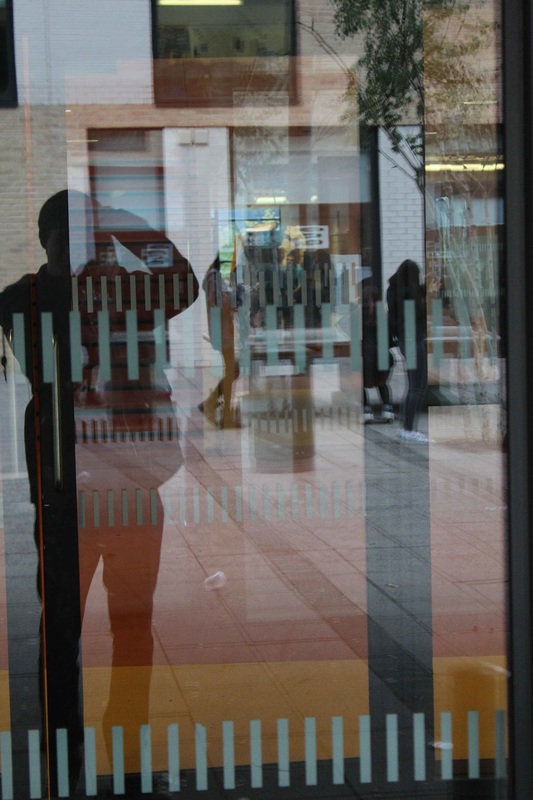
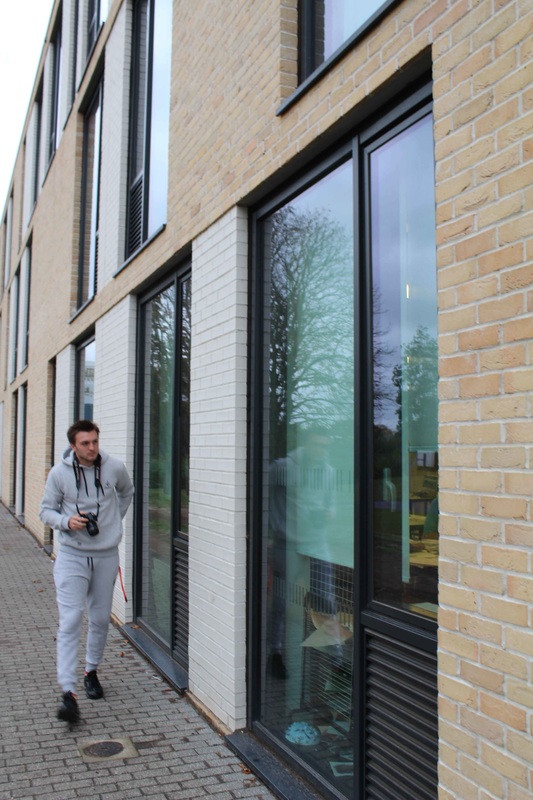
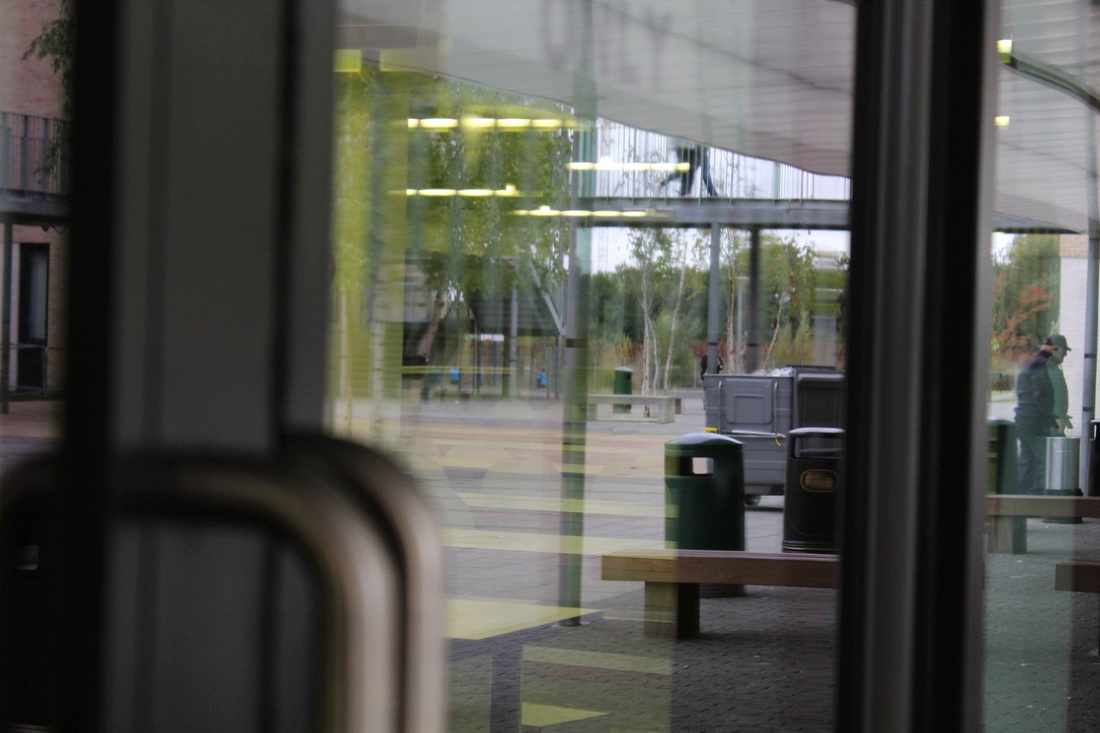
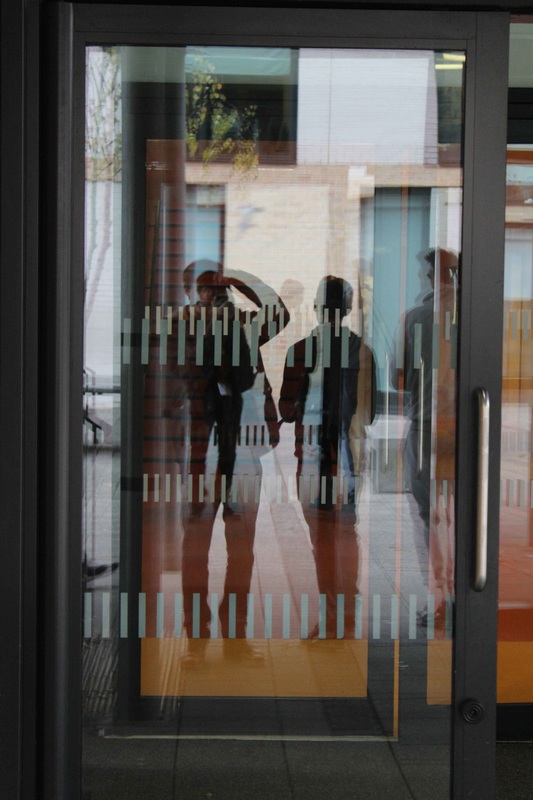
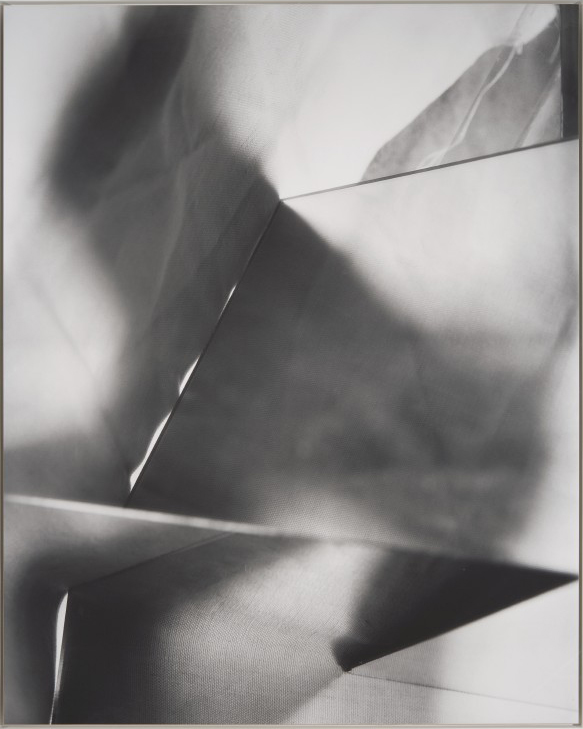
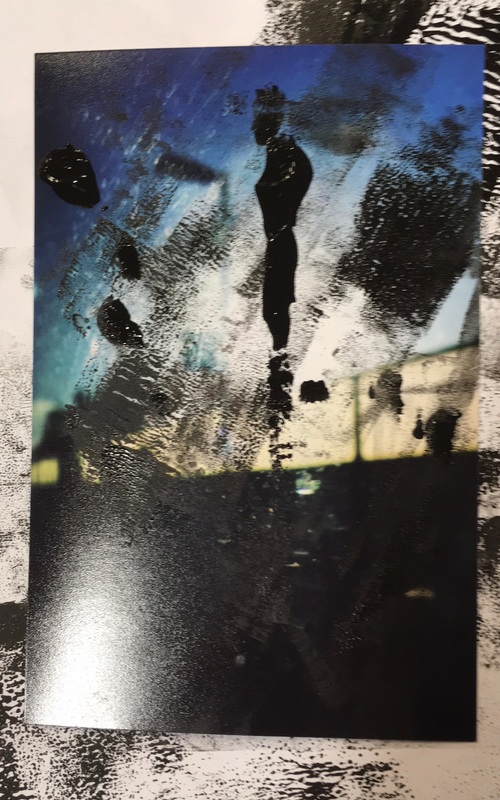
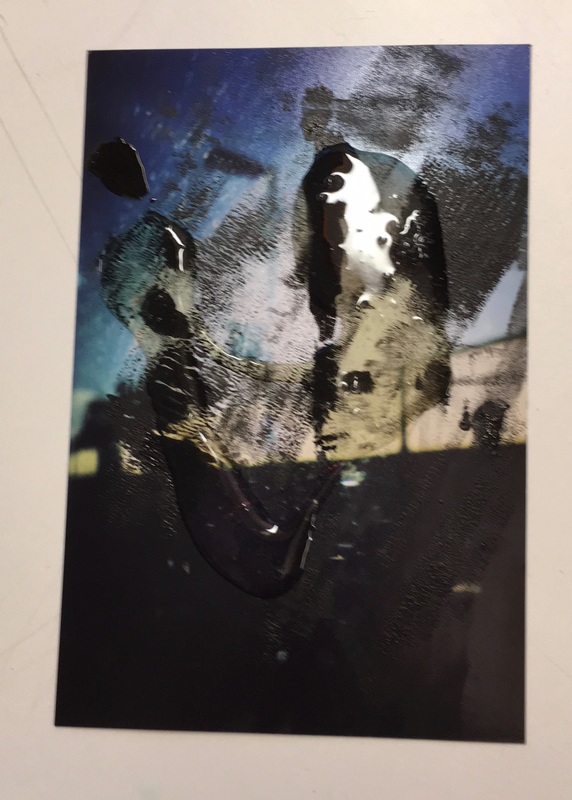
I am relatively pleased with the overall outcome, as I have photographed more interesting and unusual surfaces - especially interesting sections of various pieces of art. The colours, materials and varied surfaces of the pieces of art especially made for some interesting images and compositions - many are quite abstracted On the other hand, some of these more abstracted/distorted images do not fit with the principles of the New Vision and New Objectivity Movements as much. I could edit a few of these photos to potentially improve and alter their appearance. I also used a couple of images from the 'Photography sees the surface' book especially as inspiration; especially the different types of subject matter (such as detailed photographs of cloth, material, plants etc.). I took inspiration from Jaromir Funke's 'Use of glass as a transparent, illuminated surface', which focuses on a figure shot through glass, (see here) which inspired my own distorted reflections below.
I am relatively pleased with the overall outcome, as I have photographed more interesting and unusual surfaces - especially interesting sections of various pieces of art. The colours, materials and varied surfaces of the pieces of art especially made for some interesting images and compositions - many are quite abstracted On the other hand, some of these more abstracted/distorted images do not fit with the principles of the New Vision and New Objectivity Movements as much. I could edit a few of these photos to potentially improve and alter their appearance. I also used a couple of images from the 'Photography sees the surface' book especially as inspiration; especially the different types of subject matter (such as detailed photographs of cloth, material, plants etc.). I took inspiration from Jaromir Funke's 'Use of glass as a transparent, illuminated surface', which focuses on a figure shot through glass, (see here) which inspired my own distorted reflections below.


Eileen Quinlan
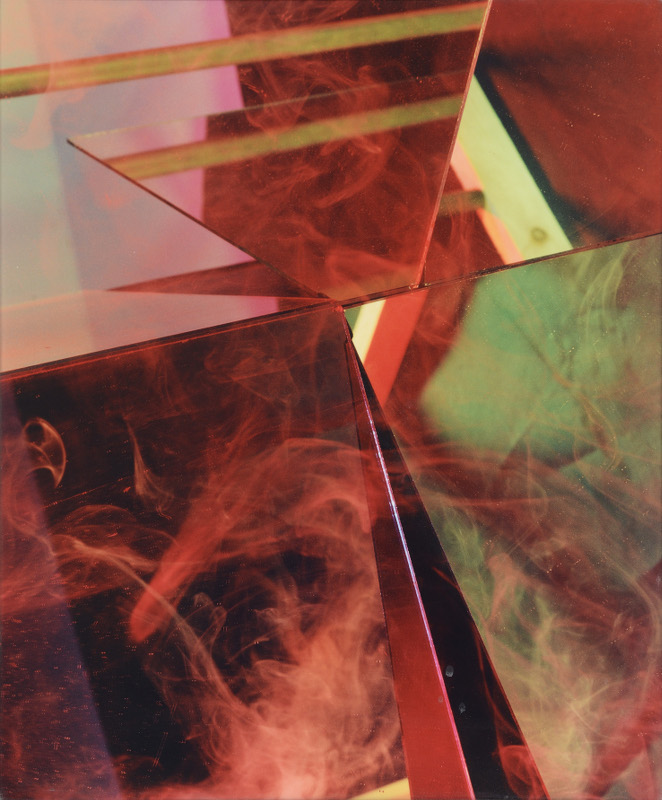
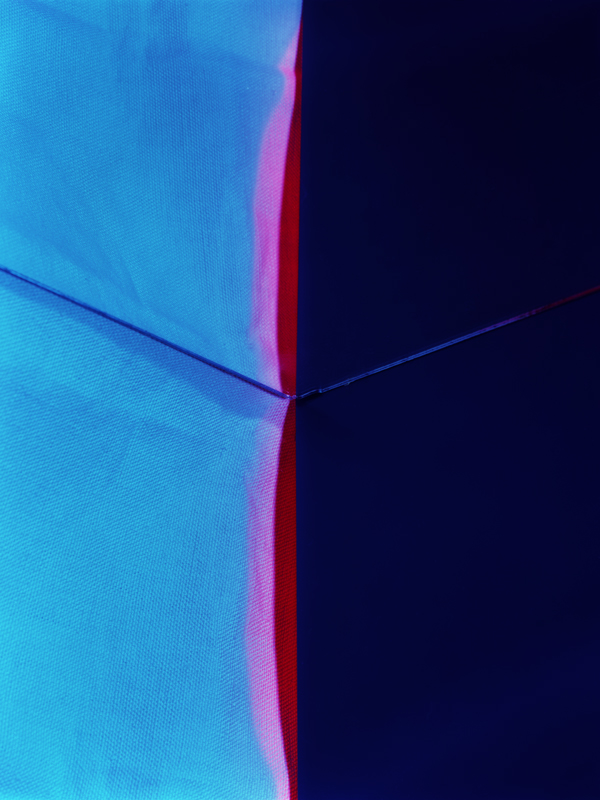
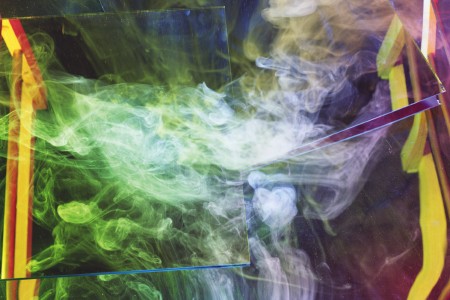
Eileen Quinlan is an American still-life photographer. Using medium and large format cameras, Eileen photographs abstracted still-life compositions - that she has constructed using various materials. She uses and photographs a range of different colourful materials including mirrors, smoke, polyester sheets, plastic film as well as coloured lighting. Quinlan is often considered to be a contemporary modernist, also being likened to artists like László Moholy-Nagy. I like Quinlan's style of photography, especially her vibrant, abstracted compositions. She uses materials in a an interesting way, often altering their appearance with different lighting effects and compositions - to create some really nice pictures.
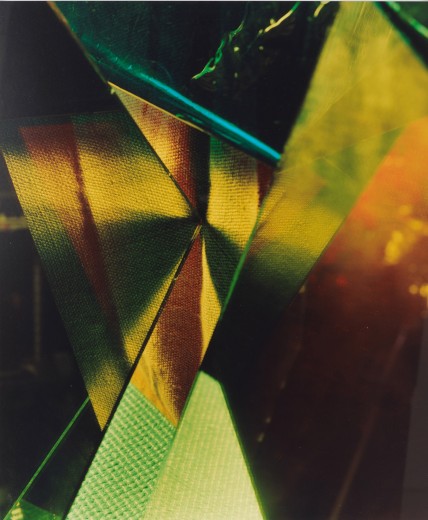
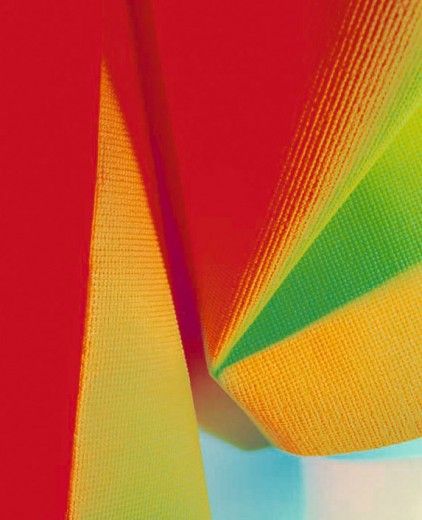
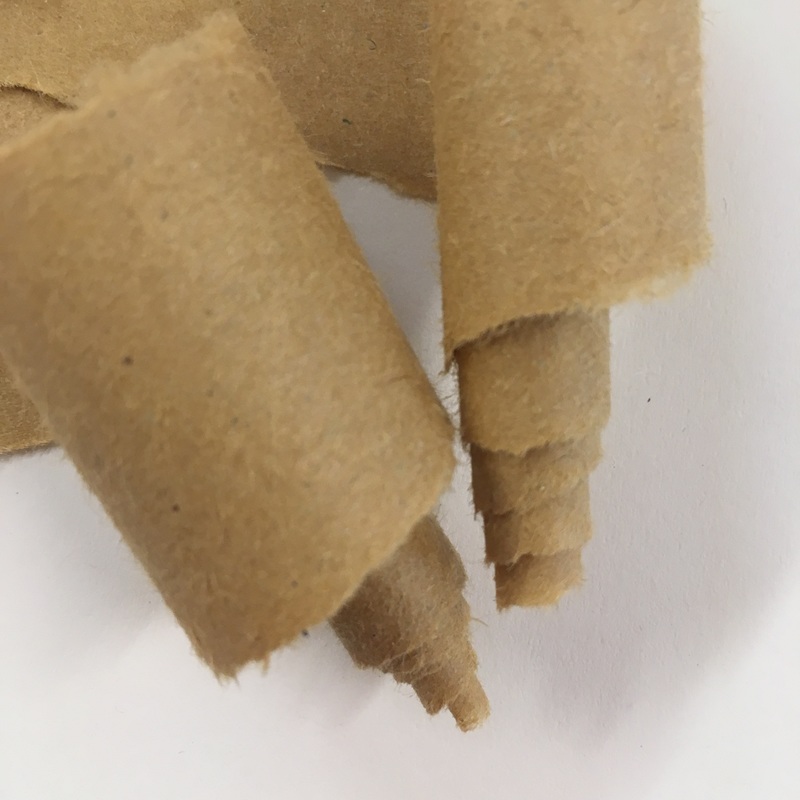
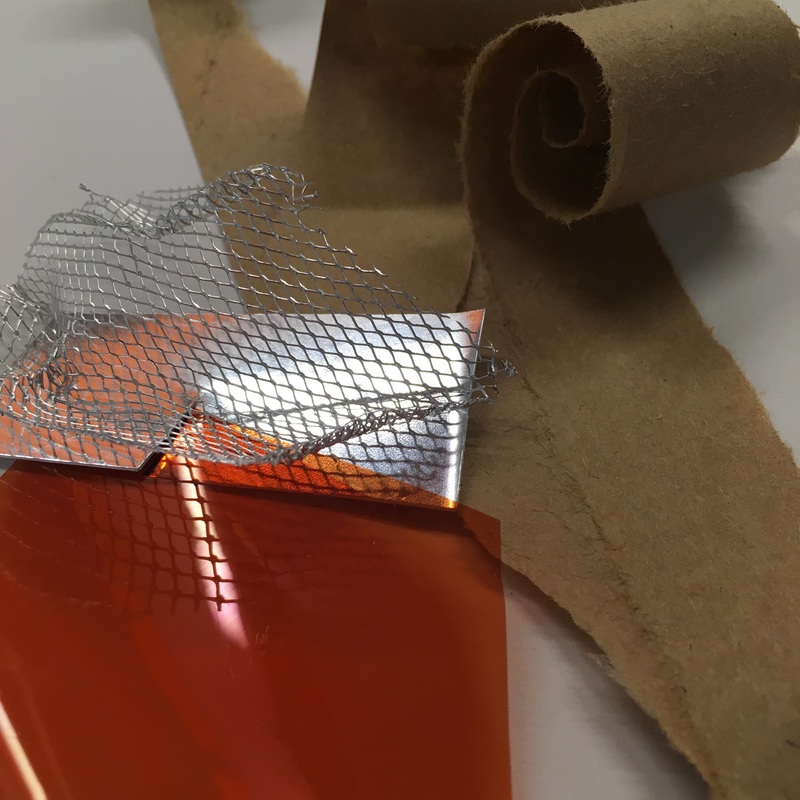
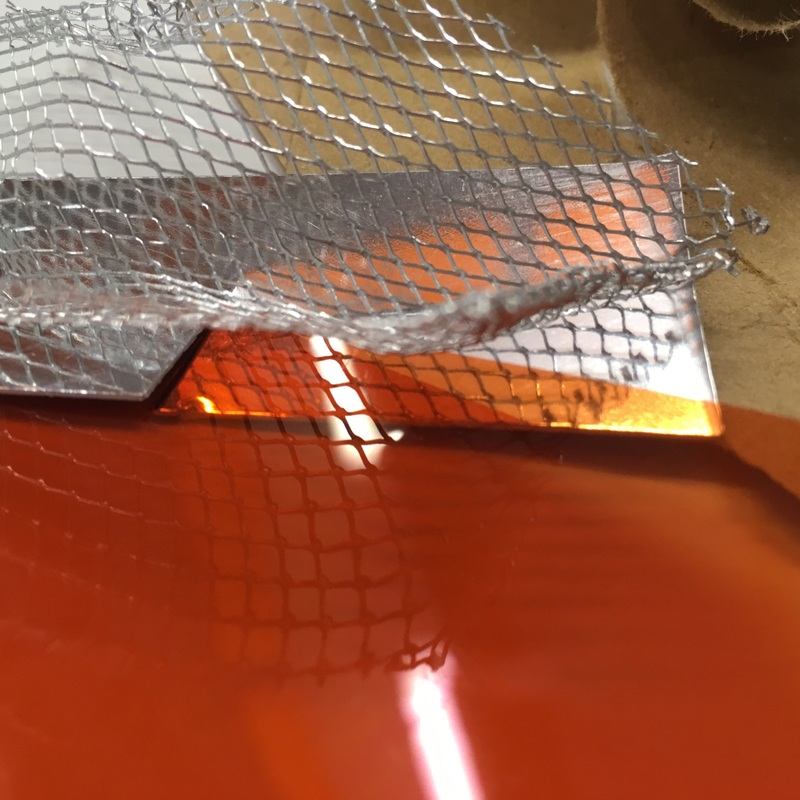
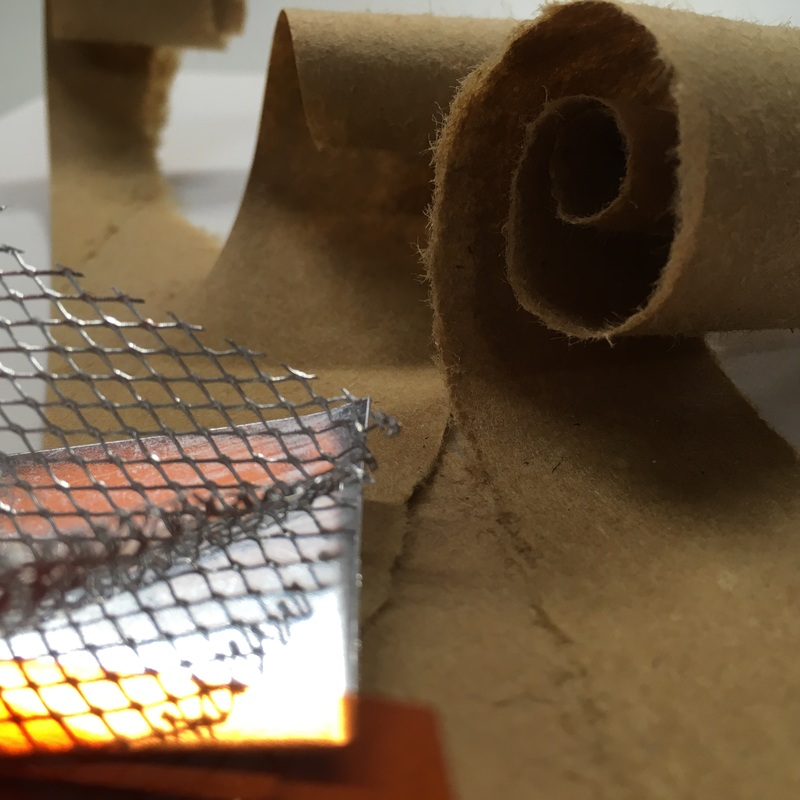
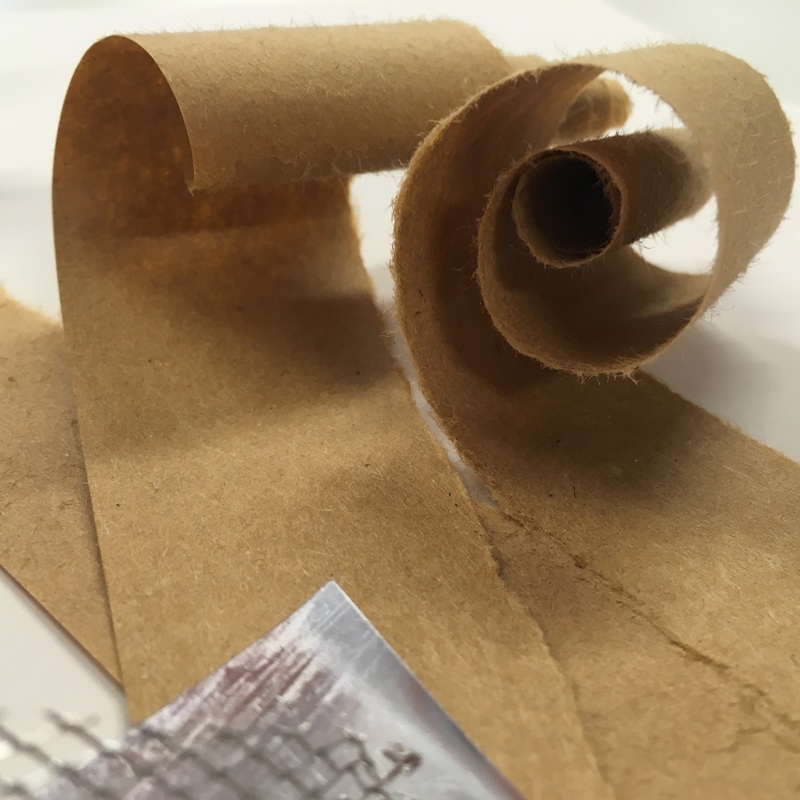
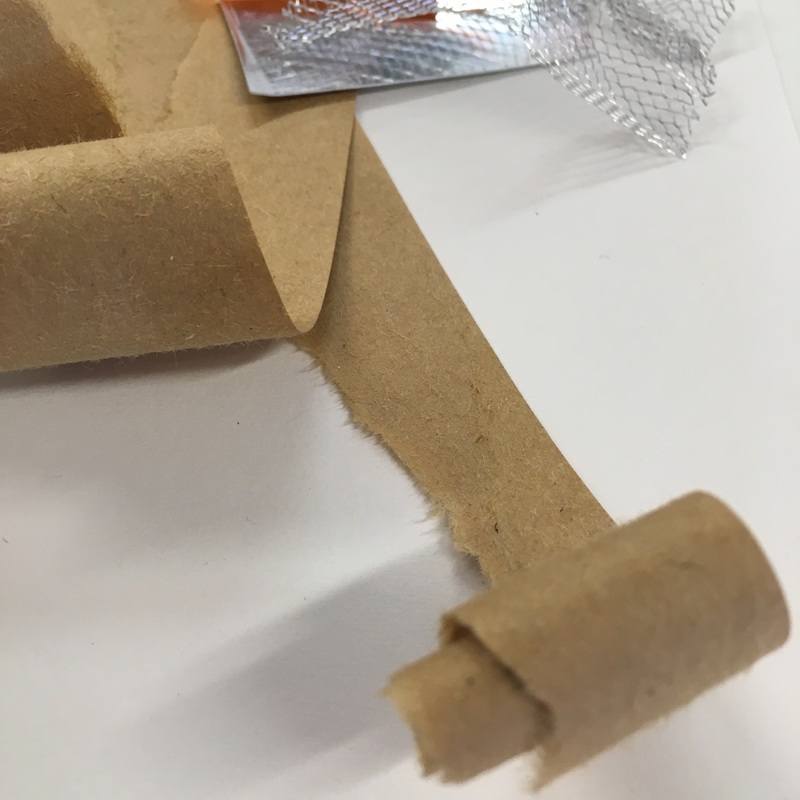
Photographing sculpture compositions
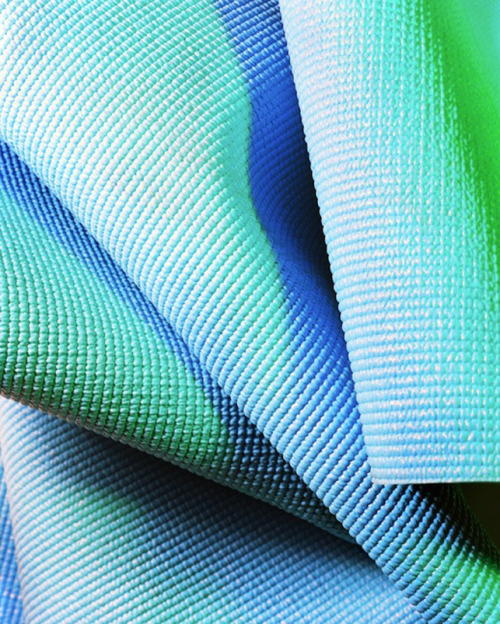
I created my own composition using different materials that I could photograph - focusing specifically on the the surface of the materials, focusing close up and in detail. I tore some strips of brown paper, creating a curled, spiral effect. I then placed a piece of reflective paper, a piece of orange acetate and some metal mesh on top, to add some different textures and colours. I photographed the composition from different angles, from high and low viewpoints. I got as close as possible (as close as the camera would allow me whilst remaining in-focus), to the subject, to focus in on different areas of the composition from close viewpoints. I am relatively happy with the result, as I like the shapes of the spirals of brown paper. However, I would like to make another composition/sculpture potentially with more vibrant colours and a different sets of materials similarly to Eileen Quinlan's work.


Experimenting with Slides
Using a range of different liquids and substances, to create a range of different surfaces and effects, we experimented with slides. To create these slides, we fist cut two small squares of clear acetate, the right size to fit in the slide holder/frame. We then applied a range of substances onto one of the pieces of acetate; such as salt, food colouring, antibacterial spray, coloured nail varnish, deodorant, glue, juice and even scratched or engraved the surface of the acetate. We then placed another piece of acetate to contain the substances, before placing it in the slide holder.
First experiment
For this experiment, I put some food colouring, salt, some purple nail varnish and scratched the surface of the acetate. I put the acetate into a slide holder/frame, and then took this slide in the darkroom to create an image on photographic paper. Firstly I took the negative holder out of the medium format enlarger, and then I placed the slide into the negative holder. I put the negative holder back into the enlarger, and put on the safety filter. I then focused the light, and took out a sheet of photographic paper. I placed the paper under the enlarger, and removed the safety filter for two seconds (2 second exposure at f2.8). I then developed this sheet, putting it in the developer, fix and then stop before rinsing and drying the sheet.
I am relatively pleased with the result I got after it was developed. However, I think that it was slightly under exposed as the white/lighter areas are too bright and there isn't much contrast between the dark and light areas.
I am relatively pleased with the result I got after it was developed. However, I think that it was slightly under exposed as the white/lighter areas are too bright and there isn't much contrast between the dark and light areas.
Second Experiment
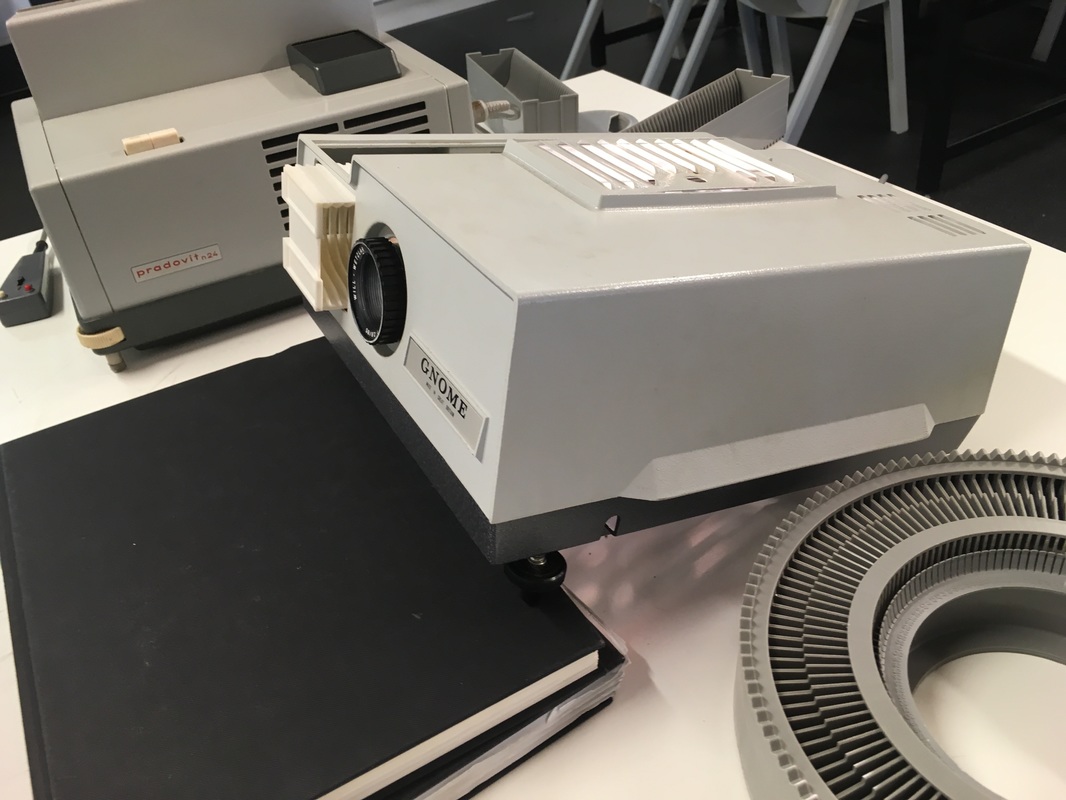
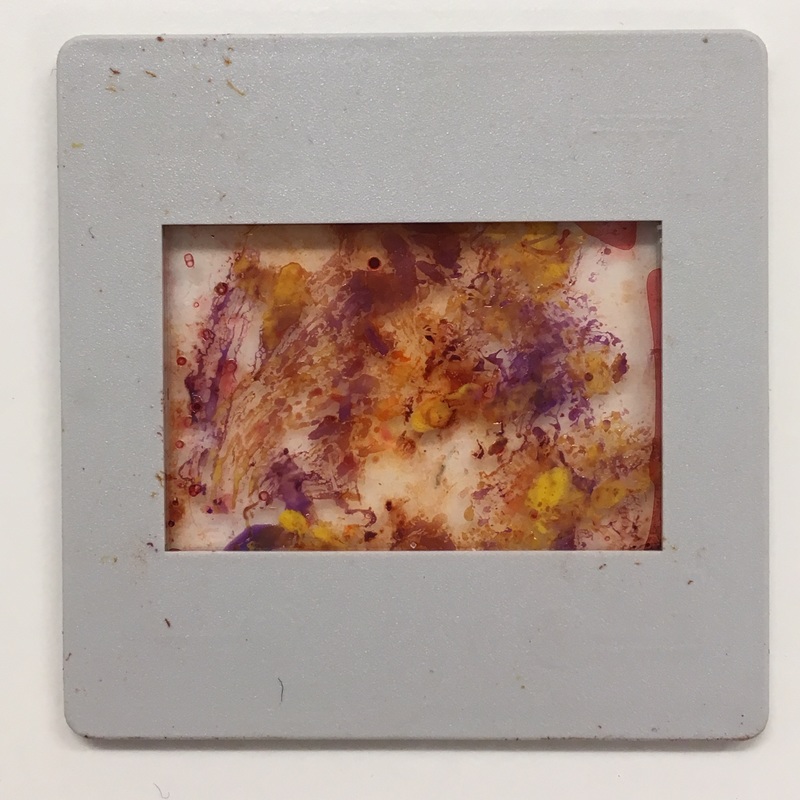

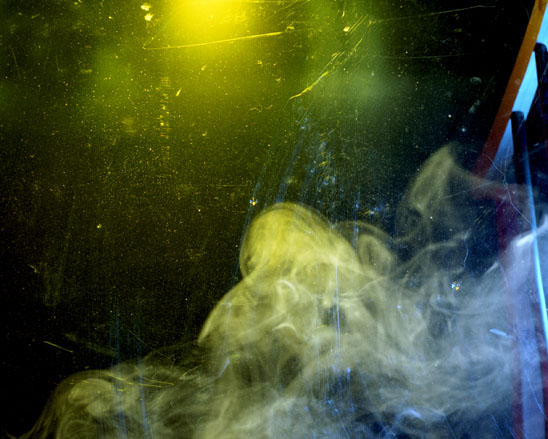
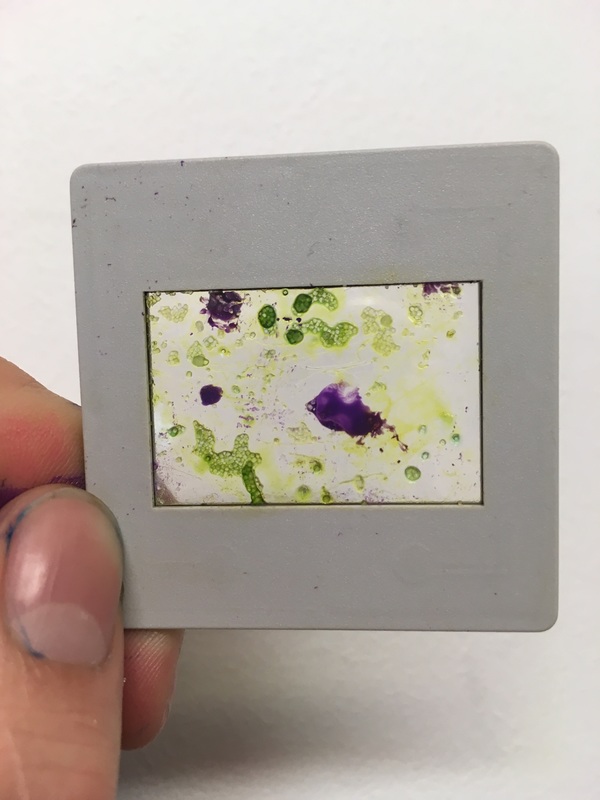
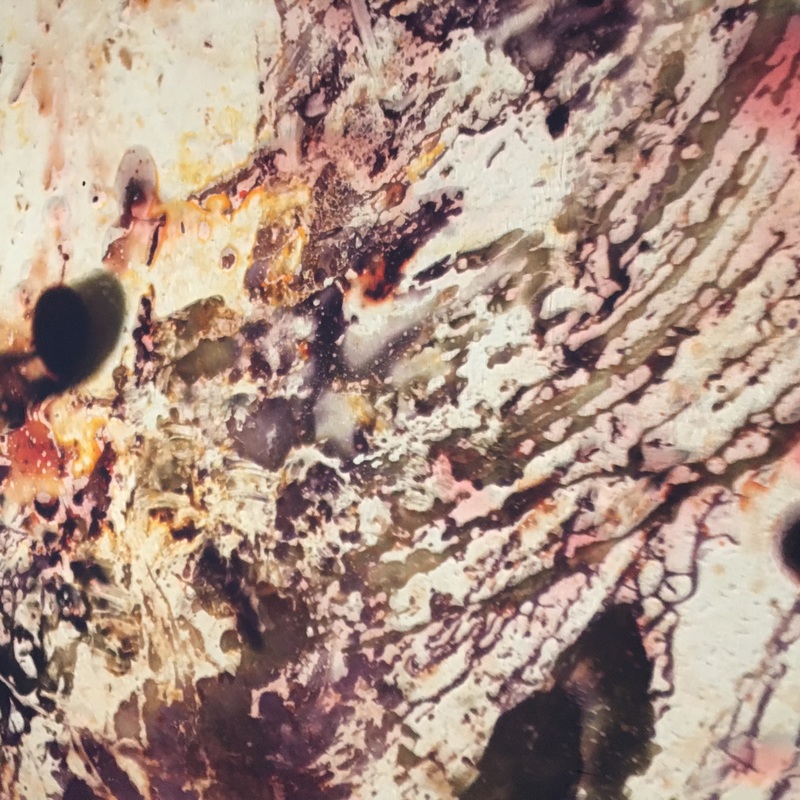
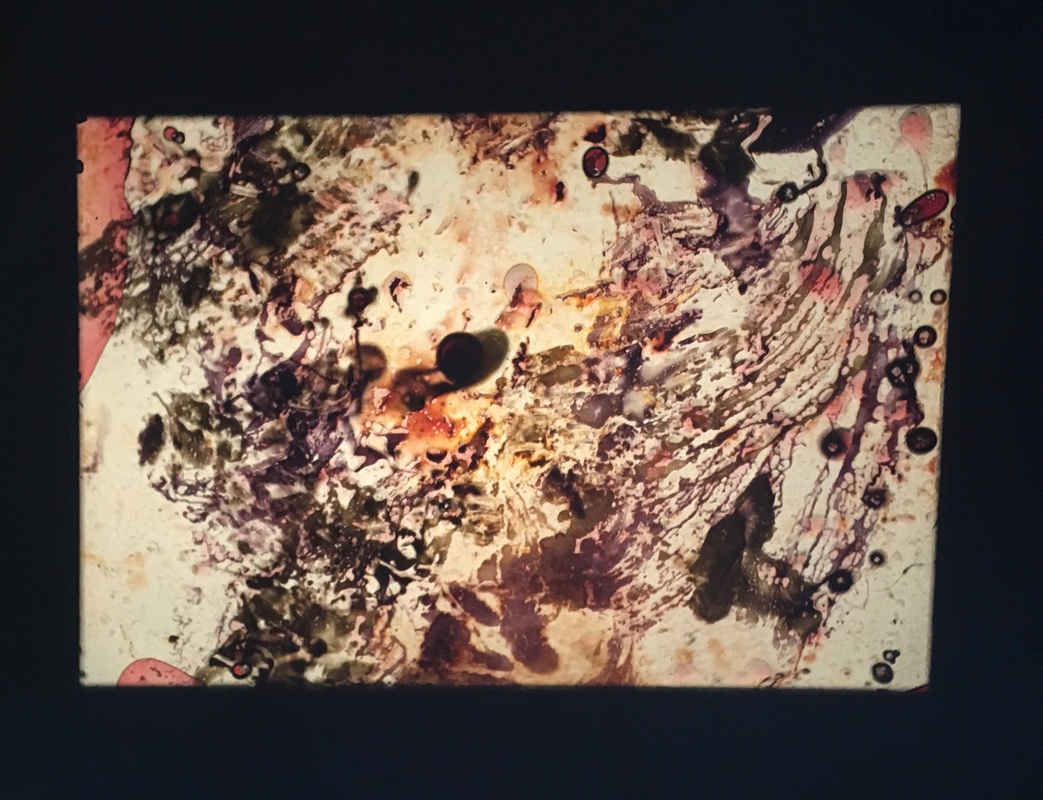
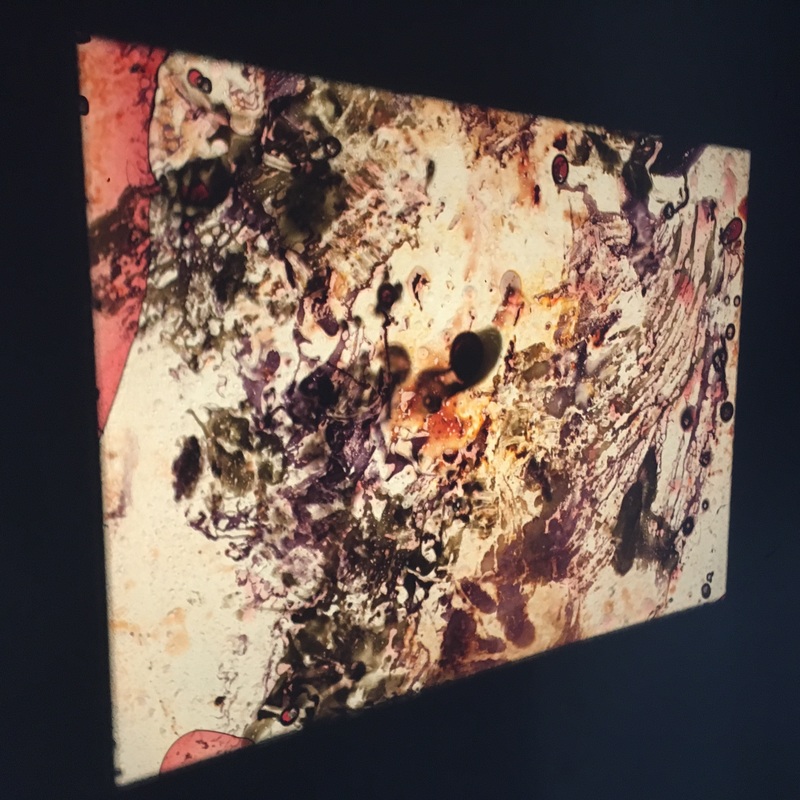
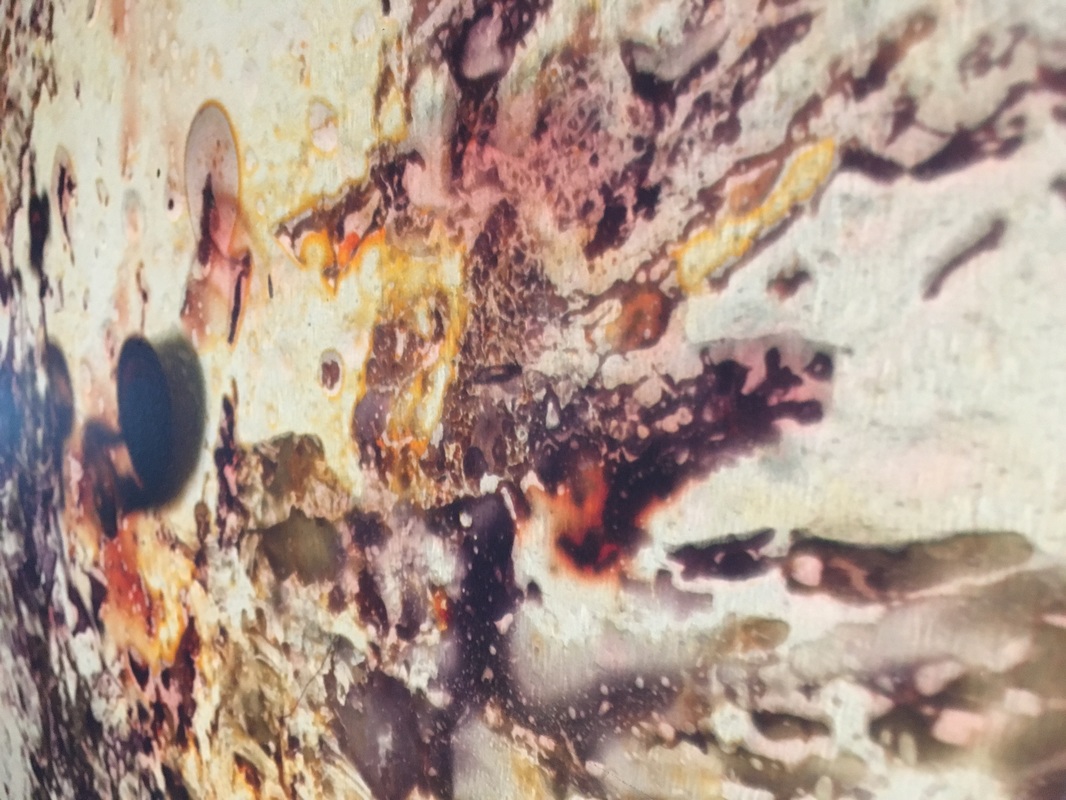
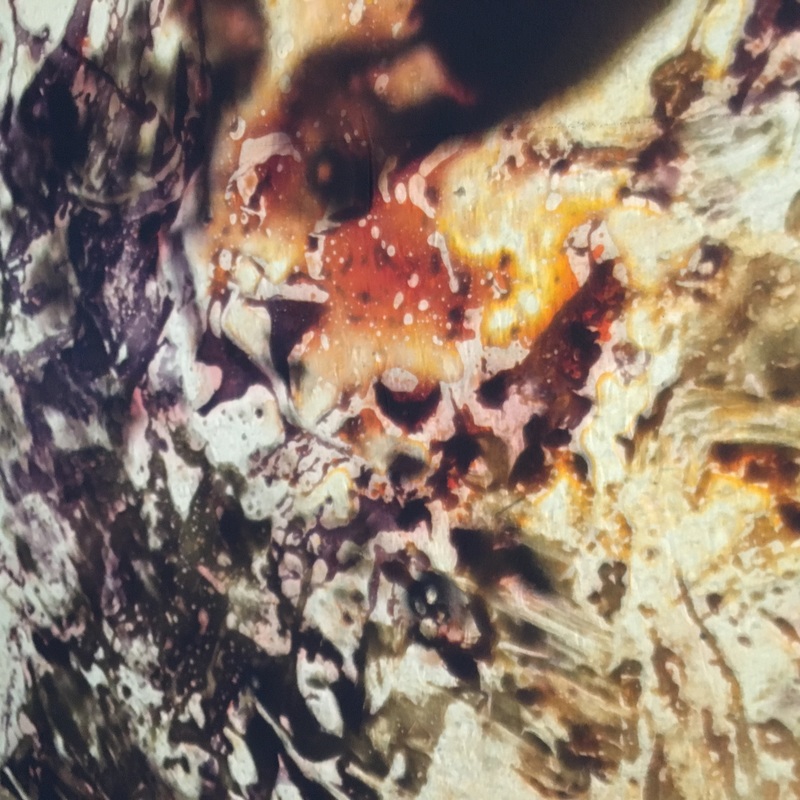
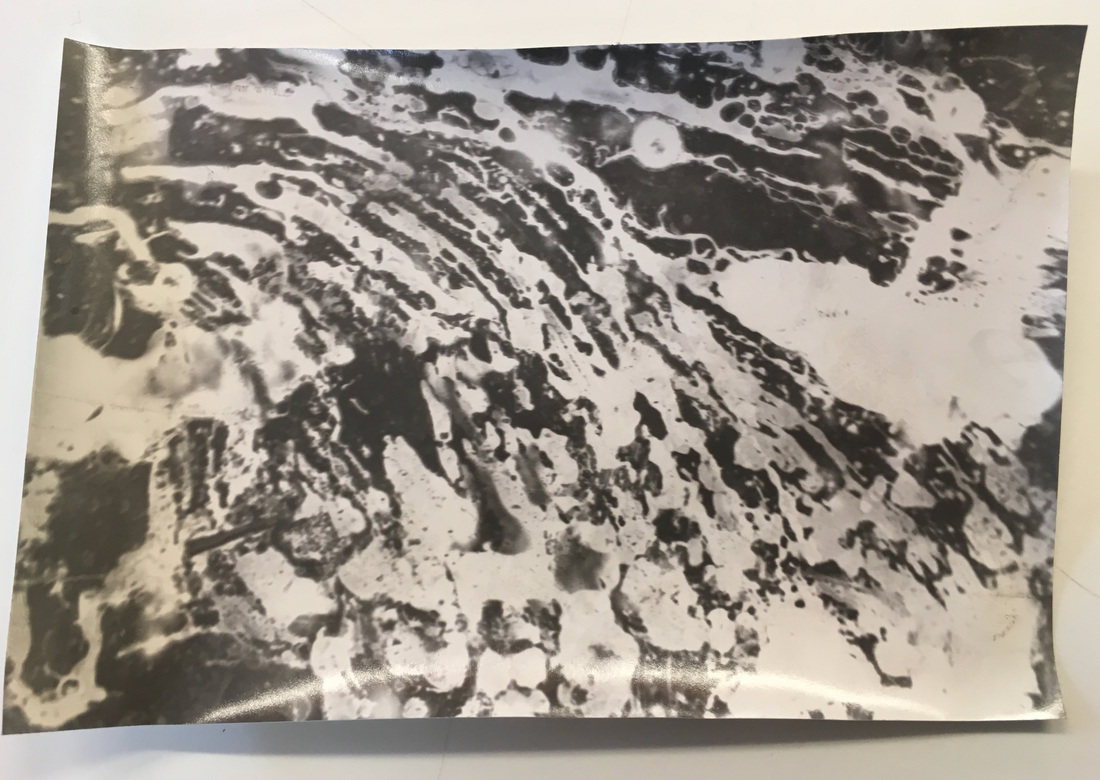
In this experiment, I placed a new slide into a projector. I made this new slide with more substances including cranberry juice, purple nail vanish, green food colouring, salt, yellow nail polish and orange juice. I placed this slide into the projector, creating a very interesting effect. I like the smeared effect and patches of colour, creating an interesting, abstracted effect; almost like colourful granite. I then took a number of compositional images, focusing in on different parks of the projected slide. Overall, I was pleased by the projected image that my new slide created.
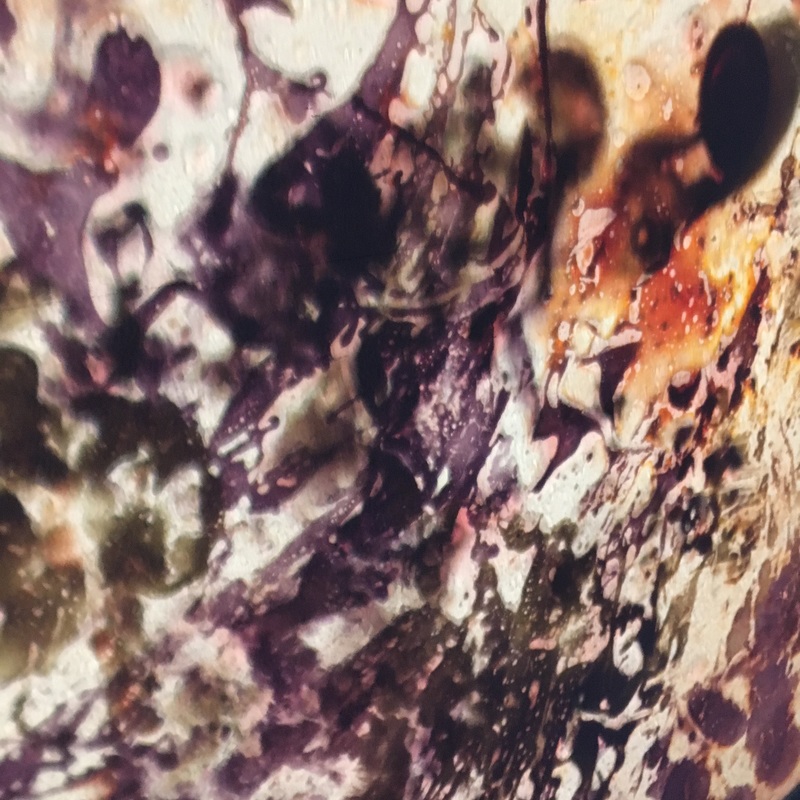
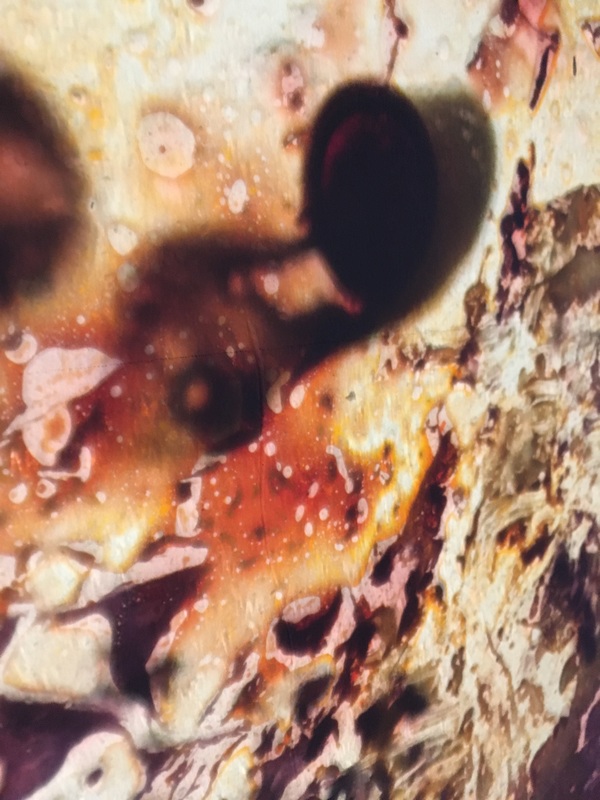
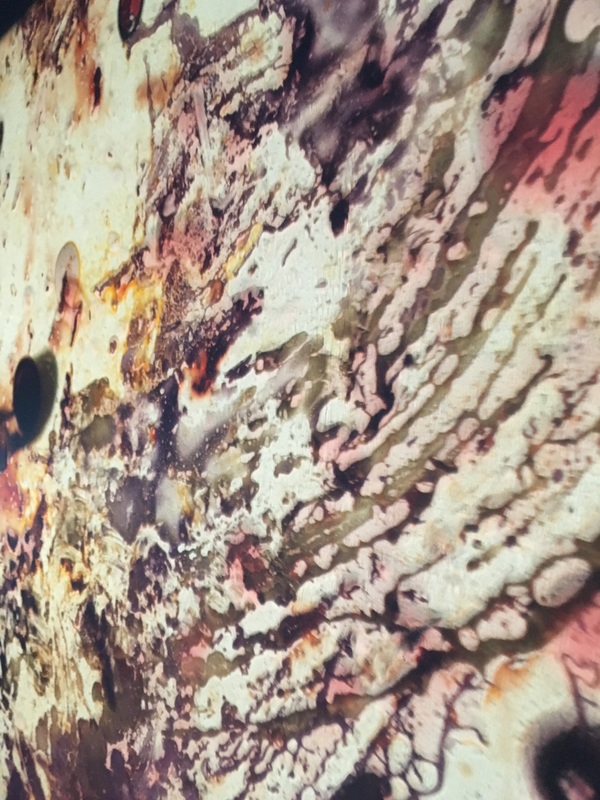
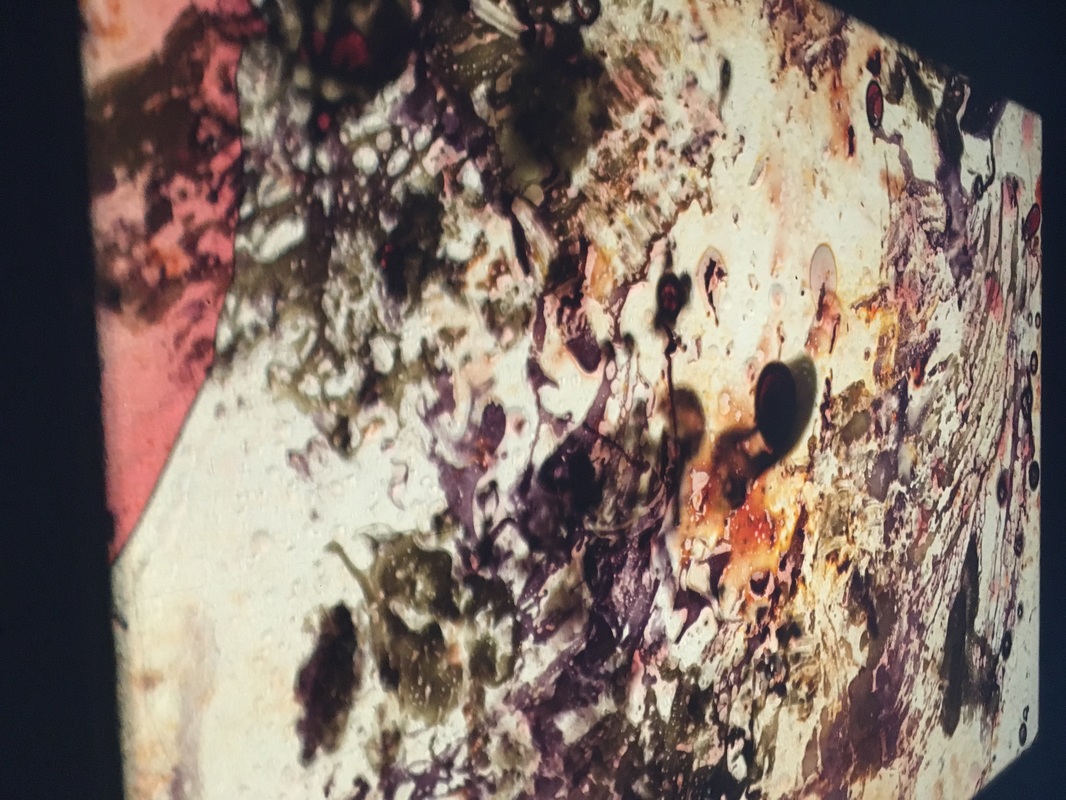
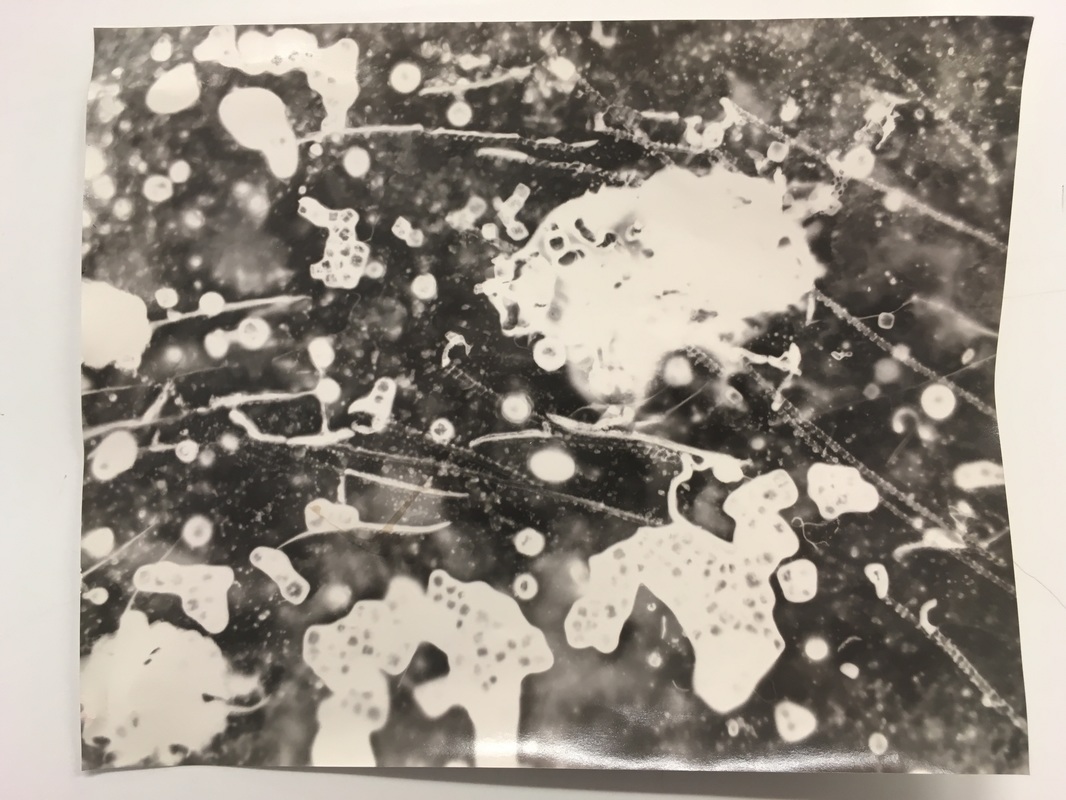
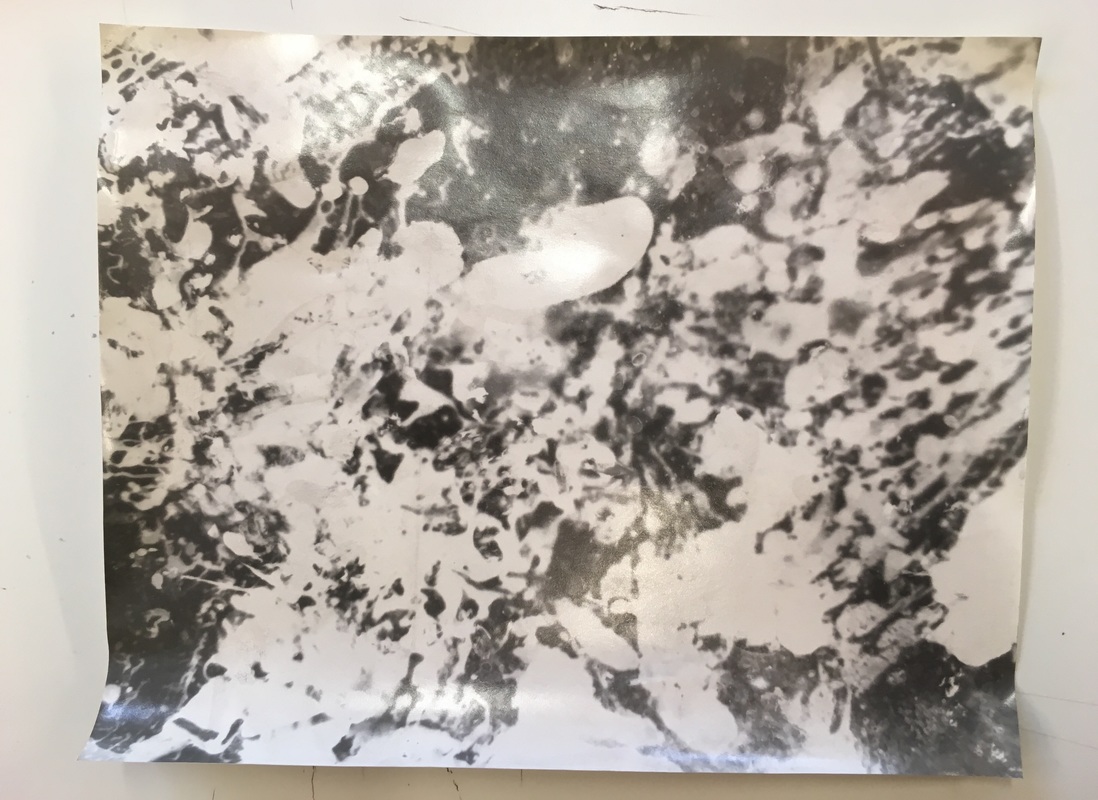
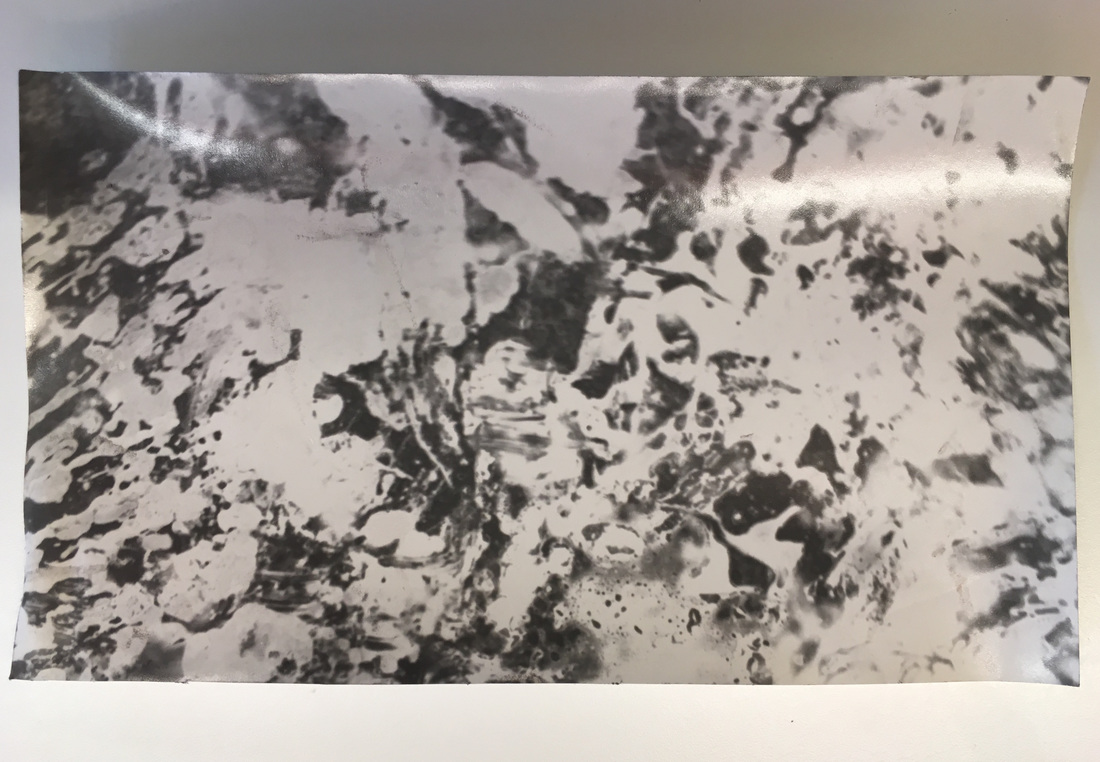
After projecting the new slide that I created, I then used this slide to create some prints in the darkroom. I placed the slide that I had in a negative holder, and then put this holder into a medium format enlarger. With the safety filter on, I turned on the enlarger to project an image of the slide. I then placed a sheet of photographic paper underneath the enlarger and then moved around the paper to include different parts of the safelight filtered image. I also focused the projected image to make sure it was sharply focused, and adjusted the aperture to f2.8 (I wanted to have quite a lot of light hitting the paper and have a short exposure). For the first photographic print (far left of gallery below), I placed the sheet in the centre of the projection, but I only included smaller sections of the projected image in the two other smaller photographic prints (centre and far right below).
I think that the images were quite well exposed, and the prints have quite interesting abstracted compositions. I especially like the print in the centre of the gallery below, as I like the curved, smeared shape across the centre of the print. It was interesting to see how the slide appeared on a monochrome photographic print, especially after projecting it in colour using the projector. Personally, I think I prefer the appearance of the the colour print due to the different coloured substances in the slide, however it made some quite interesting shapes on the photographic prints. I would like to potentially like to use this slide to create a colour photographic print. i could also experiment with different coloured filters when doing this.
I think that the images were quite well exposed, and the prints have quite interesting abstracted compositions. I especially like the print in the centre of the gallery below, as I like the curved, smeared shape across the centre of the print. It was interesting to see how the slide appeared on a monochrome photographic print, especially after projecting it in colour using the projector. Personally, I think I prefer the appearance of the the colour print due to the different coloured substances in the slide, however it made some quite interesting shapes on the photographic prints. I would like to potentially like to use this slide to create a colour photographic print. i could also experiment with different coloured filters when doing this.
Experimentation with surfaces
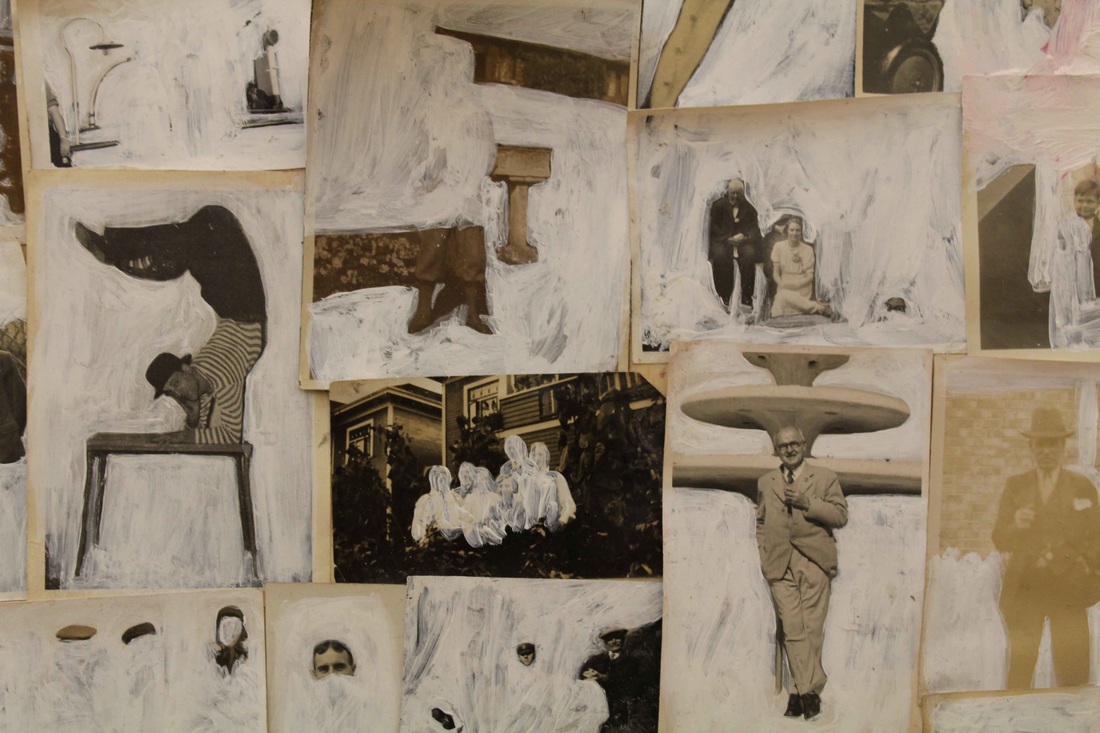
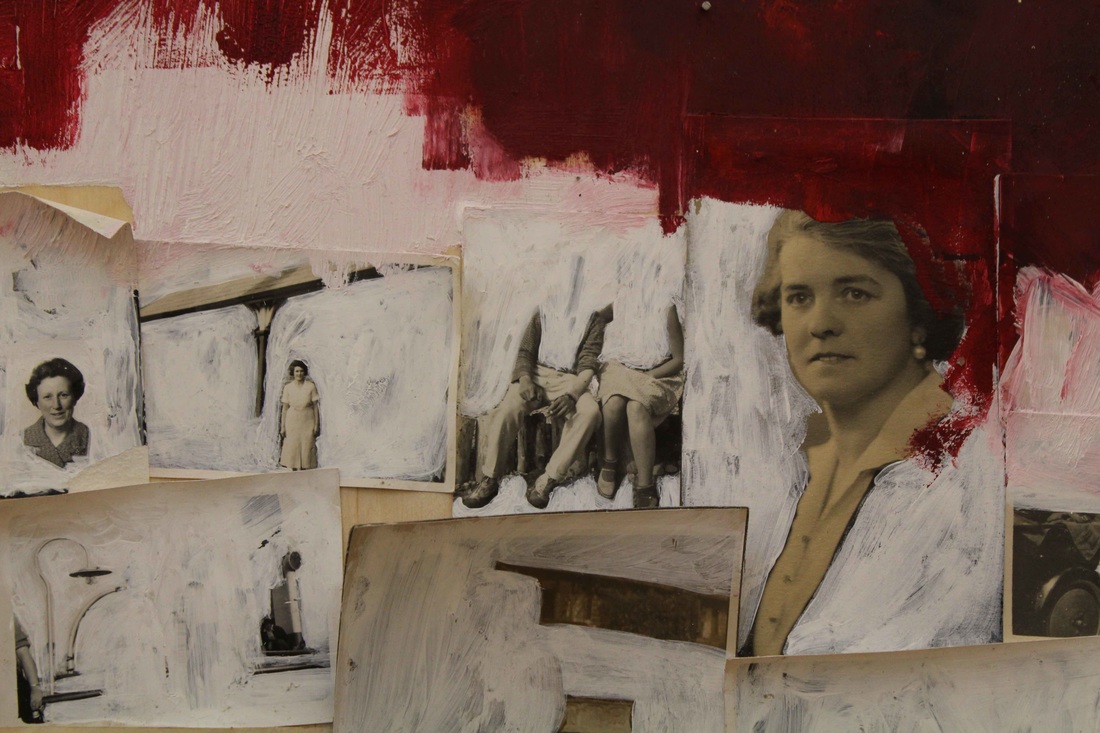
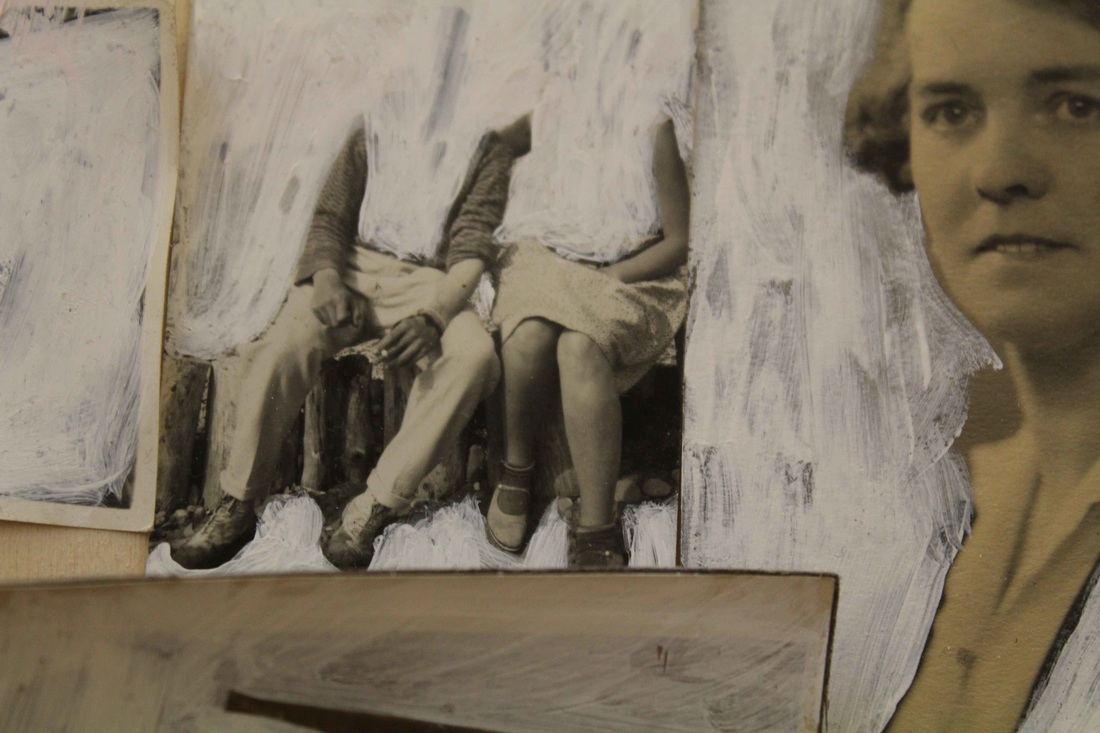
As part of our investigation and project looking at the surface of things, we began some experimentation with photographs and various materials. In these experimentations, we were focusing on manipulating or adding new layers/elements to the surface of photographs. We used a number of printed photographs, and began manipulating or altering these photographs using various substances, or rearranging and collaging these photographs indifferent ways.
First Experiment
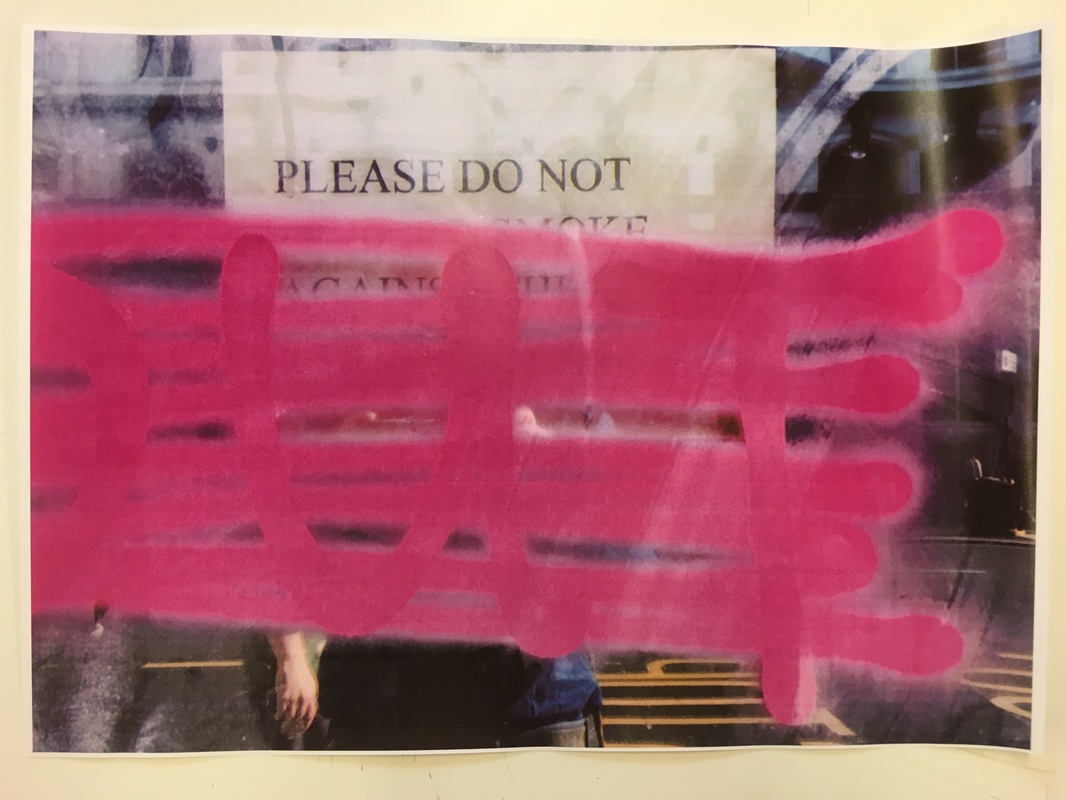
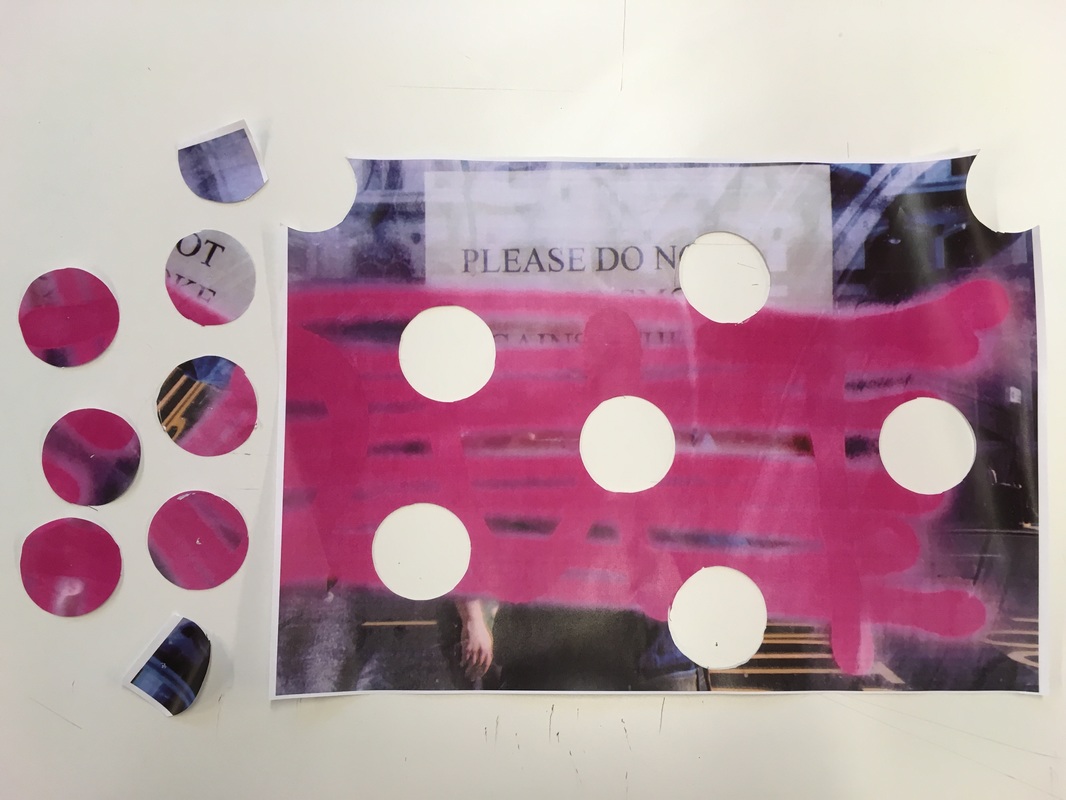
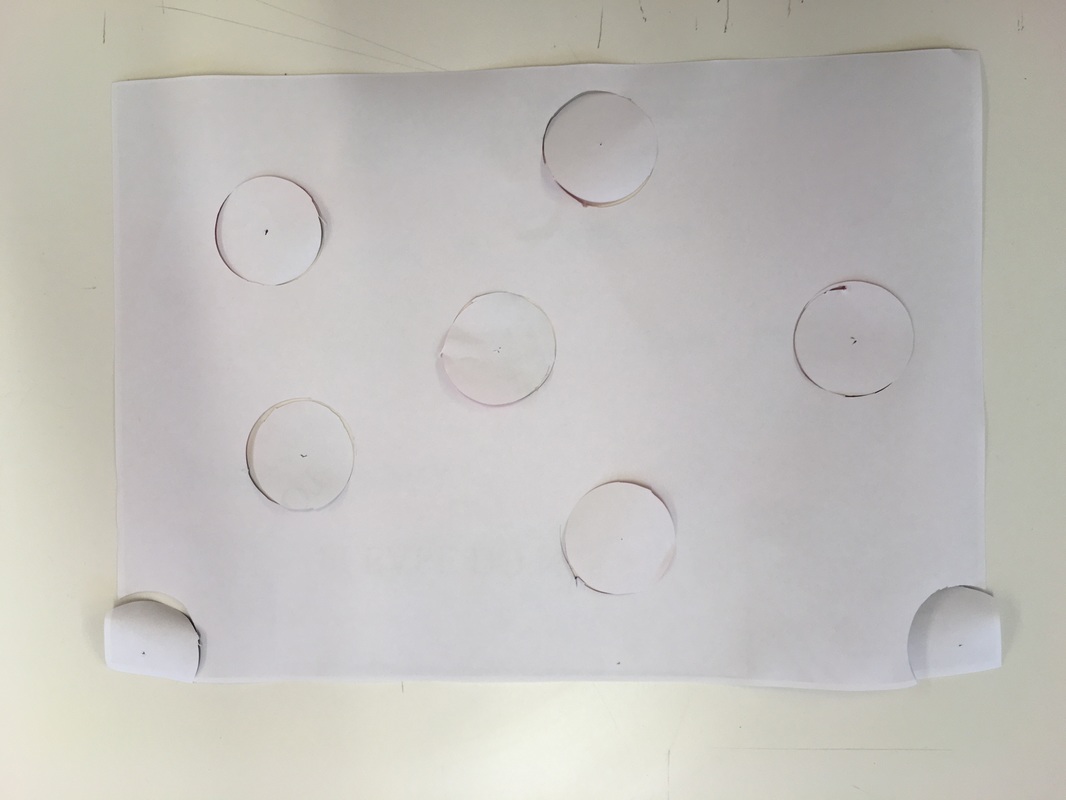
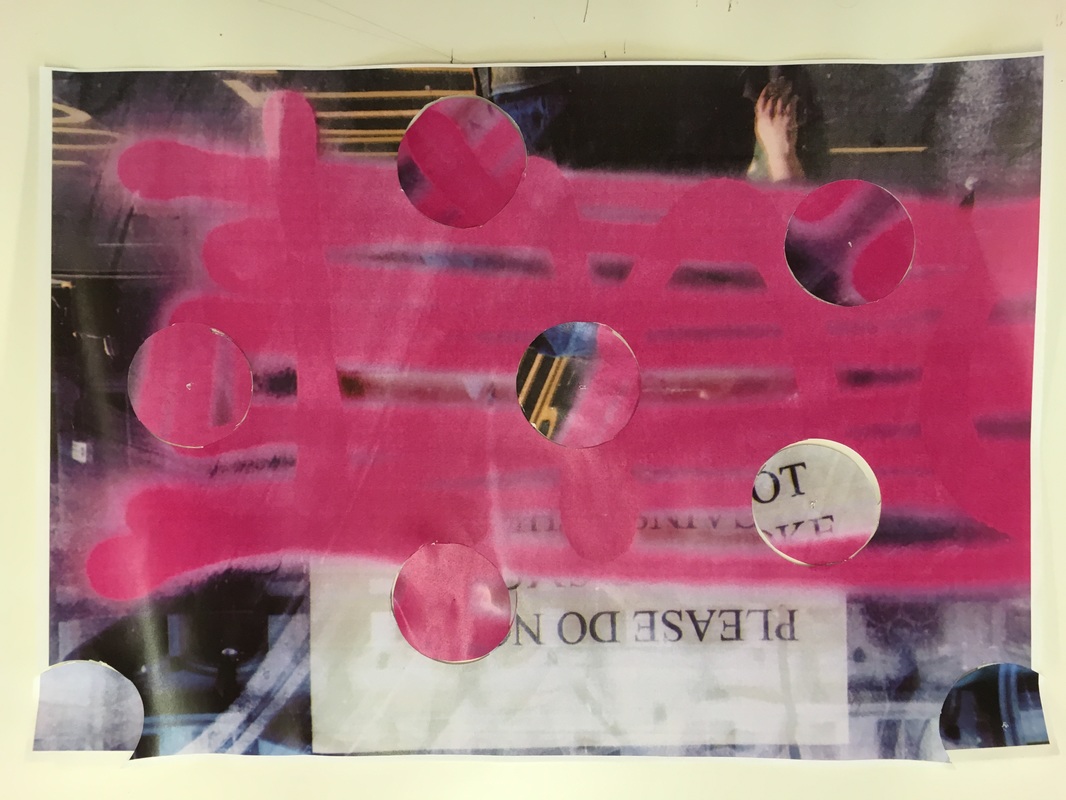
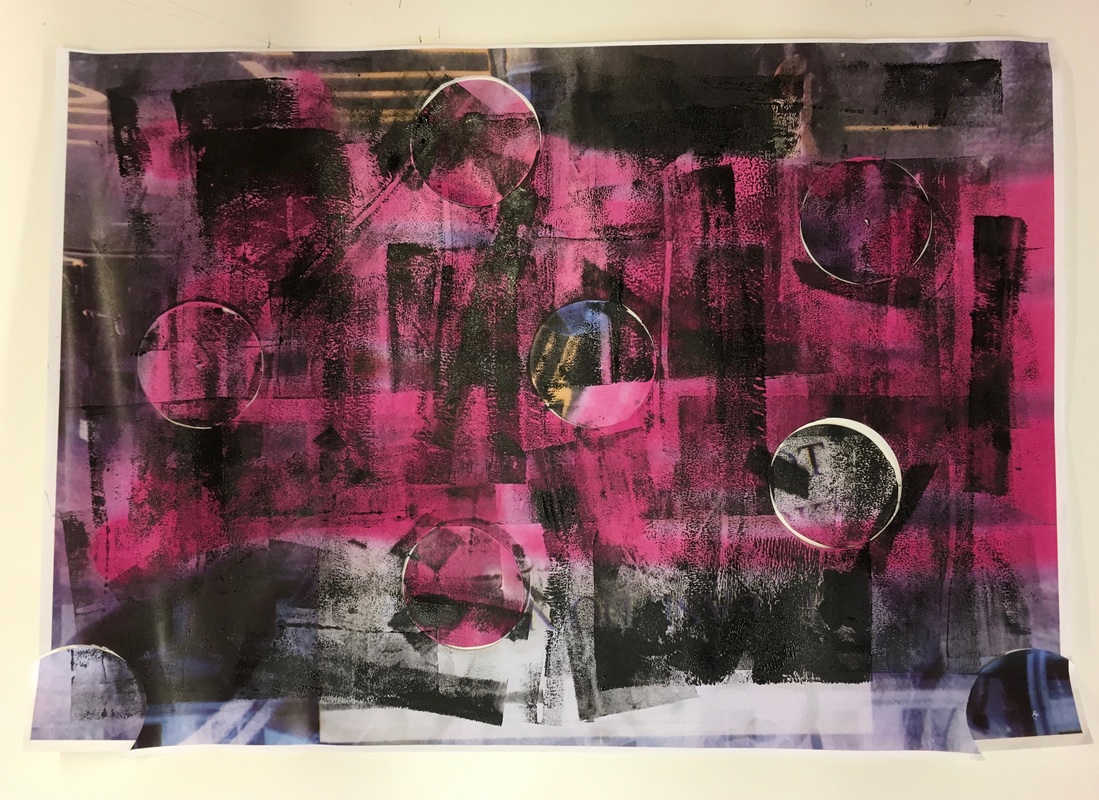
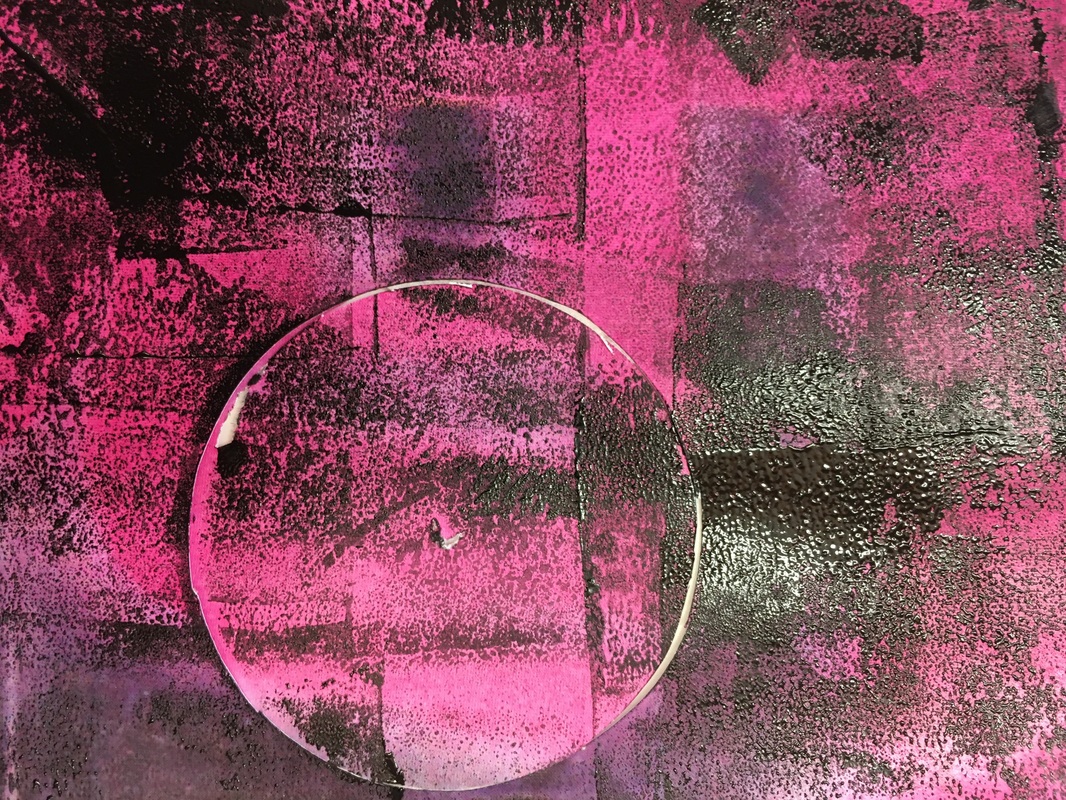
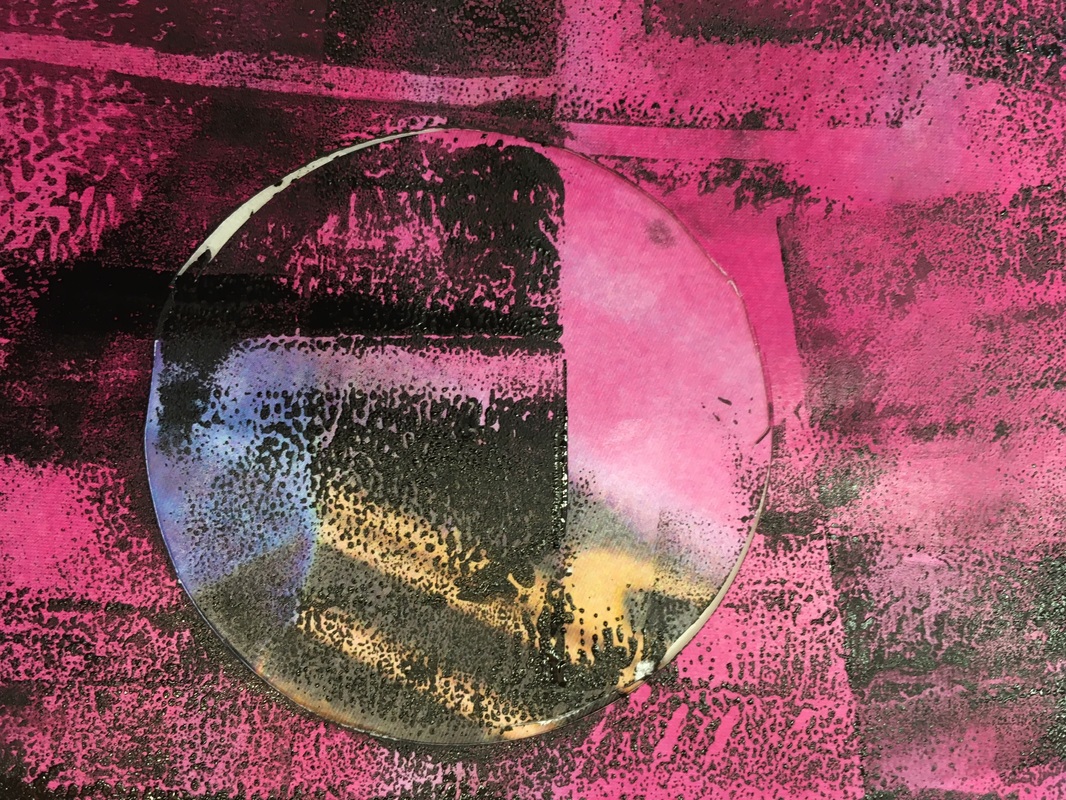
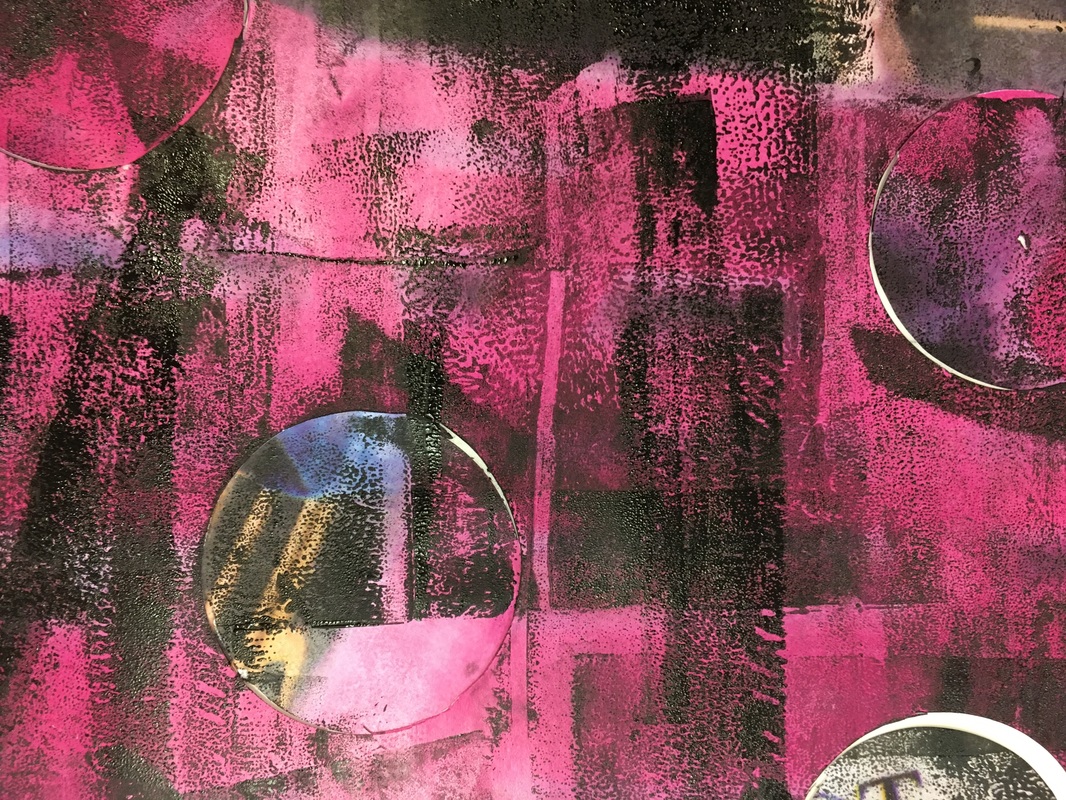
For my first experiment, used a circle cutter to cut circles from an A3 printed photograph. I cut various circles from the photograph, and I then turned over the photograph and placed the circles randomly in the cut out holes. I replaced the circles randomly to create an abstracted, random collage/composition. Then taped down these circles on the back of the photograph to fix them in place. I then turned over the photograph to reveal the abstracted collage/composition. The finished collage was quite interesting, although i could have varied the sizes of the different circles that I cut, to add some more variation.
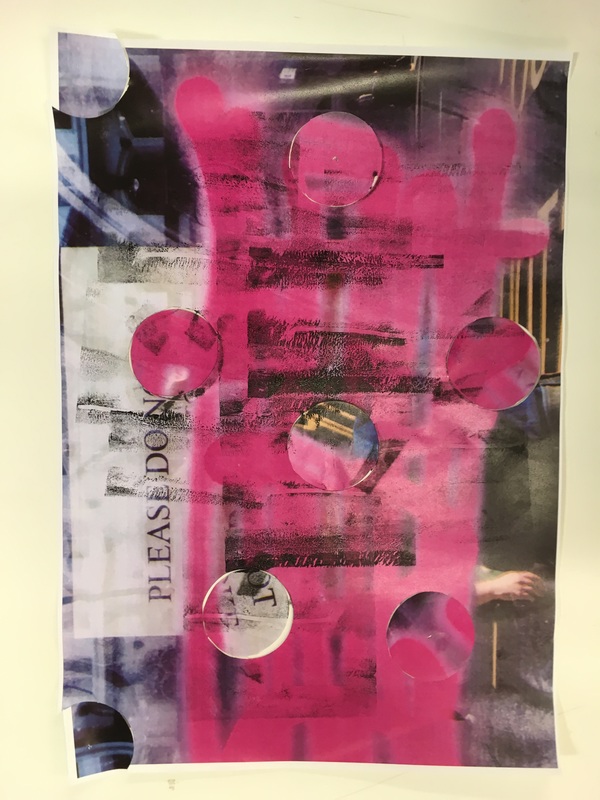
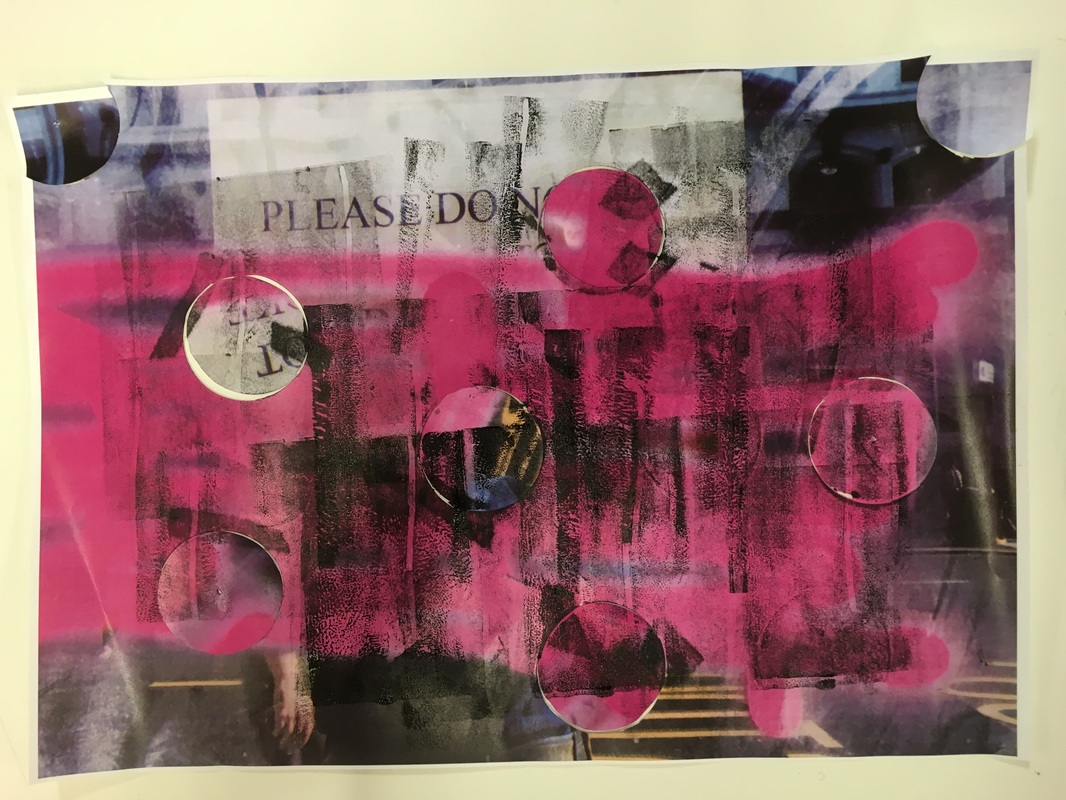
After I had taped the circles in place, I applied some black ink to add another surface layer and dimension to the photograph. I quite like the overall effect, with the uneven areas of black ink contrasting with the pink photograph.
After I had taped the circles in place, I applied some black ink to add another surface layer and dimension to the photograph. I quite like the overall effect, with the uneven areas of black ink contrasting with the pink photograph.


Second Experiment
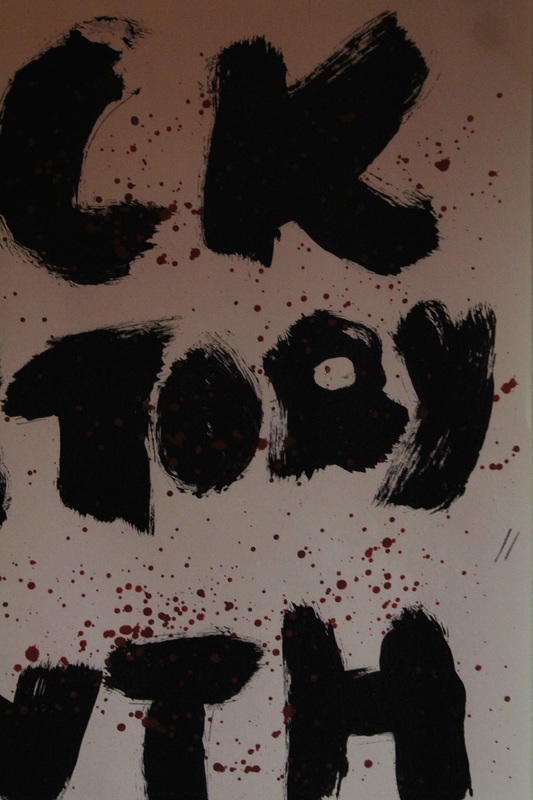
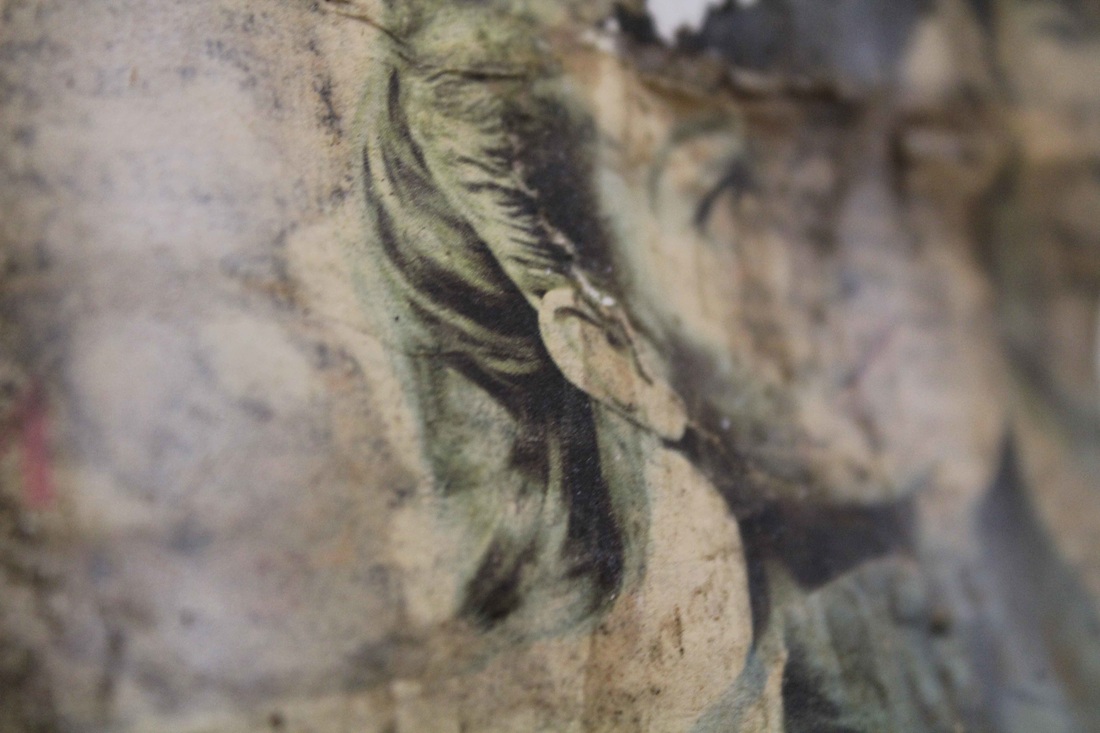
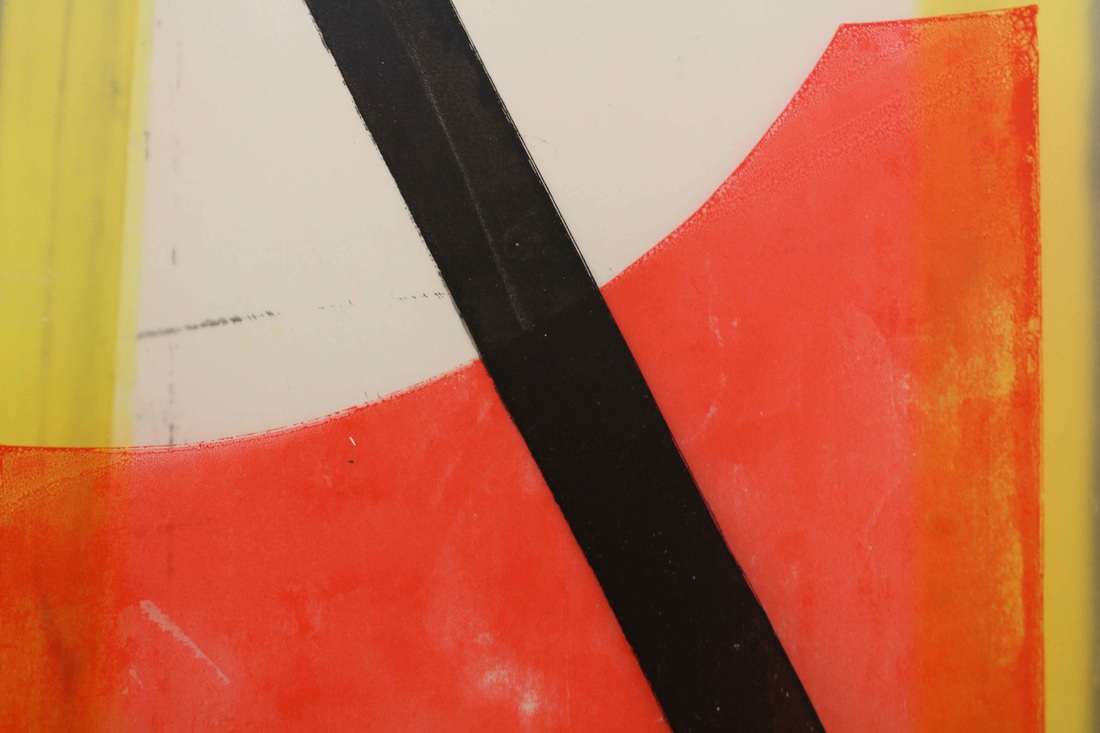
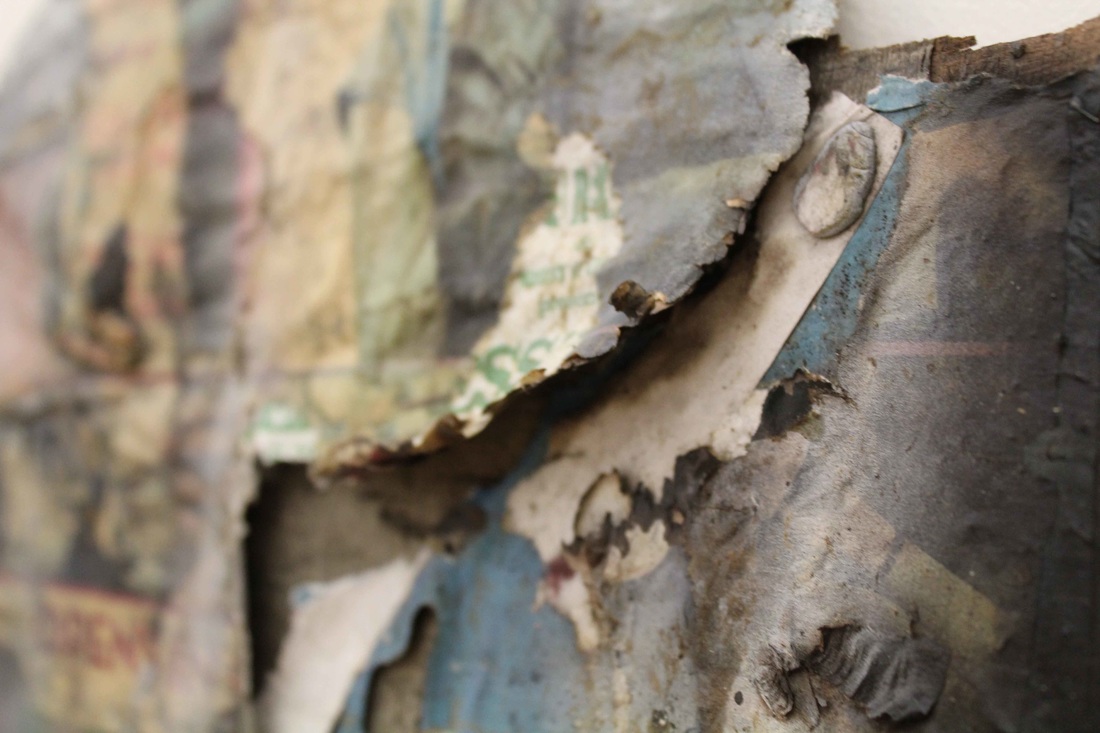
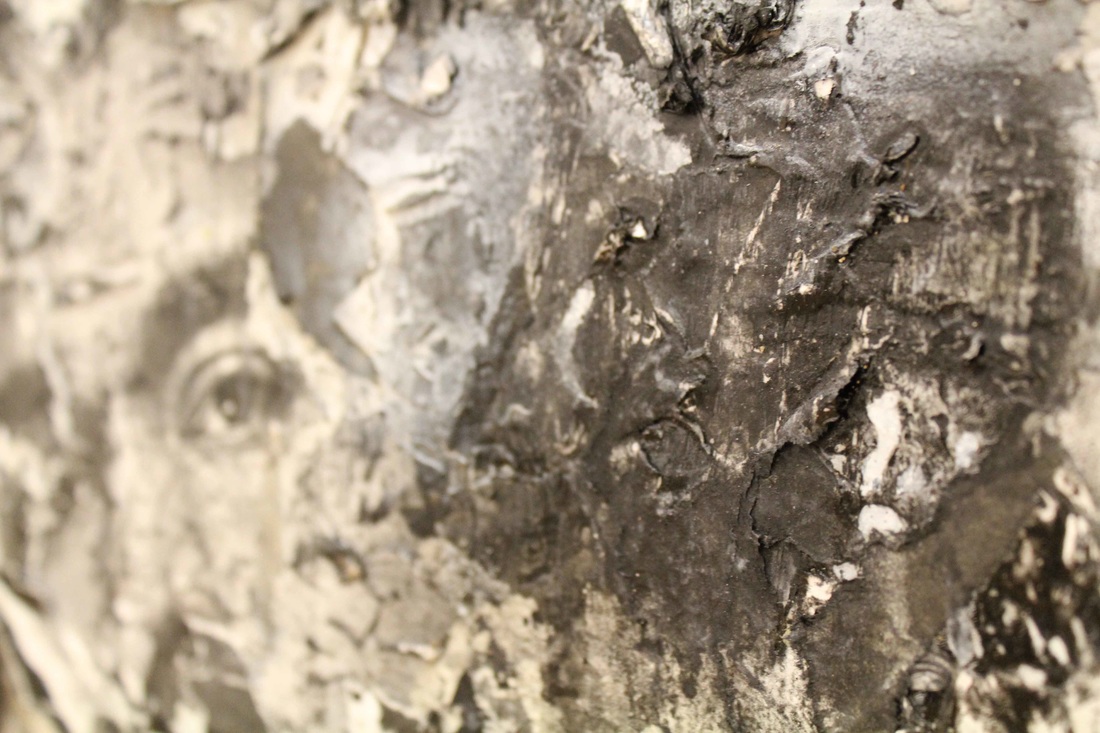
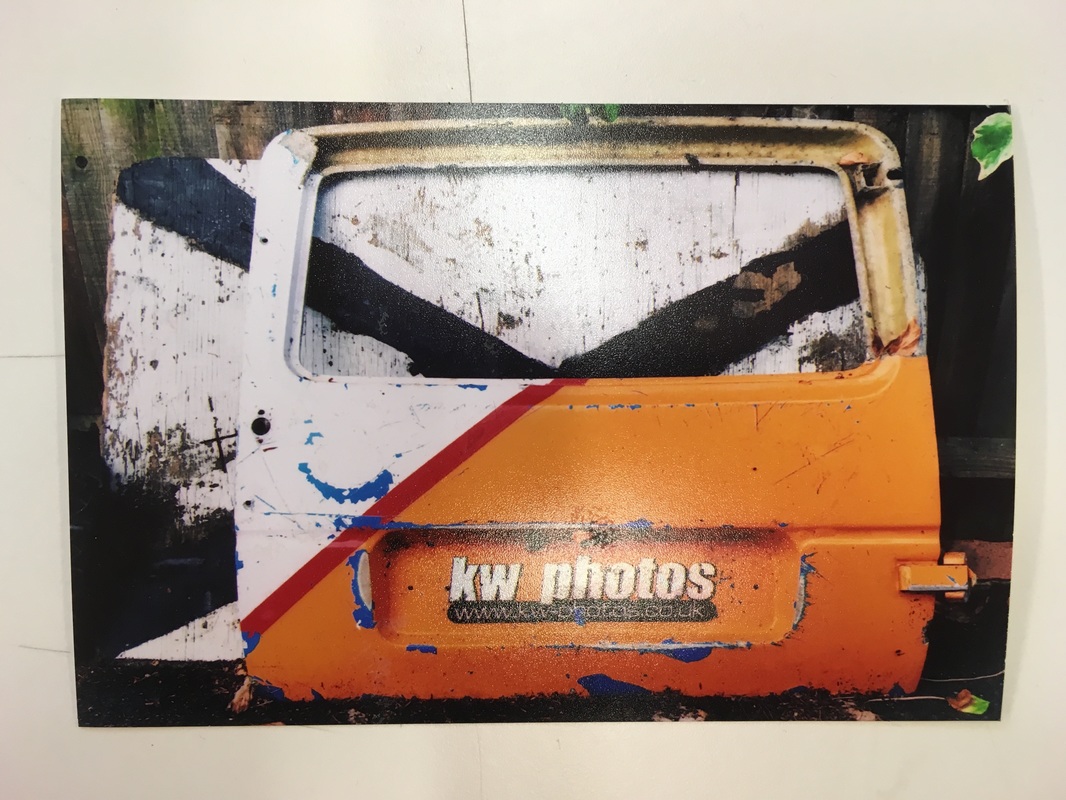
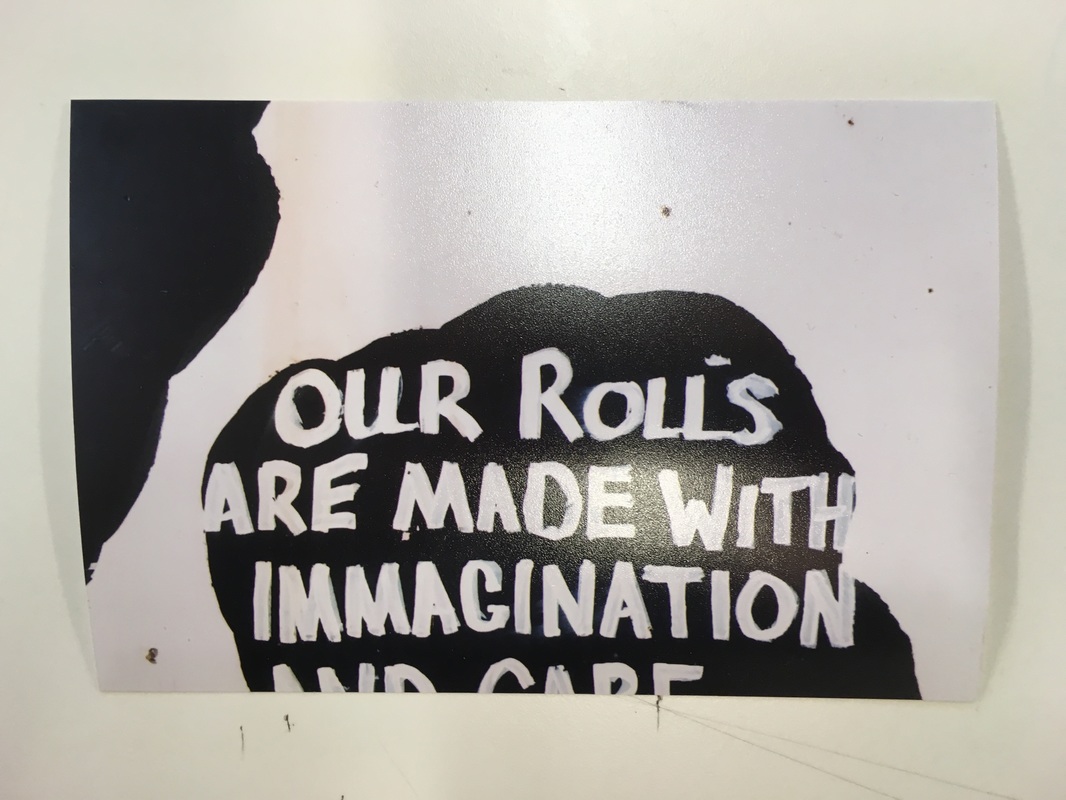
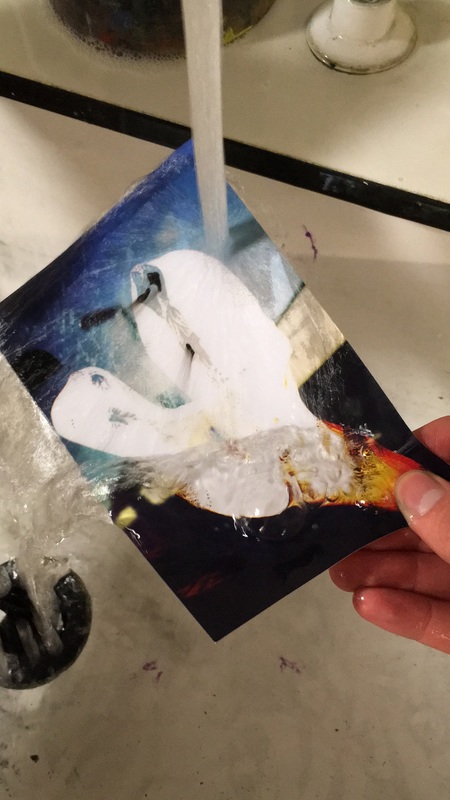
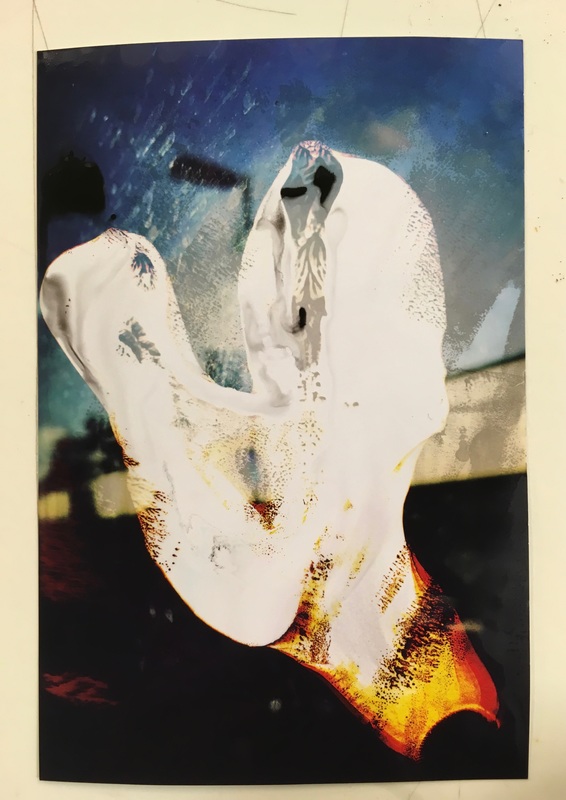
For my second experiment, I applied bleach onto the surface of this photograph. Similarly, I wanted to manipulate and alter the surface appearance of this photograph. I applied the bleach onto the surface of the picture and as the ink from the photograph began to run, I washed off the bleach. I like the effect the bleach has on the photograph, with white areas alongside areas where the colours/ink has run.

Third Experiment
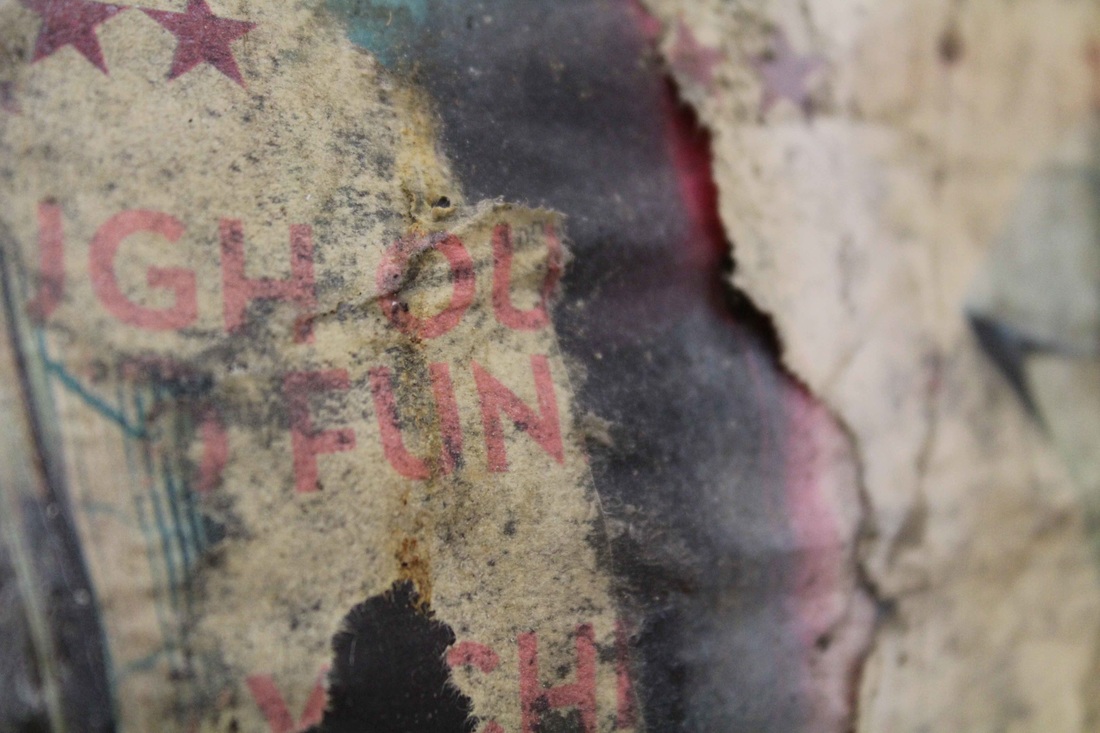
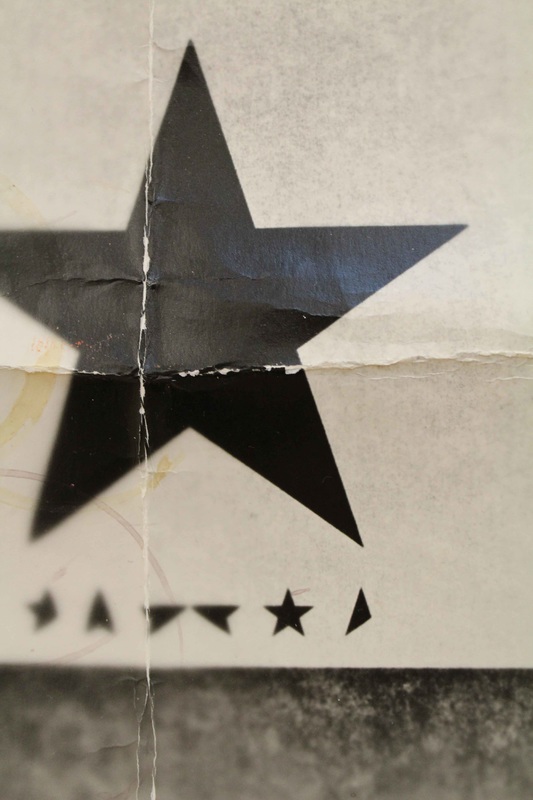
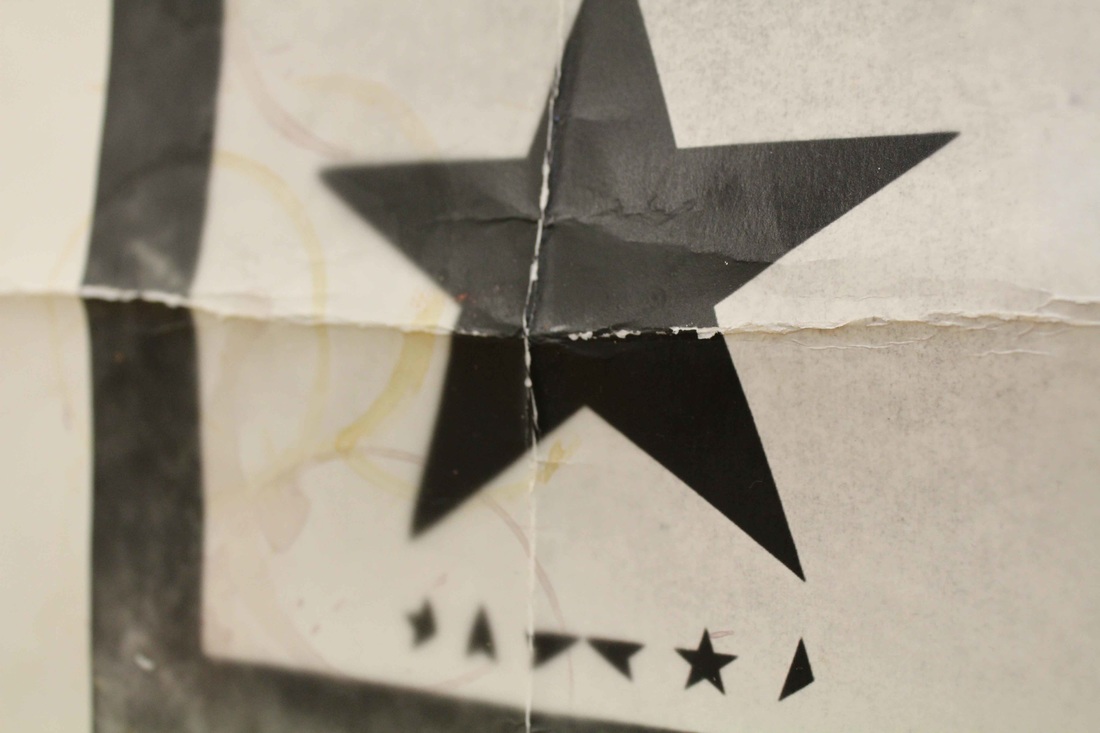
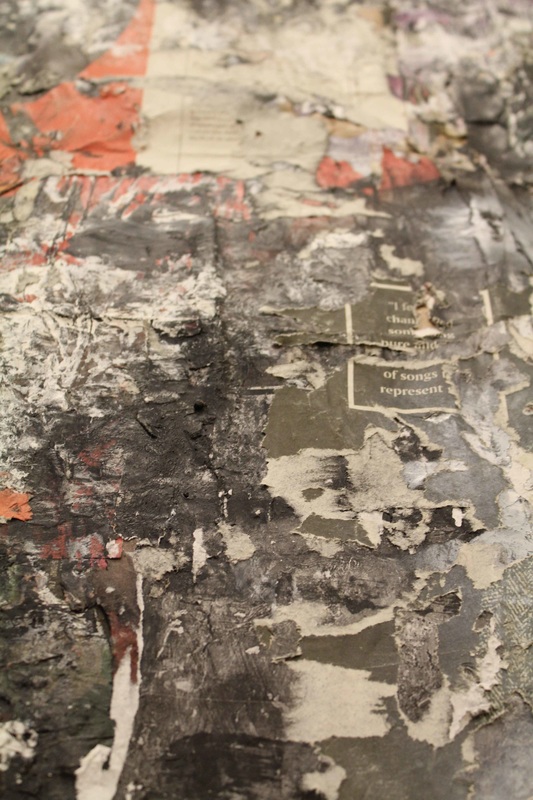
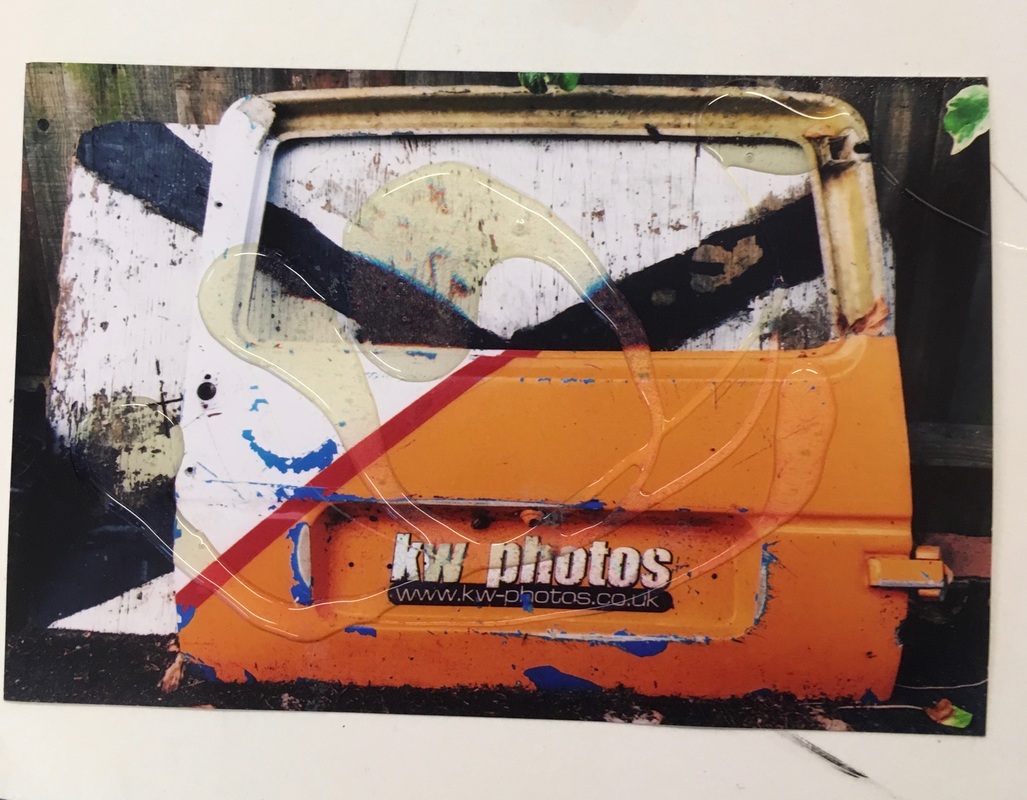
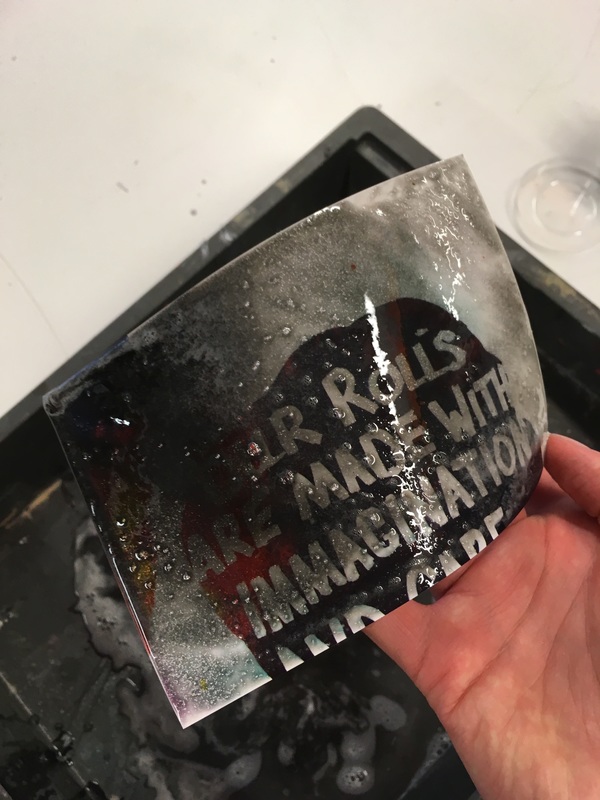
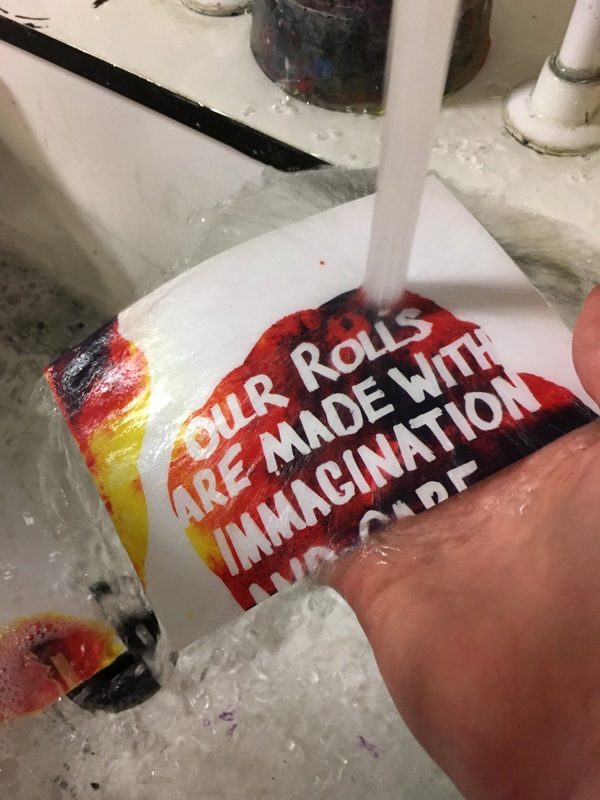
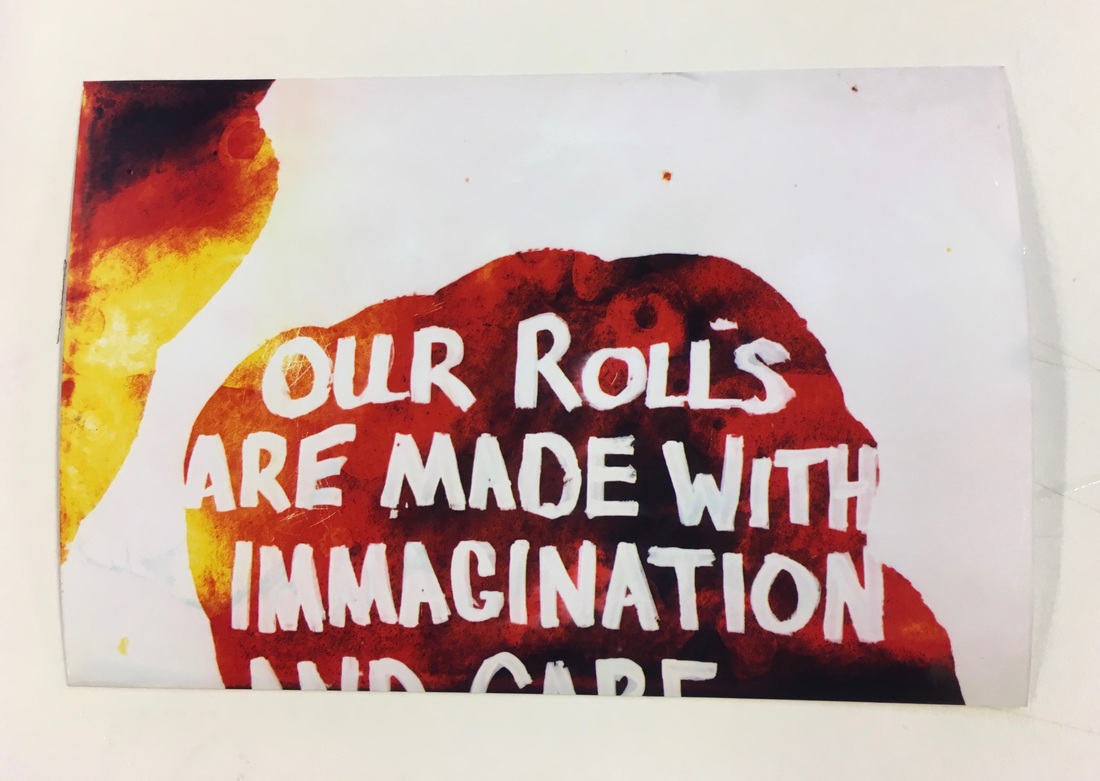
For my third experiment, I placed this photograph face down into a water, salt and bleach solution. I rubbed the photograph face down in the solution, covering the photograph's surface. After a few minutes (as I noticed the colours beginning to run), I took the photograph to the sink to wash off the solution. The effect that was created was very interested, and not the result that I had expected. The colours in the photograph had run, but only in the black areas of the photograph. As there wasn't a lot of bleach in the solution, it only partially altered the photograph, not too severely. I like the effect create and final result, especially the different orange, red and yellow colours in the black areas of the photograph; as well as the small scratches from the grains of salt.
Fourth Experiment
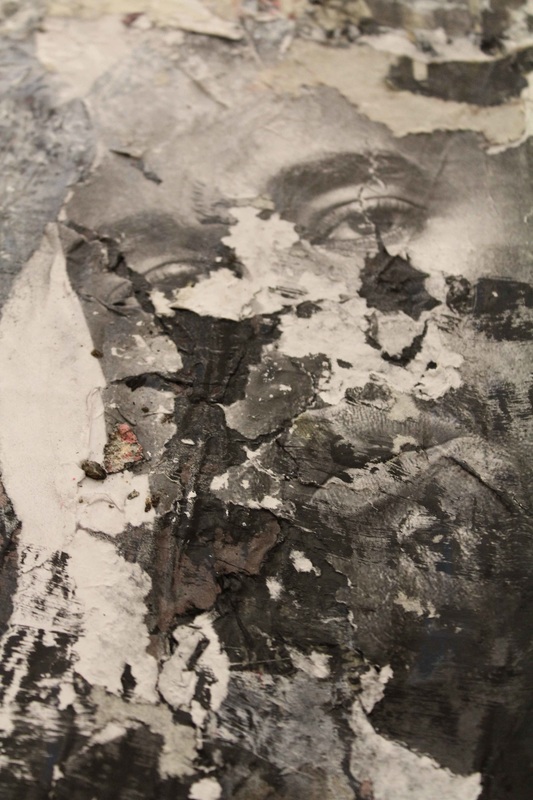
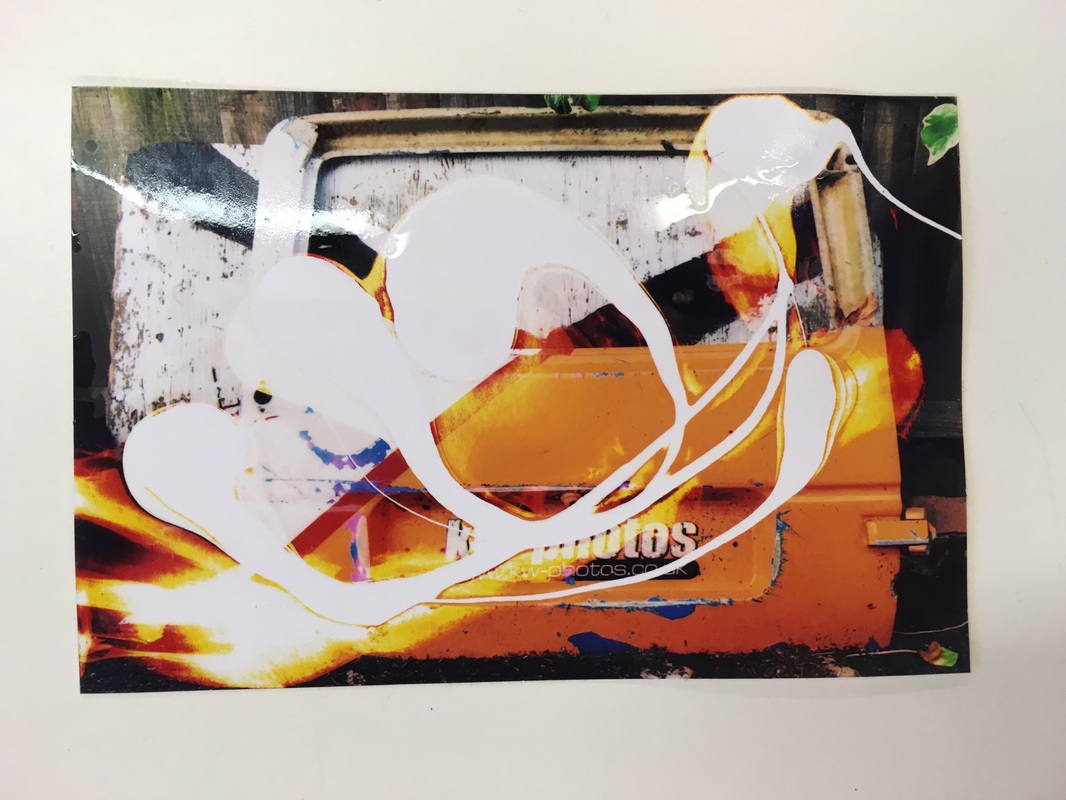
For this experiment, I used a number of different substances. Firstly, I rolled patches of black ink onto the surface of the photograph. After this, I poured some bleach onto the surface, before quickly washing it off. I wanted to see the result and how these two different substances reacted when applied to the surface of a photograph. The black removed areas of the photograph with some colour run, whilst the black ink also ran in a few areas. The result is interesting, but I think I used too much bleach.
Fifth Experiment
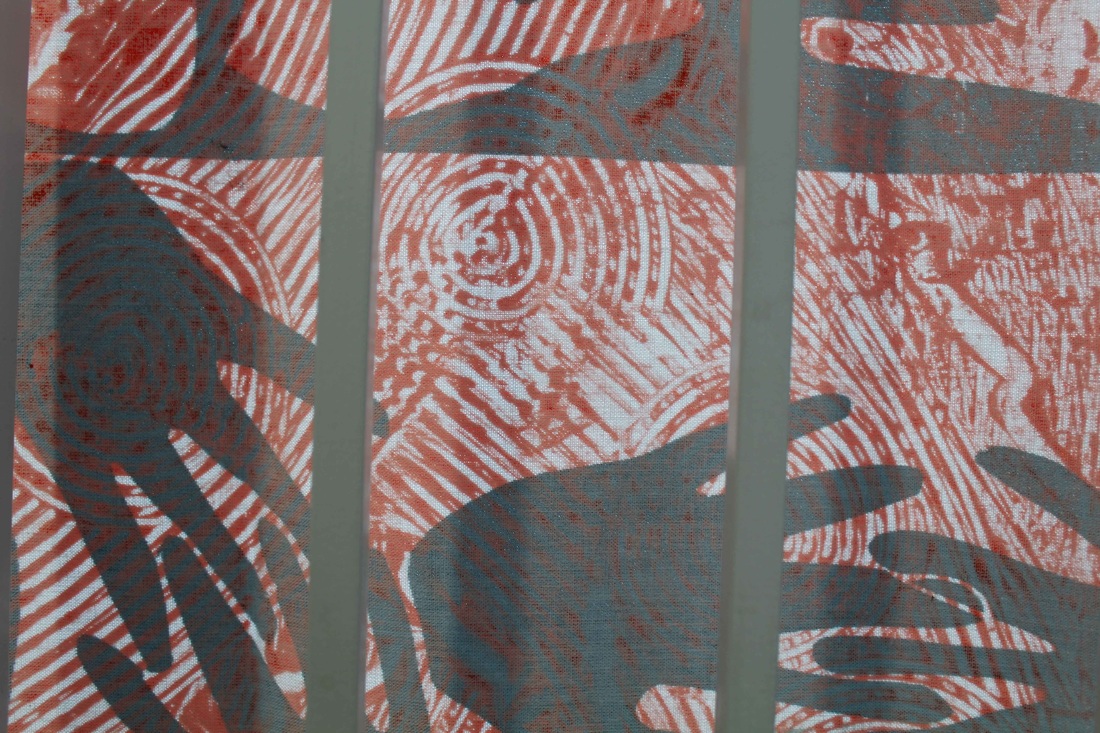
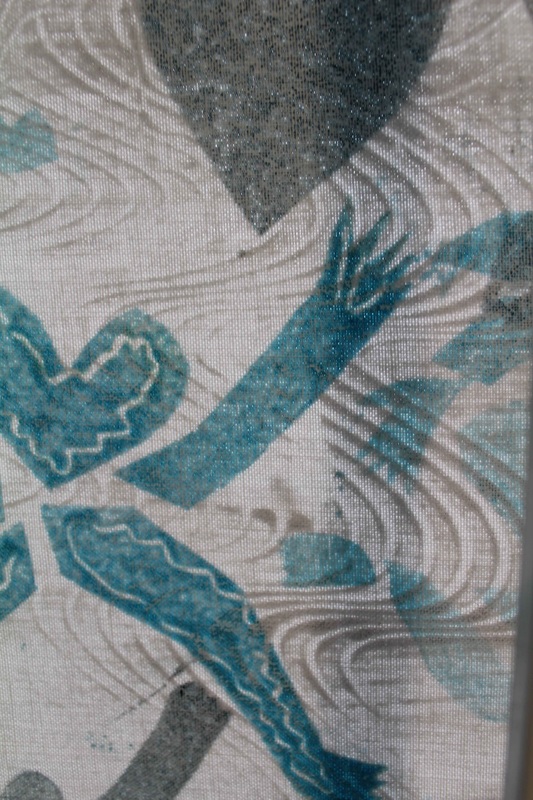
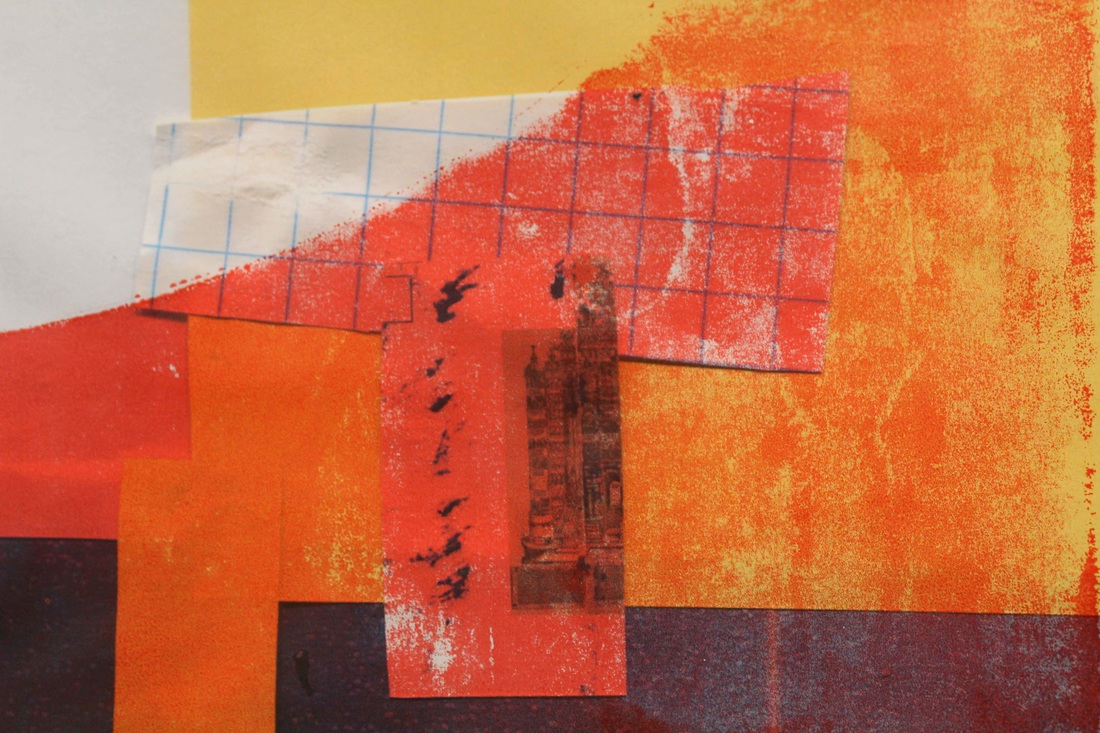
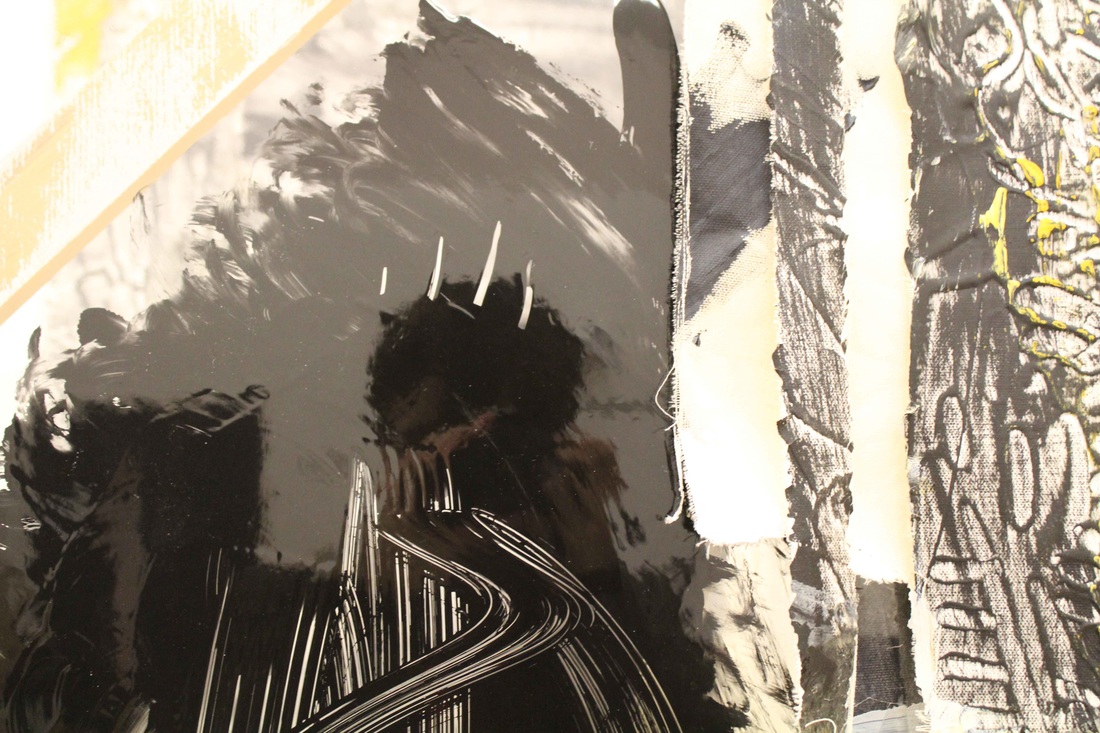
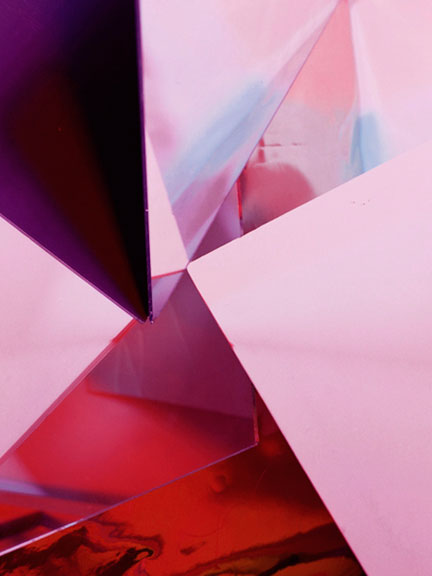
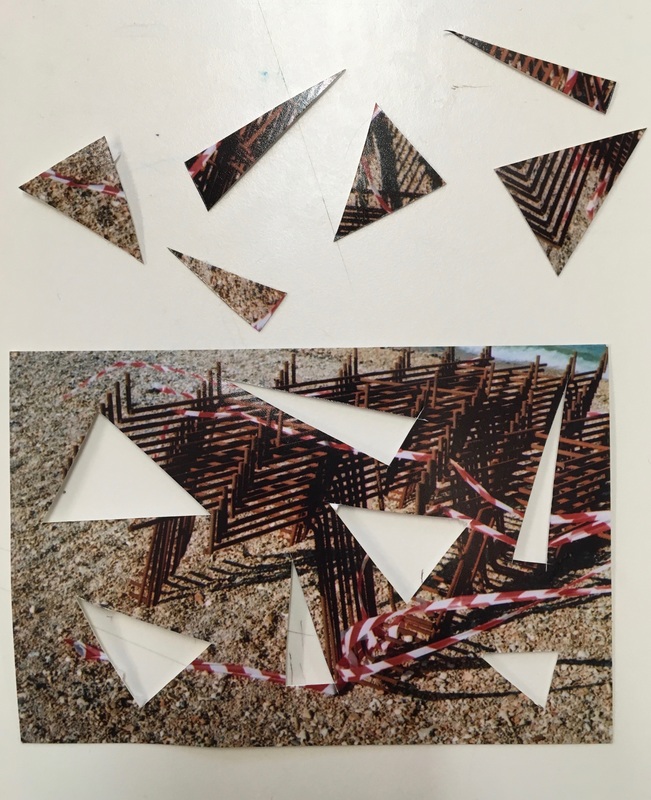
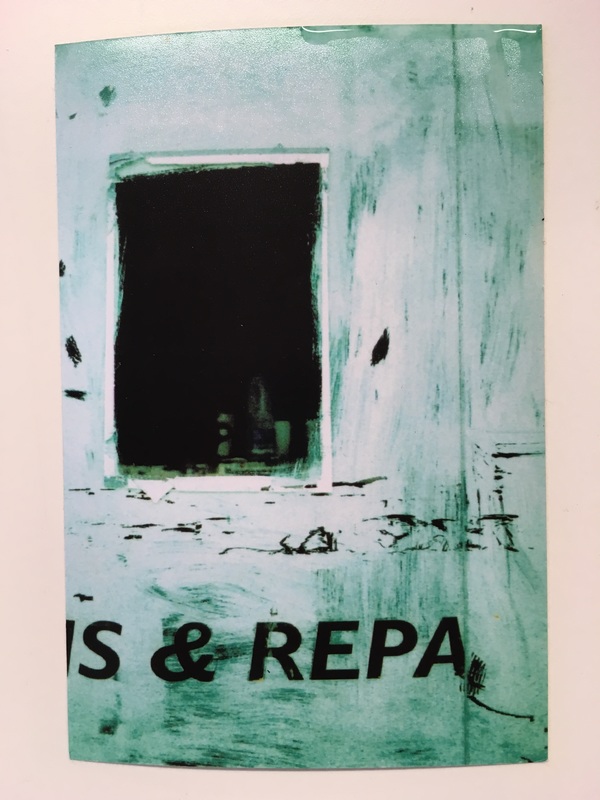
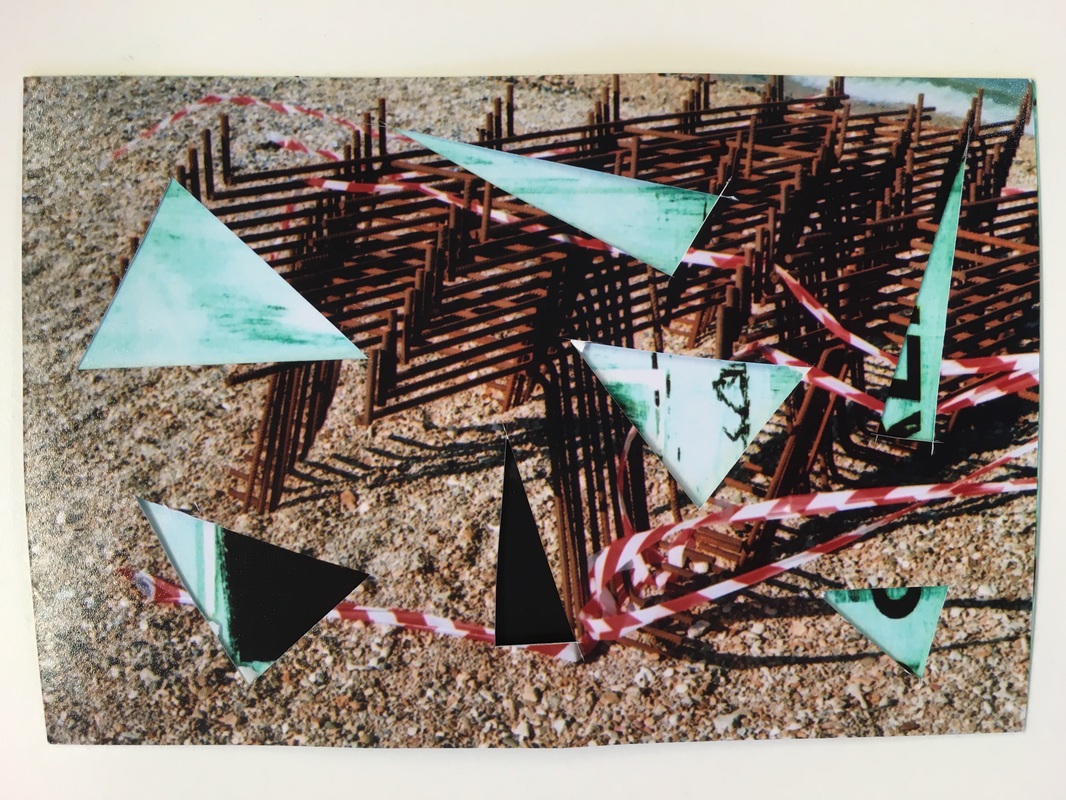
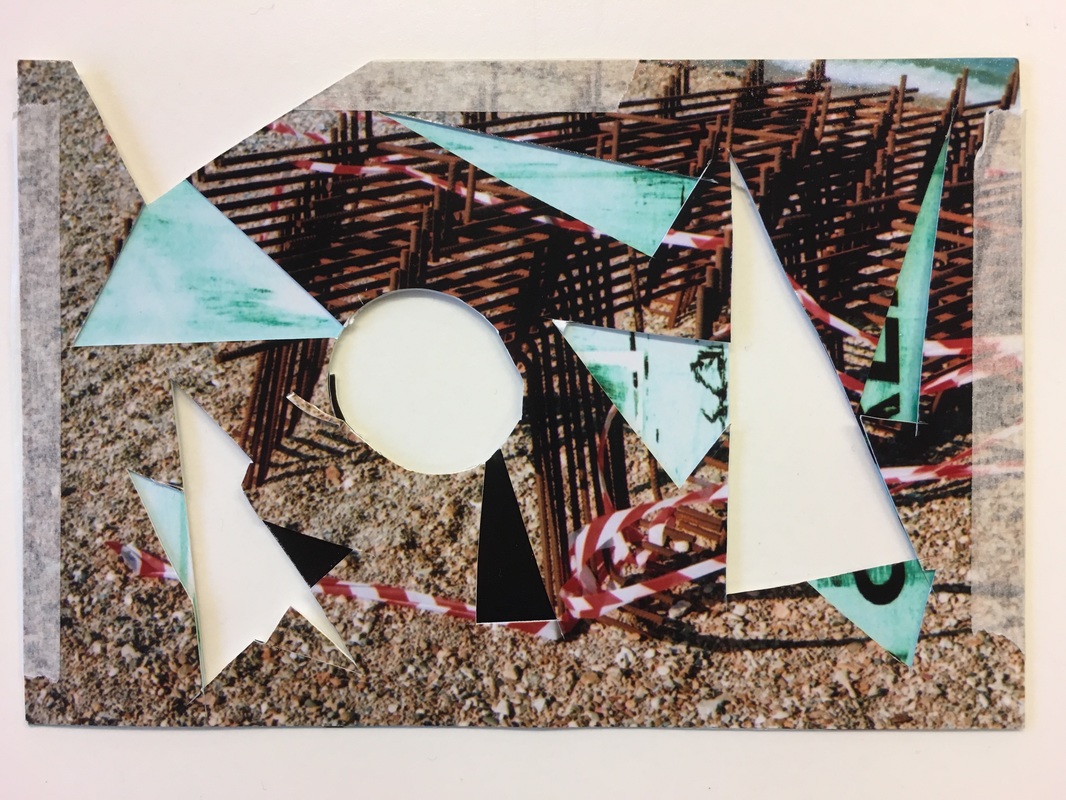
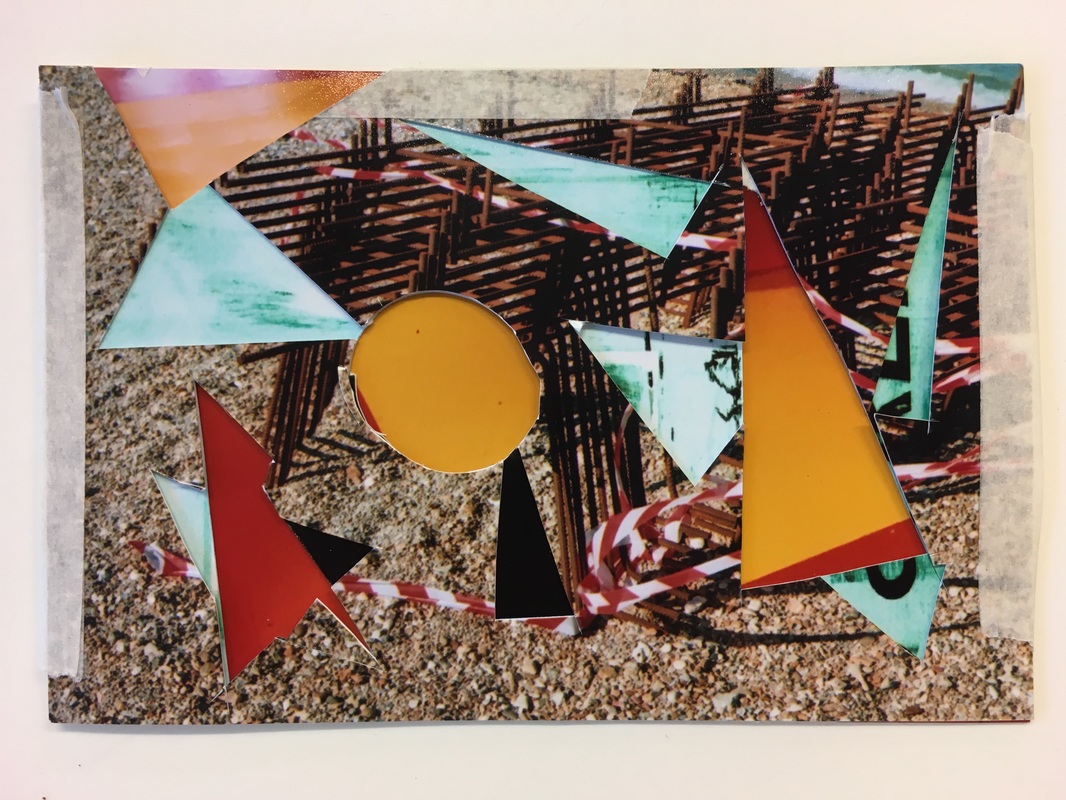
For this experiment, I wanted to alter the photograph surface by adding a number of layers, colours and new dimensions to the photo. I cut sections from the first photograph, before placing a contrasting vibrant blue photograph underneath. This added another layer and surface to the photograph, whilst adding contrasting colourful sections. After this, I cut more sections and shapes form the photographs. I then placed a vibrant orange photograph underneath - a contrasting complimentary colour against the turquoise blue photograph. I like the different colourful shapes and sections of the resultant photo collage; the different shapes and colours contrasting with one another.
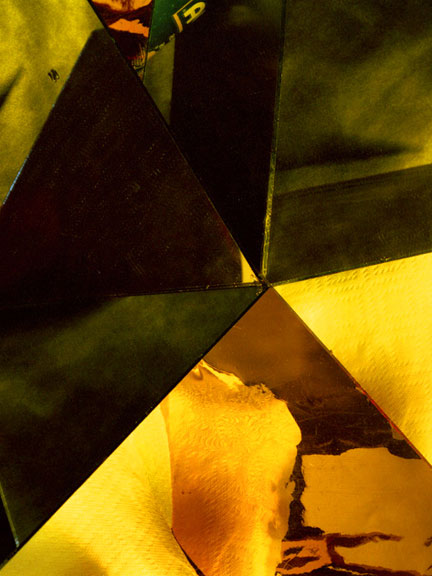
Using my own photographs
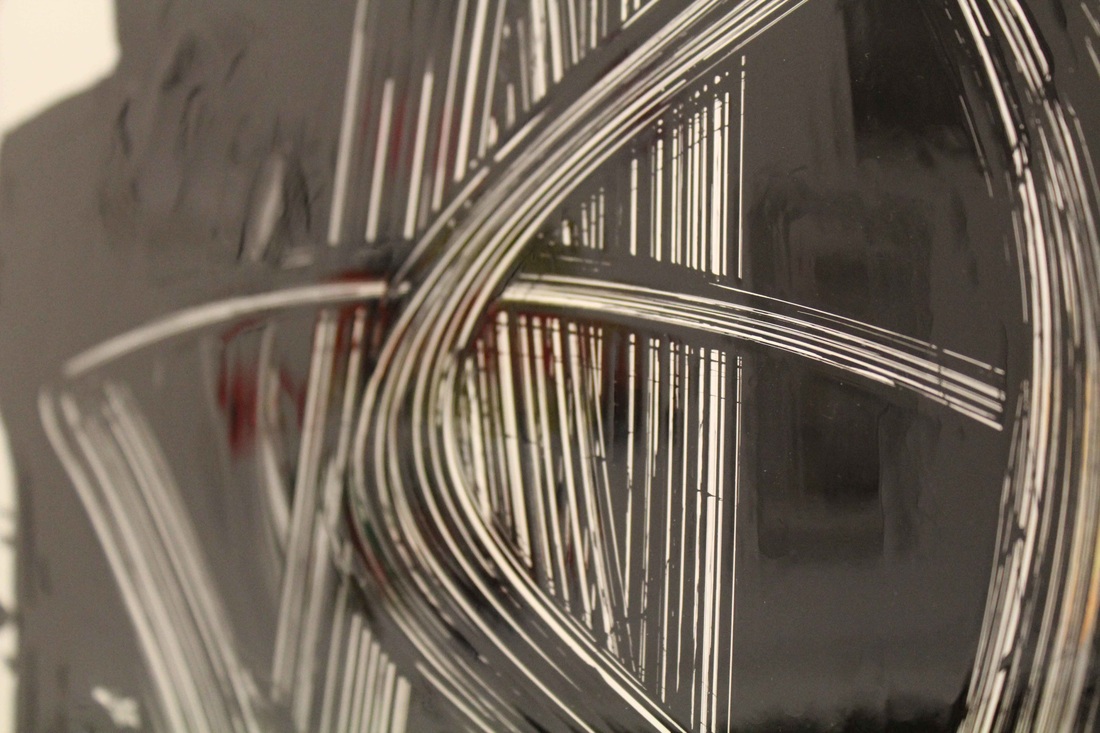
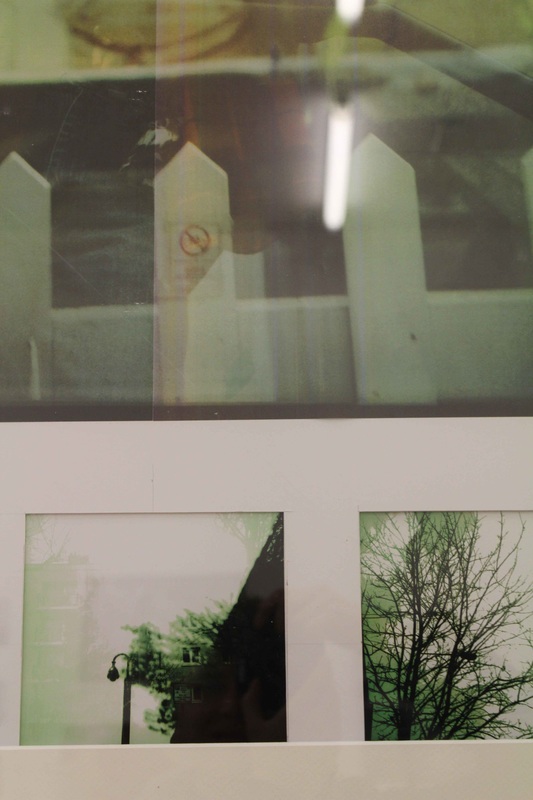
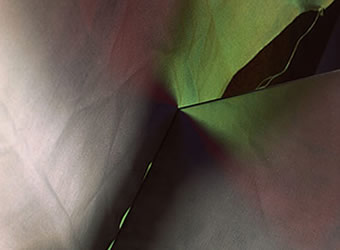
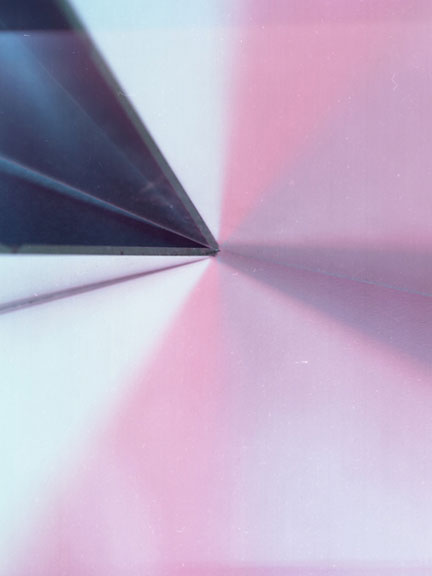
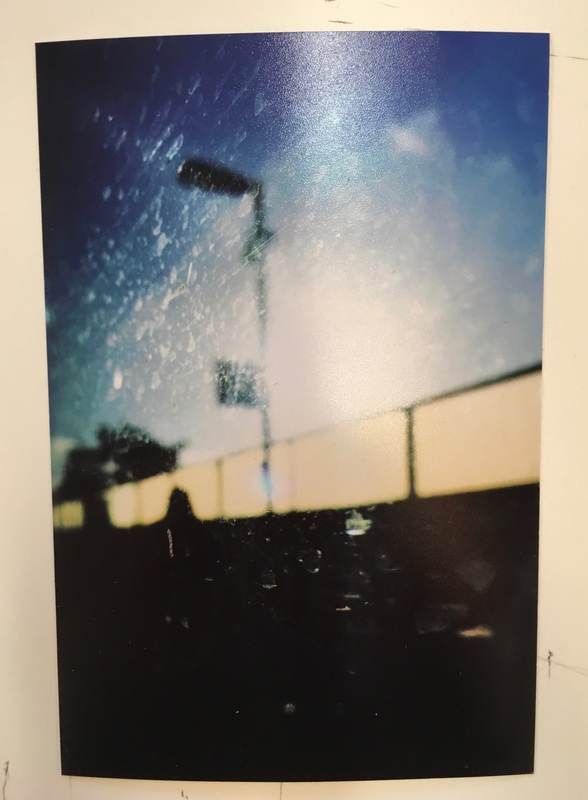
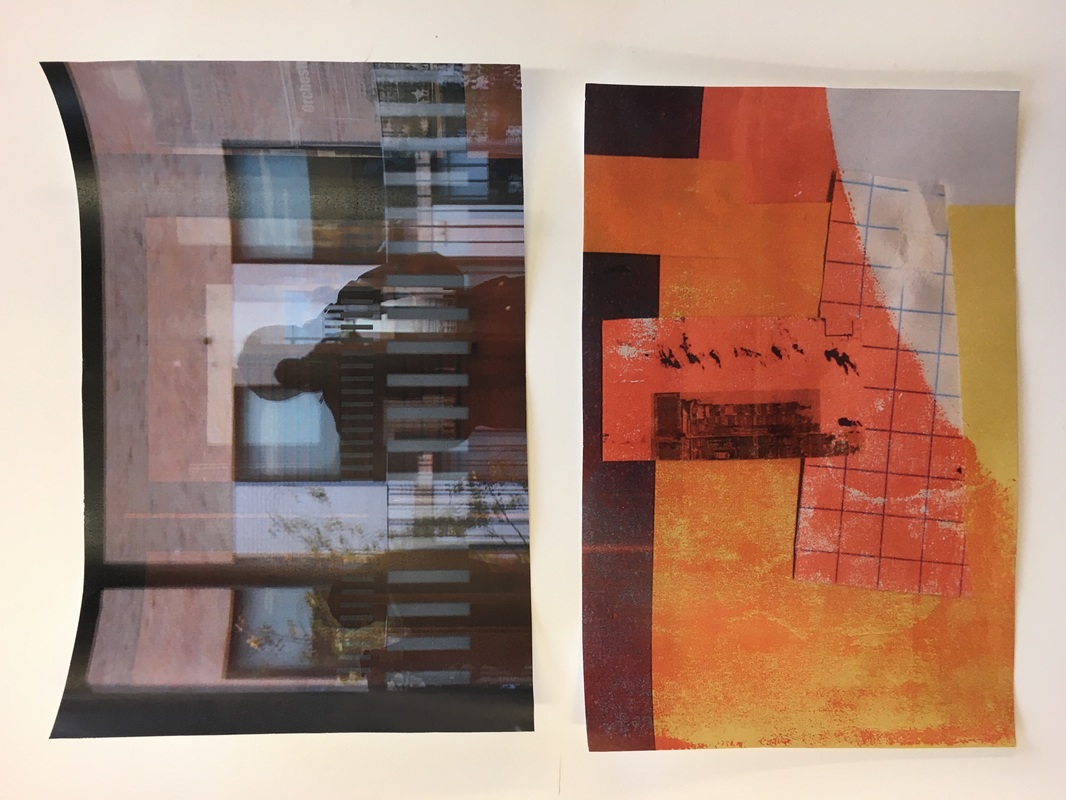
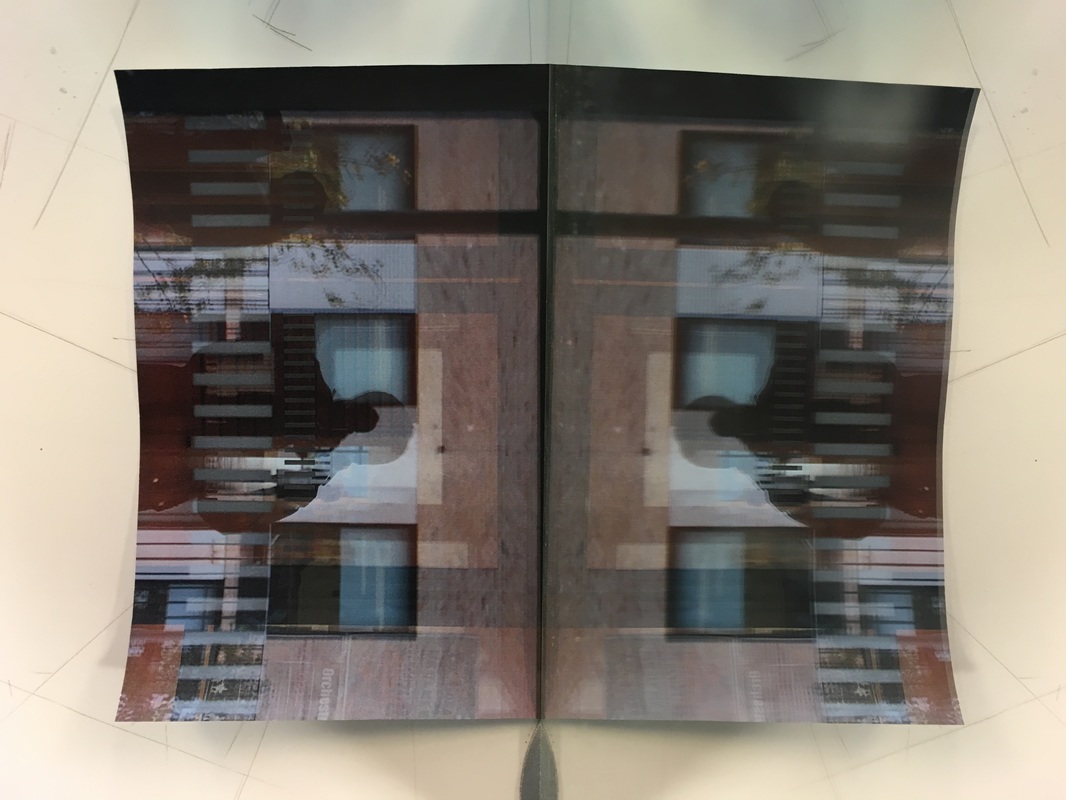
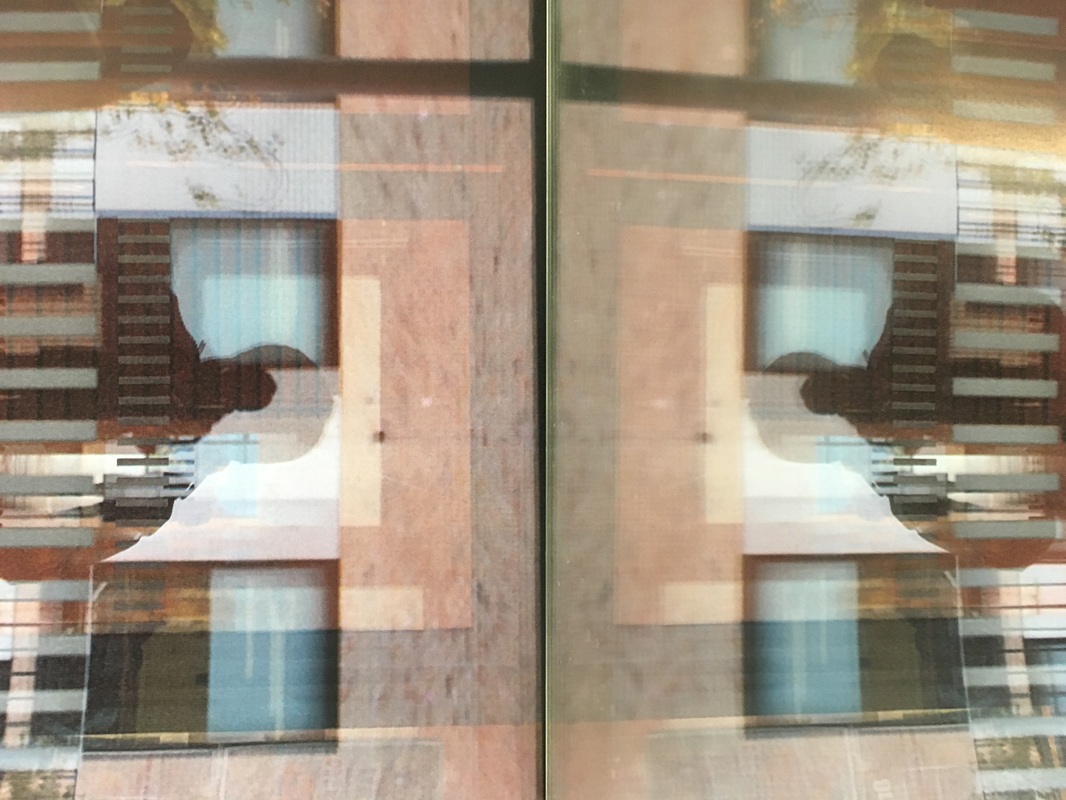
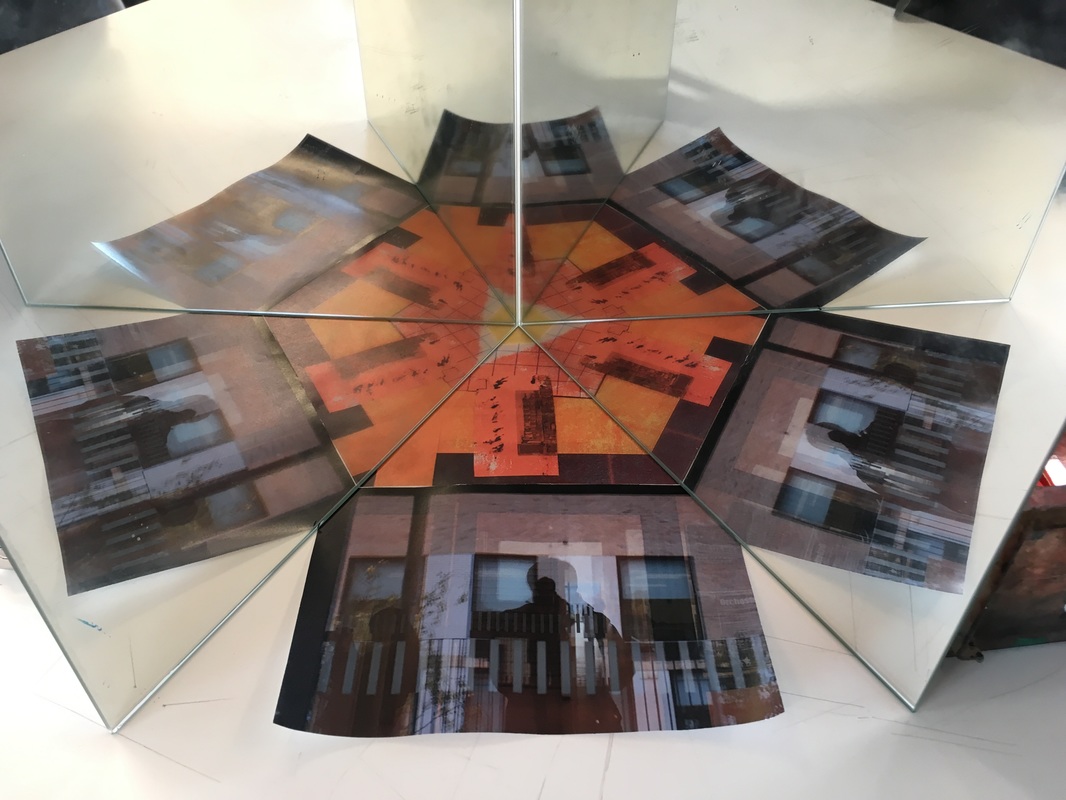
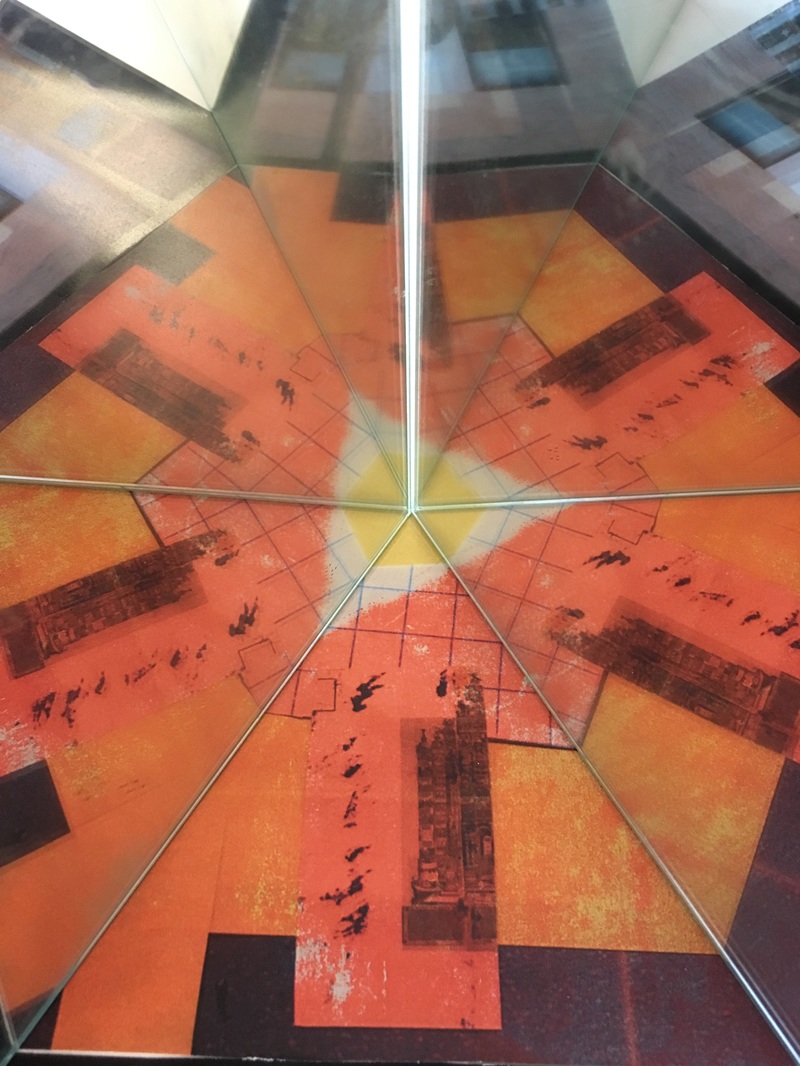
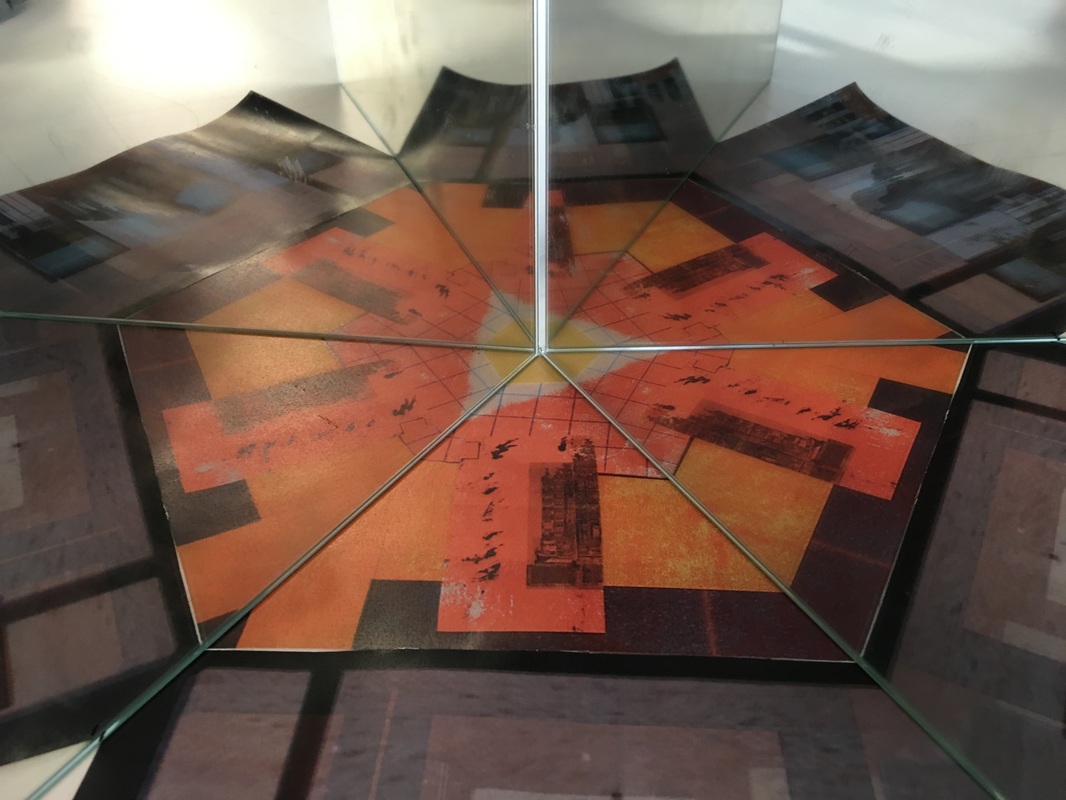
After printing a couple of photos from my second set of 'surfaces' images, I used a couple of mirrors to reflect and distort my images. By placing both images at the centre of two mirrors, I images were reflected and duplicated, so that they were reflected showing a number of different angles of the photographs. My distorted glass reflection was reflected and distorted again, changing its appearance and re-photographing it with another reflection/plane. The duplicated reflection of the photographs also created some interesting shapes, particularly with the abstracted yellow/orange photograph
Overall Evaluation
Overall, the purpose of this page and body of work was to look at the surface reality of the world, and how the camera and photography can capture, photograph and alter surfaces. Researching and looking at the work of New Objectivity and New Vision photographers showed how photographs can capture the detailed surface of the world, and inspire own own photographs looking at surfaces. The work of these photographers (especially in Jaromir Funke's 'Photography sees the surface' book) provided good inspiration for different types of subject matter and surfaces that I photographed, in the two sets of 'surface' images.
I also enjoyed looking at the work of Eileen Quinlan and photographing my own mixed material sculptures, I would like to potentially make more varied sculptures to photograph. As well as this, I enjoyed using a variety of substances to create multicolour abstracted slides. It was interesting to see the effect created when projecting the slides, compared to the effect and result of using the slides to create photographic prints. I learned how different substances and treatments created varying and unexpected results. Altering and manipulating the surfaces of printed photographs (using a variety of substances and methods) was one of my favourite experiments on this page. I was pleased with the resultant manipulated images. I think that I could use more of my own images (which I could have printed on photographic paper) would be interesting to manipulate and experiment with. I could also make a video or time lapse where these images are gradually obscured or altered.
I also enjoyed looking at the work of Eileen Quinlan and photographing my own mixed material sculptures, I would like to potentially make more varied sculptures to photograph. As well as this, I enjoyed using a variety of substances to create multicolour abstracted slides. It was interesting to see the effect created when projecting the slides, compared to the effect and result of using the slides to create photographic prints. I learned how different substances and treatments created varying and unexpected results. Altering and manipulating the surfaces of printed photographs (using a variety of substances and methods) was one of my favourite experiments on this page. I was pleased with the resultant manipulated images. I think that I could use more of my own images (which I could have printed on photographic paper) would be interesting to manipulate and experiment with. I could also make a video or time lapse where these images are gradually obscured or altered.
